Showing posts with label toddler. Show all posts

Thursday, April 11, 2013

Reversible Two-in-One Little Girl Skirt

As we all know, I have two little boys, so I always love a chance to sew for little girls.  One of Buddy's friends turned three, and I whipped up this fast and easy skirt for her.  The beauty of this skirt is, it's actually two skirts in one!  I've made skirts similar to this one before, and it doesn't take any extra effort to make it reversible, just a little careful planning (which I have conveniently done for you). 
Another advantage is that this skirt is double layered.   Many little-girl skirt patterns are not lined, they just use a single layer of cotton fabric.  In my experience, a single layer is too see-through to make a good skirt.  Last time I made a similar skirt, I lined it with white cotton.  Then it dawned on me:  if I had used patterned fabric, the skirt would be reversible! 

This skirt is a great beginner project, it's really just a few straight seams and comes together quickly.  The hardest part is deciding which two cute fabrics to use! 

I made mine for a three-year-old, the final measurements were 18 inch waist and 11.5 inch length.  It's pretty easy to adjust the measurements, though, if you're making this for a younger or older girl.

What you need:
  • Fabric A, cut 14" by 42"
  • Fabric B, cut 11.5" by 42"
  • 19" length of 3/4" elastic
  • Coordinating thread, I used Coats and Clark All-Purpose
If you want to adjust the skirt length
Cut Fabric B the desired length.  Then cut Fabric A 2.5" longer.  For example, I wanted an 11.5" length, so I cut Fabric B 11.5" x 42".  Then I cut Fabric A, 14" x 42". 

For the waist, I just added 1" to my final measurement for the elastic.  I wanted an 18" waist, so I cut my elastic 19". 

Let's get sewing:

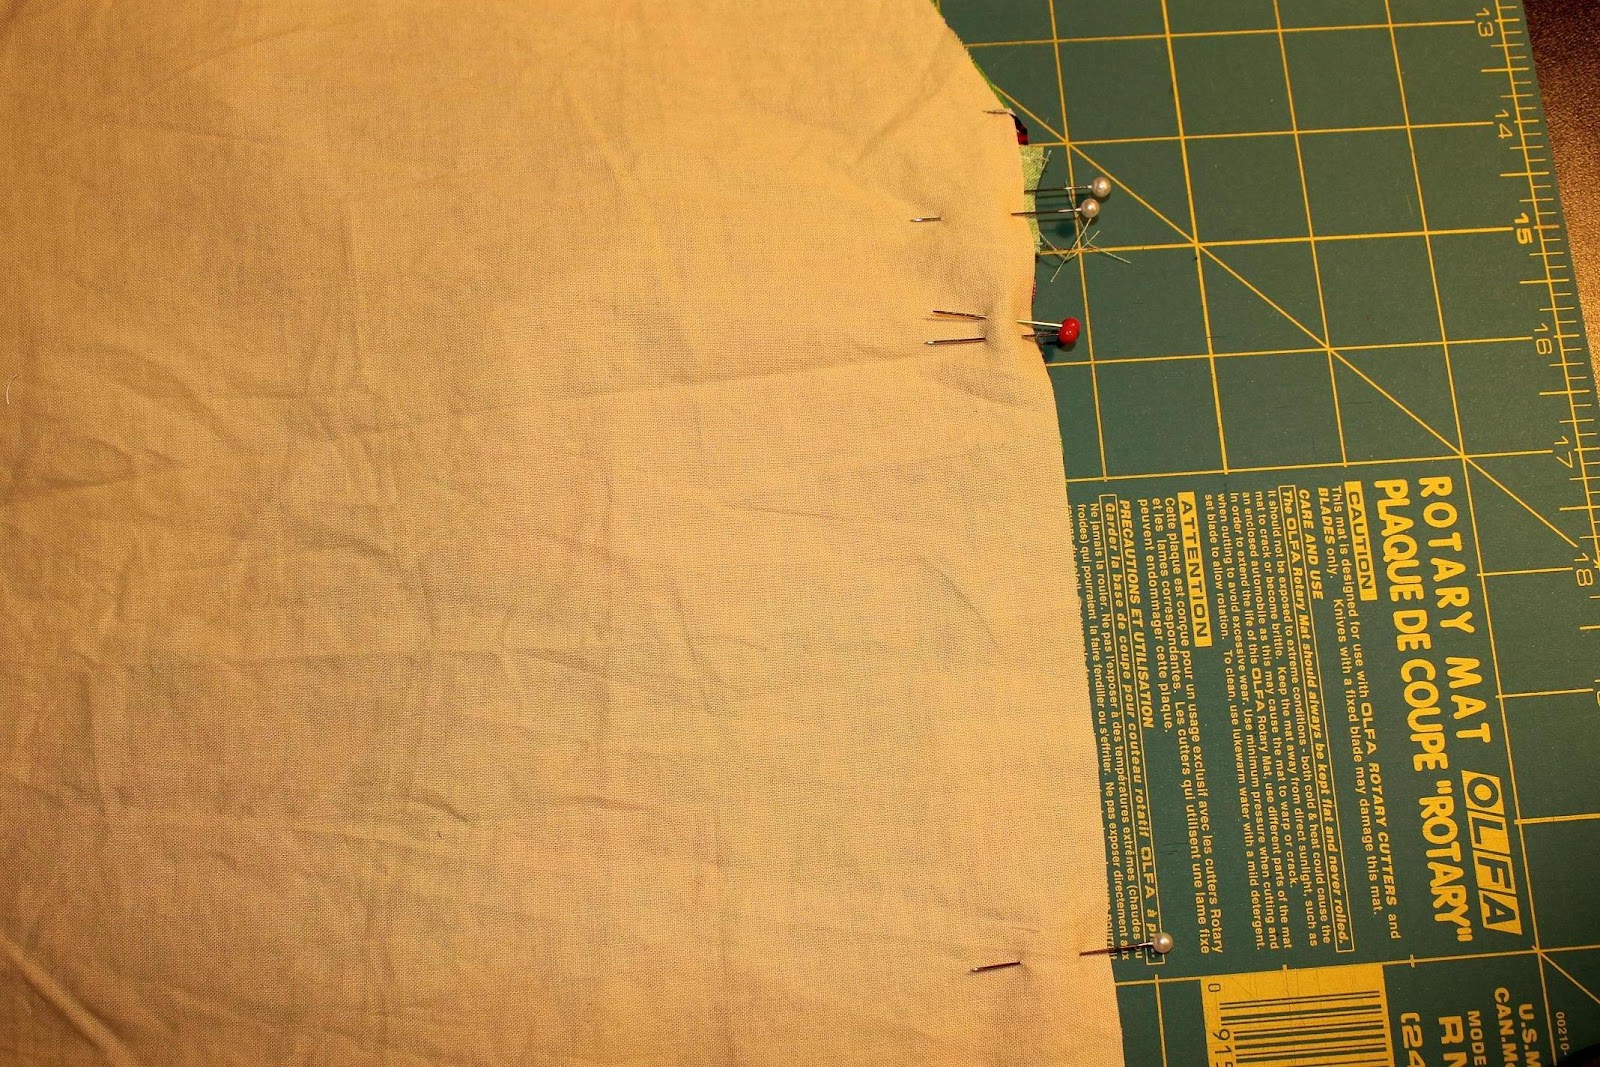
 1. Pin the 14" ends of Fabric A right sides together.  Sew with a 1/2" seam allowance.  You should now have a tube.  Press the seam open.  

2.  Pin the 11.5" ends of Fabric B right sides together.  Sew with a 1/2" seam allowance.    Press the seam open. Your fabrics should look like the pic below:  Fabric A is the floral and Fabric B is the yellow gingham.

3.  Turn Fabric B right-side-out.  Slide Fabric B over Fabric A, lining up the seams.  The two fabrics should be wrong sides together.  You should have about 1" of Fabric A showing at the bottom and 1.5" of Fabric A showing on top.

 4. To form the bottom hem, press and pin Fabric A on top of Fabric B.  Press 1/4", then 3/4".  Topstitch 1/8" from the pressed edge.  You should be sewing through both fabrics. 

5.  To form the casing for the elastic, press the top of Fabric A in 1/2", then 1".  Topstitch 1/8" from the pressed edge, leaving a 3" opening in the back.   Again, you should be sewing through both fabrics.  Use a safety pin to thread the elastic through, making sure it doesn't get twisted.

6.  Overlap the ends of the elastic by 1/2" and sew together securely.  Then tuck the elastic into the opening, fold down Fabric A, and topstitch the opening closed.  Make sure you don't catch the elastic as you sew.


And that's it, six steps and you've made two adorable little girl skirts!

-Lily


Linked up at some of the great blogs on my sidebar

Monday, December 31, 2012

Tutorial: Spider PJ's from a Men's T-Shirt (Part 2)

Several months ago, I found a fun tutorial on how to make little man PJ's from a men's X-large t-shirt.  I thought it was an awesome idea, but I didn't follow the tutorial exactly when I made mine.  So, I thought I'd show how I made my little guy his awesome spider pajamas!

I posted the first part of this tutorial over a month ago, and time has somehow gotten away from me over the holidays, so I'm finally posting the second half.  In the first part of the tutorial, I showed how I made the raglan shirt.  Here, I'll show how I made the pants.
What you need:
  • XL men's shirt (plenty of material for size 2T PJ's)
  • pair of pajamas to use as pattern pieces
  • matching thread
  • ball-point needle for sewing knits
  • 1/2 yard of 3/4 inch elastic

Let's get sewing:

1.  Lay out the men's t-shirt flat.  Place your pattern pajama pants on top of one sleeve, lining up the hem of the pants and the hem of the sleeve.  I used the whole width of the sleeve, so I didn't have to worry about sewing the inseam of the pants.  I cut about 2 inches above the top of the pants to allow enough fabric to form the elastic casing.

Repeat this step on the other sleeve.

2.  Turn one pant leg inside-out.  Place the right-side out leg inside the other (it should look like the pic).  Match the U-shaped seam and sew, using a 1/2 inch seam allowance.

I originally used a straight stitch, but then did some reading and found that a lot of people have problems with straight stitches popping on knits.  So, I added a zig-zag stitch, too. (I don't think this was the best solution, but using this method I didn't have to actually make a decision about which stitch to use.)

3.  Turn the pants inside-out.  Fold down the top edge 1/2", then another 1" to form the casing.  Topstitch 1/8" away from the edge, leaving a 3" opening. 

4.  Use a safety pin to thread the elastic through. 

5.  Overlap the elastic ends 1/2" and sew together.  Tuck inside the casing and sew closed. 

Turn your pants right-side out, and your little man PJ's are ready to go!
-Lily

Linked up at some of the great blogs on my sidebar!

Thursday, November 29, 2012

Tutorial: Spider-Man Pajamas from a T-Shirt (Part 1)

Ever since I started sewing, my pack-rat tendencies have gotten a little out of hand.  I have stacks and stacks of old clothes that I can't bear to give away--it's free fabric after all, and maybe I could use it one day (I know, big maybe...)  

I found a tutorial at It's Always Autumn on making little man pj's from a t-shirt, and I knew I had to make some cute jammies for my little man.  Just making grey pants and a black shirt seemed awfully plain.  I added a grey spider to the shirt, and suddenly, they're awesome Spider-Man pajamas! 
My adorable model, I think he's singing "Itsy Bitsy Spider"
This is part 1, where I'll cover how I made the raglan shirt.  Check out part 2 for the pants tutorial.
What you need:
  •  XL men's shirt (plenty of material for size 2T pj's)
  •  pair of pajamas to use as pattern pieces
  • matching thread
  • ball-point needle for sewing knits
 Let's get sewing:
1.  Lay out your pattern piece at the center of the t-shirt, lining up the bottom hems and folding in your sleeves.  Cut about 1/2 inch away from the edge (to allow for seam allowances).  If you want to make set-in sleeves, check out the original tutorial.

2.  Cut sleeves from the sides of the shirt.  Again, use the existing hem at the bottom of the t-shirt and add 1/2" on all sides for seam allowances. 

3.  Cut out a spider (I did this free-hand, but I'm sure you could find a Spider-Man printable for a template.)  I used extra material from the sleeve of my t-shirt.  **But, you might want to wait until after you cut out your pants to cut out the applique, since you'll be using the sleeves to make the pant legs.

 I used fusible web to attach the spider to the front of the shirt.  Then I sewed around with a straight stitch about 1/8" from the edge to securely attach it, leaving the edges raw.

4. Place shirt pieces right sides together and sew the two sides, up to the bottom of the diagonal.  Since I don't have a serger, I had to decide whether to use a straight stitch or a zig-zag stitch.  I ended up sewing 1/2" from the edge with a straight stitch, then 1/4" from the edge with a zig-zag because I've read about popped seams when working with knits.

5.  Place sleeve pieces right sides together and sew along both sides, leaving the diagonal open.

6.  Turn the sleeves right-side out.  Place one inside the shirt, with right sides together.  Line up the seam at the bottom.  Starting at the back neck point, sew along one side of the diagonal, across the seam, then along the other side of the diagonal.

Repeat for the 2nd sleeve.

7.  Turn the shirt right-side out.  Cut the collar off your XL t-shirt.  Measure the collar of your pattern pj's and add about 1", then cut your collar piece.  Tuck in one end 1/4" and tuck the other end inside.  You should now have a circular collar with no raw edges.

Center the collar join in the back.  Pin the collar around the top of the shirt, aligning the raw edges.  Sew together with a zig-zag stitch.

Fold down the collar, then sew 1/8" under the collar with a straight stitch.  Make sure to stretch as you sew so the stitching won't be too tight to stretch over a toddler's head.

And that's it, you've finished the top and are ready to move on to making the pants! 
-Lily

Linked up at some of the great blogs on my sidebar

Monday, October 22, 2012

Easy Child's Apron Tutorial

I made this fun apron for my son's 2nd birthday a few months ago, and I want to share the tutorial because this apron is so cute for such a quick project!  I love this jungle print, too.  I found it at a garage sale last summer for $1 a yard. (I'm always trying to save money on sewing.)
 If you have some fat quarters lying around, you can even use those.  You only need three fat quarters to make this apron.  This apron fits approximately sizes 2T to 5T.  The neckband is adjustable, which allows this apron several years of use for your toddler/preschooler. 
What you need:
  • 1 piece main fabric, 21 x 17 inches
  • 1 piece backing fabric, 21 x 17"
  • 2 pieces for ties, 3 x 18"
  • 2 pieces for neckband, 3 x 11"
  • 7" square for applique letter
  • 6" piece of velcro
Let's Get Sewing:
1. Lay your main fabric and backing fabric right sides together. On a 17" edge, mark 4" in from each side.  Then mark 9" down on each side.  Line a ruler up with the two marks, and cut along this line.  You should cut off a triangle like in the photo below.  Then line up the ruler on the other side and cut off a second triangle.


2.  Now, make the ties and neckband.  For both ties, press in one short edge 1/2".  Press in both long edges 1/2", then fold in half and pin.  Repeat for the two neckband pieces.


3.  Topstitch 1/8" from the edge on three sides of all four pieces, leaving the unpressed short ends open.
Now, sew the velcro to the neck ties, close to the topstitched end.  (My velcro is different lengths, but yours should be the same length.  I dug these pieces out of the scrap pile).

4.   Lay your main fabric and backing fabric right sides together, and fold down the backing at the top.  Pin your neck ties at the top edge, about 5/8" away from the diagonal edges.  Make sure that you have one piece of velcro facing you and one facing away, or the velcro won't match without twisting the straps.  Refer to the photo below.
Then fold the backing fabric over of the neck ties and pin the main fabric and backing together.  The neck straps should be pinned between the main fabric and the backing.


5. Pin the waist ties just below the diagonals, in between the two apron pieces.  Line up the open end with the edges of the apron pieces.

6.  Sew around the edge of the apron with a 1/2" seam allowance, leaving 5" open for turning.  Turn out and press flat, then topstitch around the whole apron 1/4" from the edge, closing the turning opening.

7.  Hand-cut your child's initial from the 7" square.  I simply pinned the letter on the apron and topstitched 1/4" from the edge around the "E", leaving the edges raw for a frayed look.

That's it!  Enjoy making messes with your little one :)
Lily