I've really been on a yogurt kick this month. First, I posted how to make homemade yogurt in a crockpot, then about my frugal yogurt starter. Now, I've discovered a lazy way to make Greek-style yogurt.
Let me start by saying that I've known an easy way to make homemade Greek yogurt for awhile. But, it does involve dirtying a few dishes and a cheesecloth. I'm getting lazy now that I'm pregnant with my 3rd, and even that seems like too much work.
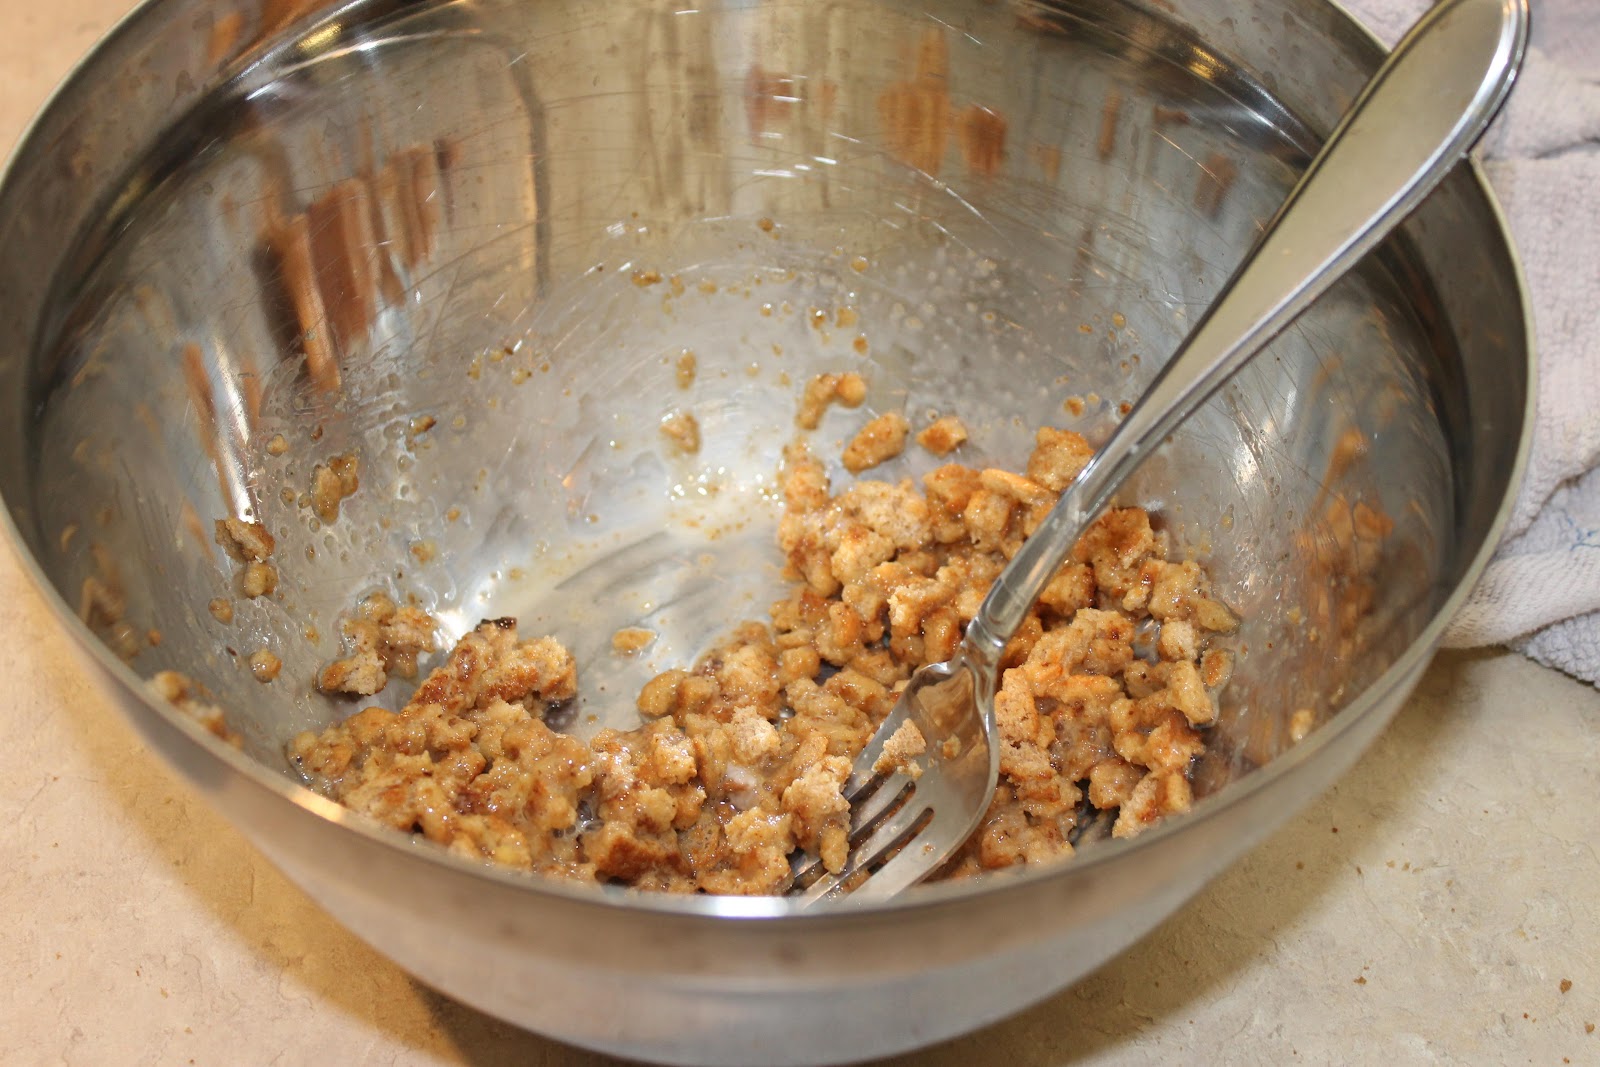
Last week I scooped my yogurt out of the container all on one side, leaving a mountain and a valley. When I came back the next day to get more yogurt, presto! The valley was full of whey, leaving Greek-style yogurt behind. All I had to do was pour off the whey. (If you're worried about all your yogurt falling out into the sink, you could also draw off the liquid with a turkey baster.)
It's not quite as thick and creamy as real Greek yogurt, but for zero work and time commitment, it's pretty good!
-Lily
Showing posts with label homemade. Show all posts
Monday, July 15, 2013
Saturday, July 6, 2013
Frugal Homemade Yogurt Starter
My family loves yogurt, but I just couldn't fit it in our budget to buy yogurt every week. Especially since the good stuff, without tons of sugar and other junk, is really expensive. Then I started making homemade yogurt in a crockpot, and it's delicious and cheap! Now we can enjoy yogurt every week--we love it topped with fruit, in our smoothies, or made into homemade frozen yogurt.
When I first started, I just bought a container of plain yogurt at the store and saved a little to use as my starter. Then I saved several tablespoons of my homemade yogurt to use as a starter for the next batch. However, after about 3-4 batches, the saved starter wouldn't work as well. Then I'd have to go back to the store and buy more yogurt.
Next, I bought some Yogourmet freeze-dried yogurt starter packets. The upside is that they make tasty yogurt, and it only takes 4-5 hours (versus 8-10 hours for store-bought yogurt as the starter). The downside is that they were expensive--about five dollars for six packets. I didn't want to have to keep buying expensive starter, that defeated the whole point of making my own yogurt. So, I devised this plan to make dozens of batches from that one box.
First, I made a batch of yogurt with a Yogourmet packet, following the packet directions. When it was finished, I saved some in the fridge to use as the starter for the next week. I also filled an ice cube tray with yogurt. Each cube held about 2 tablespoons of yogurt. I froze the tray, then popped the cubes out and stored them in a Ziploc.
For the next several weeks, for my starter I used the yogurt I'd saved in the fridge from the previous batch. But, after several batches my saved starter didn't work as effectively. Then I pulled out several frozen cubes. I put them in a little glass bowl and let them thaw at room temperature.
Having frozen yogurt cubes was also convenient when we went out of town on vacation this summer. Before we left, we just ate up all our yogurt. When we came home, I just pulled several starter cubes from the freezer to make yogurt.
As you can see, this method will allow me to make several months of yogurt from just one freeze-dried packet. So far, I've had the starter cubes in the freezer for about 2 months and they still work great. The freeze-dried packets should last over a year since I store them in the fridge. I'm hoping to make about a year's worth of yogurt from that one $5 box! Sometimes being frugal is so fun :)
-Lily
When I first started, I just bought a container of plain yogurt at the store and saved a little to use as my starter. Then I saved several tablespoons of my homemade yogurt to use as a starter for the next batch. However, after about 3-4 batches, the saved starter wouldn't work as well. Then I'd have to go back to the store and buy more yogurt.
Next, I bought some Yogourmet freeze-dried yogurt starter packets. The upside is that they make tasty yogurt, and it only takes 4-5 hours (versus 8-10 hours for store-bought yogurt as the starter). The downside is that they were expensive--about five dollars for six packets. I didn't want to have to keep buying expensive starter, that defeated the whole point of making my own yogurt. So, I devised this plan to make dozens of batches from that one box.
First, I made a batch of yogurt with a Yogourmet packet, following the packet directions. When it was finished, I saved some in the fridge to use as the starter for the next week. I also filled an ice cube tray with yogurt. Each cube held about 2 tablespoons of yogurt. I froze the tray, then popped the cubes out and stored them in a Ziploc.
For the next several weeks, for my starter I used the yogurt I'd saved in the fridge from the previous batch. But, after several batches my saved starter didn't work as effectively. Then I pulled out several frozen cubes. I put them in a little glass bowl and let them thaw at room temperature.
Do not microwave the cubes, you will kill the bacteria and your yogurt won't culture! Also, yogurt that has been frozen and thawed looks really weird and watery for some reason. Don't panic, just use it like regular starter.
After the yogurt was ready, I saved some in the fridge to use as a starter for the next week. For the next several weeks, for my starter I used the yogurt I'd saved in the fridge from the previous batch. When it started to lose effectiveness, I pulled out more cubes from the freezer. Having frozen yogurt cubes was also convenient when we went out of town on vacation this summer. Before we left, we just ate up all our yogurt. When we came home, I just pulled several starter cubes from the freezer to make yogurt.
As you can see, this method will allow me to make several months of yogurt from just one freeze-dried packet. So far, I've had the starter cubes in the freezer for about 2 months and they still work great. The freeze-dried packets should last over a year since I store them in the fridge. I'm hoping to make about a year's worth of yogurt from that one $5 box! Sometimes being frugal is so fun :)
-Lily
Wednesday, July 3, 2013
Homemade Yogurt in a Crockpot
Since it's well-written, I follow the tutorial closely and only had to make one modification. I make my yogurt in a glass container rather than directly in the crockpot. This simplifies the process: when the yogurt is done culturing I can just put the glass dish in the fridge, rather than clearing a whole shelf for my huge crockpot. Plus, I don't have to clean yogurt off my crockpot.
I was worried that the heat from the crockpot wouldn't transfer well enough if I just set the glass dish inside. So, I add about 1 inch of water and the glass dish to my crockpot when I turn it on, and I let them heat up with the crockpot. Make sure you don't stick a cold glass container into hot water, or you can crack the glass.
When you add the yogurt starter to the milk, add the starter to the milk before pouring it in the pyrex. Otherwise, the milk sloshes everywhere if you try to stir in the starter in such a small bowl. Then I loosely cover the glass dish with its lid, so that the condensation from the crockpot lid doesn't drip into the yogurt as it cultures.
Now you can make your own super-easy homemade yogurt in a crockpot! And if you like your yogurt super thick and creamy, check out my super-easy tutorial for making homemade greek yogurt.
-Lily
Wednesday, May 15, 2013
Easy Homemade Meatballs Recipe
Who doesn't love spaghetti and meatballs? This is a super-simple meatball recipe--mix all the ingredients together, bake while your noodles are boiling, then pour in your favorite spaghetti sauce. Dinner is served!
What you need: for 25 meatballs
- 1 egg, lightly beaten
- 1 recipe homemade breadcrumbs (3/4 cup)
- 1 lb ground turkey or ground beef
- 1 tsp Worcestershire sauce
- 1 tsp minced garlic (or 1/4 tsp garlic powder)
- 1/2 tsp salt
- 1/4 tsp ground black pepper
1. Mix together the breadcrumbs and egg.
2. Stir in the meat and spices.
3. Form into 1 to 1 1/2 inch meatballs.
4. Cover a cookie sheet with parchment paper. Bake at 450 degrees for about 15 minutes, until the edges are turning golden.. (I used a preheated stone, so I didn't need to use parchment paper).
From my kitchen to yours, enjoy!
-Lily
Monday, February 25, 2013
Pulled Pork in a Crockpot
I like to cook, but sometimes it's nice to throw everything in the crockpot after breakfast and magically have dinner ready at 5 o'clock. This sweet and savory shredded pork recipe is one of my family's favorites. (It's one of my favorites, too, since it's so easy!) I also love that it has so many veggies, which makes it taste yummy and adds an extra serving of veggies to our dinner.
Served on hamburger buns, this pulled pork is practically a one-dish meal. To complete dinner, I usually just whip up some sauteed green beans. Easy, fast, delicious, cheap, and healthy--all in one meal!
What you need:
1. Add the tomatoes, onion, carrots, bell pepper, spices, and sugar to the crockpot and stir together. Add the pork roast on top.
2. Cook on low for 8-10 hours or high for 4-5 hours. Use two forks to gently shred the roast.
And that's it, two steps and you can enjoy your delicious pulled pork dinner!
-Lily
Linked up at some of the great blogs on my sidebar!
What you need:
- 3 1b pork roast
- 14 oz can diced tomatoes, undrained
- 1 onion, chopped
- 2 carrots, diced
- 1/2 red bell pepper, diced
- 8 cloves garlic, minced
- 1/2 tsp black pepper
- 1 Tbs Worchestershire sauce
- 1/2 tsp red pepper flakes
- 1/2 cup brown sugar
- 1/2 tsp chili powder
1. Add the tomatoes, onion, carrots, bell pepper, spices, and sugar to the crockpot and stir together. Add the pork roast on top.
And that's it, two steps and you can enjoy your delicious pulled pork dinner!
-Lily
Linked up at some of the great blogs on my sidebar!
Labels:
crockpot,
dinner,
healthy recipe,
homemade
Thursday, January 17, 2013
How to prevent clumped shredded cheese
Our family loves casseroles, homemade pizza, enchiladas, and plenty of other recipes that require generous amounts of shredded cheese.
I like to buy the giant 5 lb blocks of cheese and shred it up myself. It's cheaper, healthier, and tastier than buying pre-shredded cheese. I usually just shred it all up and freeze it. The only problem is, after a few days in the freezer all the cheese has turned into one giant clump. I've been known to hack at it with a meat tenderizer trying to break it up.
Then I discovered a simple solution: cornstarch! After you shred your cheese, just sprinkle the cornstarch on top and gently mix it in. I used 3/4 teaspoon cornstarch per pound of cheese. Then fill a gallon-size freezer bag about 1/2-full and lay it flat in the freezer, with nothing on top. (This also helps the cheese from clumping).That's it! I've tried it with mozzerella and cheddar cheese, and it works just as well with both. I've used the cheese in a bunch of different recipes, like pizza, grilled cheese, even on salads--and I can't tell any difference in flavor or texture.
Enjoy your clump-free cheese :)
-Lily
Linked up at some of the great blogs on my sidebar!
Labels:
freezer,
frugal tips,
homemade,
kitchen
Thursday, January 3, 2013
Homemade Chicken and Broccoli Casserole
I loooove this chicken and broccoli casserole recipe--and so does my family. Actually, everyone I've ever made it for has liked it. Once I made it for a family at church through our meals ministry. I delivered it, and 30 minutes later the mom called just to tell me that her kids never liked casseroles, but they gobbled up this one. That was a shining moment in my culinary career :)
I think the big secret with this casserole (or any casserole I cook) is that I make it from scratch. No goopy cans of cream-of-something or powdered soup mixes. Just simple ingredients, all baked together into hearty, comforting deliciousness.
This recipe does take time to make (over an hour), but it's worth it! Plus, it makes a lot, so you could even divide it into two casseroles and freeze one for another dinner.
What you need: for one 9 x 13 casserole, about 10 servings.
- 5 cups cooked white rice
- 3 to 3 1/2 cups broccoli, chopped
- 2 cups milk
- 2 Tbs butter
- 2 Tbs flour
- 1/2 tsp ground black pepper
- 1 tsp salt
- 1/2 tsp garlic powder
- 8 oz mushrooms, sliced
- 2 Tbs oil, divided
- 1 medium onion, chopped
- 2 large chicken breasts (about 1 lb) cut into 1-inch chunks
- 1/2 cup shredded cheddar cheese
- 2 recipes (about 1 1/2 cups) homemade breadcrumbs
1. Cook the rice according to package directions.
2. Lightly steam the broccoli.
3. Melt butter in a large skillet over medium-low heat. Whisk in the flour. Gradually whisk in milk. Simmer until it's thickened slightly, stirring every few minutes so it doesn't stick to the bottom of the pan. Remove from heat and stir in pepper, salt, garlic powder, and mushrooms. Set aside.
4. In a second skillet, heat 1 Tbs oil. Saute onions over medium heat until soft. Remove from pan.
5. Heat 1 Tbs oil in skillet over medium heat. Cook chicken until browned and cooked through.
6. Spray a 9 x 13 glass pan with cooking spray. Mix together rice, broccoli, mushroom sauce, onions, and chicken. Sprinkle the breadcrumbs and cheese on top. Bake at 350 degrees about 30 minutes, or until the cheese is turning golden and the casserole is heated through.
Enjoy!
-LilyLinked up at some of the great blogs in my sidebar
Labels:
casserole,
dinner,
homemade,
one-pot meal,
recipe
Wednesday, November 14, 2012
Homemade Ham and Bean Soup
Mmmm, soups really are my family's favorite food all winter. I love how they are cheap, easy, and oh-so-delicious.
We often buy spiral-sliced hams (we actually just bought two, they're on sale right now for Thanksgiving). But after you eat all the slices, you're left with a bone and a bunch of scraps. That's where this great recipe comes in. You save the bone and scraps, and toss them in a stockpot. Add some beans and veggies = super cheap and delicious dinner.
This soup takes about 4 hours total, but it's simmering for most of that time and you don't have to do anything. I usually start this after lunch, and when dinnertime comes supper is ready and waiting!
What you need: for about 10 servings
Let's get cooking:
1. If you haven't soaked your beans, quick-soak them according to the package directions.
2. Meanwhile, in a large stockpot bring 8 cups water and your ham bone and pieces to a boil. Reduce heat and simmer for 1-2 hours.
3. Remove ham bone and fat from the broth. Save any pieces of ham from the bone, then discard. Cut any large chunks of ham into smaller pieces, then add back to the stockpot.
4. Drain beans and add to the soup. Add spices. Bring to a boil, then reduce heat and simmer about 1 hour.
5. Add onions and carrots and simmer about 1 hour.
And that's it, five steps and your soup is ready :)
-Lily
Linked up at some of the great blogs on my sidebar!
We often buy spiral-sliced hams (we actually just bought two, they're on sale right now for Thanksgiving). But after you eat all the slices, you're left with a bone and a bunch of scraps. That's where this great recipe comes in. You save the bone and scraps, and toss them in a stockpot. Add some beans and veggies = super cheap and delicious dinner.
This soup takes about 4 hours total, but it's simmering for most of that time and you don't have to do anything. I usually start this after lunch, and when dinnertime comes supper is ready and waiting!
What you need: for about 10 servings
- 1 lb Great Northern Beans, soaked overnight or quick-soaked
- 1 spiral sliced ham bone and scraps (the assorted pieces that aren't neatly sliced)
- 8 cups water
- 1/2 tsp garlic powder
- 1 1/2 tsp Italian seasoning
- 1/2 tsp ground black pepper
- 2 medium onions, chopped
- 3 carrots, chopped
1. If you haven't soaked your beans, quick-soak them according to the package directions.
2. Meanwhile, in a large stockpot bring 8 cups water and your ham bone and pieces to a boil. Reduce heat and simmer for 1-2 hours.
3. Remove ham bone and fat from the broth. Save any pieces of ham from the bone, then discard. Cut any large chunks of ham into smaller pieces, then add back to the stockpot.
4. Drain beans and add to the soup. Add spices. Bring to a boil, then reduce heat and simmer about 1 hour.
5. Add onions and carrots and simmer about 1 hour.
And that's it, five steps and your soup is ready :)
-Lily
Thursday, November 8, 2012
Homemade Brown Sugar
Who knew you could make brown sugar at home??
It's always exciting when I learn how to make something homemade. And last week, I found the book The Homemade Pantry by Alana Chernila at the library. There are a ton of great recipes to explore, and I'm sure I'll try several more. The first one that caught my eye was homemade brown sugar. It's never even crossed my mind that I could make it at home. Apparently, it only takes two ingredients and takes about a minute.
Why have I been paying twice as much for brown sugar than for white sugar?? No more! I have crossed another processed item off my grocery list :)
Pour the molasses over the sugar.
Fluff with a fork until it is all mixed in. At first it looks like you've ruined your sugar, and it's all clumpy.
Don't worry. Keep going, and in a minute you'll have brown sugar.
I've been using this for months in my recipes, and it tastes and acts the same as store-bought brown sugar.
-Lily
Linked up at some of the great blogs on my sidebar!
It's always exciting when I learn how to make something homemade. And last week, I found the book The Homemade Pantry by Alana Chernila at the library. There are a ton of great recipes to explore, and I'm sure I'll try several more. The first one that caught my eye was homemade brown sugar. It's never even crossed my mind that I could make it at home. Apparently, it only takes two ingredients and takes about a minute.
Why have I been paying twice as much for brown sugar than for white sugar?? No more! I have crossed another processed item off my grocery list :)
What you need:
- 1 cup white sugar
- 2 tsp unsulphured molasses
(yes, that's really all you need)
Fluff with a fork until it is all mixed in. At first it looks like you've ruined your sugar, and it's all clumpy.
Don't worry. Keep going, and in a minute you'll have brown sugar.
I've been using this for months in my recipes, and it tastes and acts the same as store-bought brown sugar.
Linked up at some of the great blogs on my sidebar!
Friday, November 2, 2012
Chicken Soup from Scratch
It's getting colder, which means it's time for soups and stews! I love making soup for dinner--I get it all prepped during the kids' naptime. Then it can simmer on the stove until we're ready for dinner, and we don't have that crazy hour before dinner when I'm trying to cook, and E wants my attention, and the baby is crying,and my poor husband walks in the door into chaos.
I like to make chicken soup from scratch, which means that the first three steps you're basically making your own chicken stock. Then you strain out the bones and make the soup.
When I buy chicken breasts, I get them with ribs attached. I cut off the breast off for other meals and save the chicken bones/scraps in a ziploc in the freezer. When the bag is full, I make chicken soup!
The total time for this recipe is about 4 hours--but don't worry, most of the time your soup is simmering and you don't have to do anything.
What you need: for 10 servings
- 3 lb chicken bones (one large ziploc full of bones)
- 2 carrots, cut up
- 1 large onion, sliced
- 1 tsp dried basil
- 1/2 tsp garlic powder
- 1/2 tsp whole black peppercorns
- 2 bay leaves
- 8 cups cold water
- 1 sweet potato, cut into 1 inch chunks
- 1 1/2 cup medium noodles
- 1 cup frozen green beans
- 2 tsp salt
Let's get cooking:
1. Combine first 8 ingredients (through water) in a stockpot. Cover and bring to a boil, then reduce heat. Simmer, covered, for 2-3 hours.
2. Place a double layer of cheesecloth in a colander, and place over a large bowl. Pour the stock through the colander to strain. Place broth back in the stockpot.
3. Let everything in the colander cool a little so you can handle it. Separate out the veggies, chicken bones, and chicken pieces. Discard the bones. Place the veggies and chicken pieces (I had about 8 oz) back in the stockpot.
4. Add the sweet potato to the soup. Simmer 1 hour, then increase heat and bring to a boil. Add the noodles and green beans. Boil until noodles are cooked.
Enjoy!
-Lily
Wednesday, October 24, 2012
Weekend Dinner--Homemade Pizza
I usually make two large pizza, and we eat the leftovers on Saturday. For two 16" pizzas with medium/thick crust, I triple the recipe below.
What you need For one thick-crust 12" pizza:
- 1 cup lukewarm water
- 2 1/4 tsp (1 pkg) active dry yeast
- 1/4 tsp sugar
- 1 Tbs oil
- 3 cups all-purpose flour, divided
- 1 tsp cornmeal
- Pizza sauce
- 1 to 1 1/2 cups cheese
- toppings--we like pepperoni, mushrooms, and bell peppers
Let's get cooking:
1. Stir the sugar and yeast into the lukewarm water. (The water should be the same temperature as your finger if you dip it in). Let the yeast mixture sit 5 minutes until foaming. It should start to look like the pic below. Then add the oil.
3. Turn dough out onto a floured surface and knead about 50 times by hand. The dough should be fairly smooth and elastic. Form into a ball and place it into a clean mixing bowl. Cover with a towel and let it rise until doubled. (This usually takes about 30-60 minutes, depending on how warm my kitchen is.)
3. While I'm waiting for my crust to rise, I prep the rest of my pizza. I wash and chop the veggies, grate cheese, etc. By the time I've finished all that, my crust is done rising.
4. Preheat the oven to 450 degrees. Sprinkle your pizza pan with cornmeal. On a floured surface, roll out your pizza dough, then place it on the pizza pan. Bake without toppings 8-10 minutes.
6. Add sauce, toppings, and cheese, then bake 9-11 minutes until cheese is turning golden.
-Lily
Linked up at some of the great blogs on my sidebar
Labels:
baking,
bread,
healthy recipes,
homemade
Monday, October 15, 2012
Pumpkin-Apple Muffins
Autumn is here, which means it's pumpkin and apple season. Mmm, these muffins combine both fall flavors into one yummy treat. And, they're healthy--they have whole wheat flour, fruit (apple), even a veggie (pumpkin). Who knew all the food groups could fit into a little muffin?
I like to make a big batch and freeze them in ziploc bags. Then I just pop two or three in the microwave when we eat breakfast.
What you need: for 24 muffins
Enjoy!
-Lily
I like to make a big batch and freeze them in ziploc bags. Then I just pop two or three in the microwave when we eat breakfast.
What you need: for 24 muffins
- 1 cup all-purpose flour
- 2 cups whole wheat flour
- 1 cup packed brown sugar
- 1 Tbs pumpkin pie spice
- 1/4 tsp cloves
- 2 tsp baking powder
- 1/2 tsp salt
- 1 can pumpkin
- 1 cup milk
- 2 eggs
- 1/2 cup canola oil
- 1/2 cup applesauce
- 1/2 cup honey
- 1 apple, peeled, cored, and chopped into 1/4" pieces
- Preheat oven to 375 degrees. Grease bottoms of 24 muffin cups.
- Combine flours, sugar, spices, baking powder, and salt in a large mixing bowl.
- Combine pumpkin, milk, eggs, oil, applesauce, and honey in a 2nd mixing bowl. Add to flour mixture, stirring just until moist. Fold in chopped apple.
- Spoon batting into muffin tins (about 2/3 full). Bake at 375 for 18-20 minutes or until muffins spring back when touched lightly in center.
- Cool muffins in pan 5 minutes, then remove from pan. Cool completely in a wire rack.
- Freeze in ziploc bags for up to 2 months.
Enjoy!
-Lily
Thursday, October 4, 2012
Homemade Refried Beans
All my life, I've eaten the slimy mush from a can know as "refried beans". I've never really liked it, but that's just what you eat with tacos. Then I discovered that you can make your own refried beans, and they actually taste good. These are our favorite side to homemade fajitas.
Caution: once you eat these you will NEVER want to go back to the canned version!
You've been warned.What you need For 6-8 servings (depending on how much you love beans):
- 8 oz dried pinto beans, rinsed and soaked overnight (or quick soaked). Follow the directions on the package.
- 5 cups water
- 1 onion, chopped
- 2 Tbs oil
- 1 recipe spice mix (see below)
For the Spice Mix: (Yes, this is almost the same as the chicken marinade in my fajitas. Why mess with something that tastes so good?)
- 2 Tbs oil
- 6 cloves garlic, minced
- 1 Tbs vinegar
- 2 tsp soy sauce
- 1/2 tsp liquid smoke
- 1/2 tsp salt
- 1/4 tsp black pepper
- 1/2 tsp chili powder (optional)
- 1/2 tsp cayenne pepper (optional) Omit these if you don't like spicy beans.
Let's get cooking:
1. Drain the beans from the soaking water. Bring the soaked beans and 5 cups water to a boil--make sure to crack the lid, or it will overflow bean water everywhere! Reduce heat to medium-low and simmer about 2 hours, until the beans are very soft.
2. Meanwhile, chop up your onion. Heat 2 Tbs oil in a skillet. Add the onions over medium-low heat and let them caramelize for 30 min or more, until turning golden brown.
3. When the beans are fully cooked, drain the beans--but save the bean water! Combine the beans and onions. I like to mash mine with a potato masher, but you could use a blender/food processor if you like them very smooth. Use the bean water they were cooking in to reach the desired consistency. I make mine a little runny because they tend to thicken as they cool.
4. Heat up the refried beans to a simmer until the rest of your meal is ready. Now you can have healthy, tasty beans as the perfect compliment to your Mexican meals!
-Lily
Subscribe to:
Posts (Atom)