


- 1 piece main fabric, 21 x 17 inches
- 1 piece backing fabric, 21 x 17"
- 2 pieces for ties, 3 x 18"
- 2 pieces for neckband, 3 x 11"
- 7" square for applique letter
- 6" piece of velcro
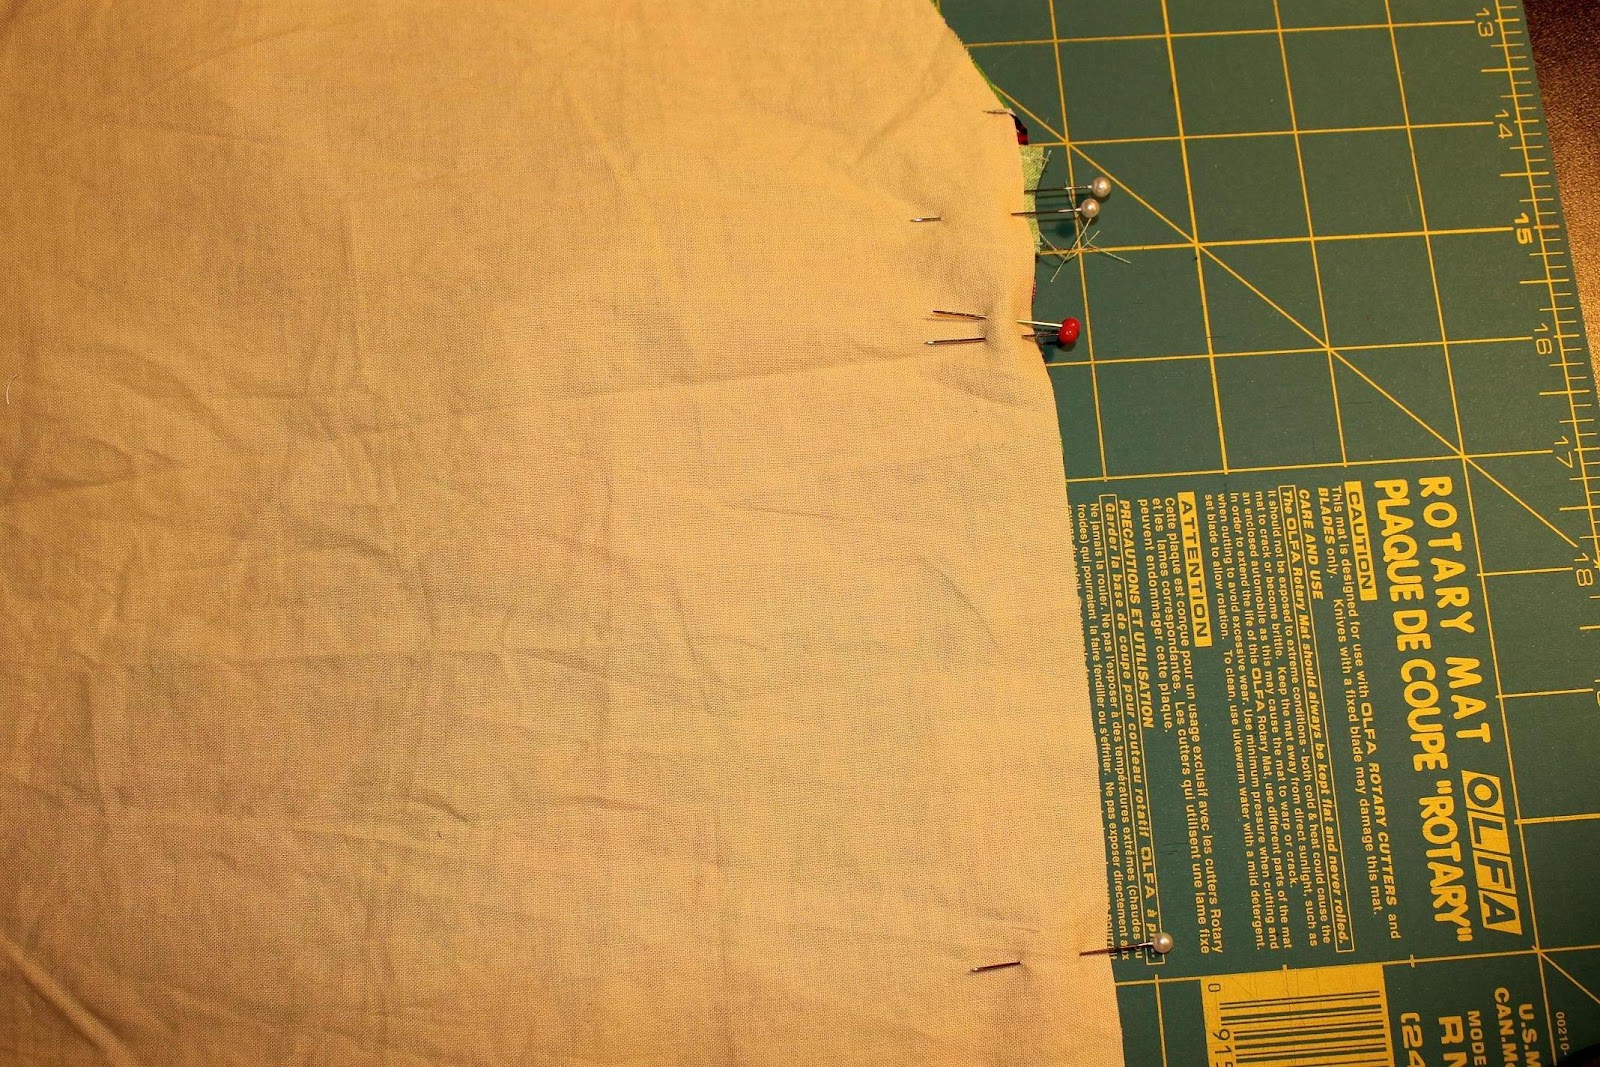
1. Lay your main fabric and backing fabric right sides together. On a 17" edge, mark 4" in from each side. Then mark 9" down on each side. Line a ruler up with the two marks, and cut along this line. You should cut off a triangle like in the photo below. Then line up the ruler on the other side and cut off a second triangle.

2. Now, make the ties and neckband. For both ties, press in one short edge 1/2". Press in both long edges 1/2", then fold in half and pin. Repeat for the two neckband pieces.

3. Topstitch 1/8" from the edge on three sides of all four pieces, leaving the unpressed short ends open.

4. Lay your main fabric and backing fabric right sides together, and fold down the backing at the top. Pin your neck ties at the top edge, about 5/8" away from the diagonal edges. Make sure that you have one piece of velcro facing you and one facing away, or the velcro won't match without twisting the straps. Refer to the photo below.

5. Pin the waist ties just below the diagonals, in between the two apron pieces. Line up the open end with the edges of the apron pieces.
6. Sew around the edge of the apron with a 1/2" seam allowance, leaving 5" open for turning. Turn out and press flat, then topstitch around the whole apron 1/4" from the edge, closing the turning opening.
7. Hand-cut your child's initial from the 7" square. I simply pinned the letter on the apron and topstitched 1/4" from the edge around the "E", leaving the edges raw for a frayed look.
That's it! Enjoy making messes with your little one :)
Lily
Great! I love it! :)
ReplyDeleteI made this apron this afternoon. Great pattern! Easy to follow instructions! Thanks!
ReplyDeleteThanks, Donna, I work hard to make my tutorials easy to follow, I'm glad you could make this for a lucky little one!
Delete