Friday, October 12, 2012

How to Bind a Quilt by Machine

I'm almost done with Buddy's Quilt!  You can check out my quilting tutorial, and the finished quilt.  This is part two of my binding tutorials--check out Part 1, how to make binding.

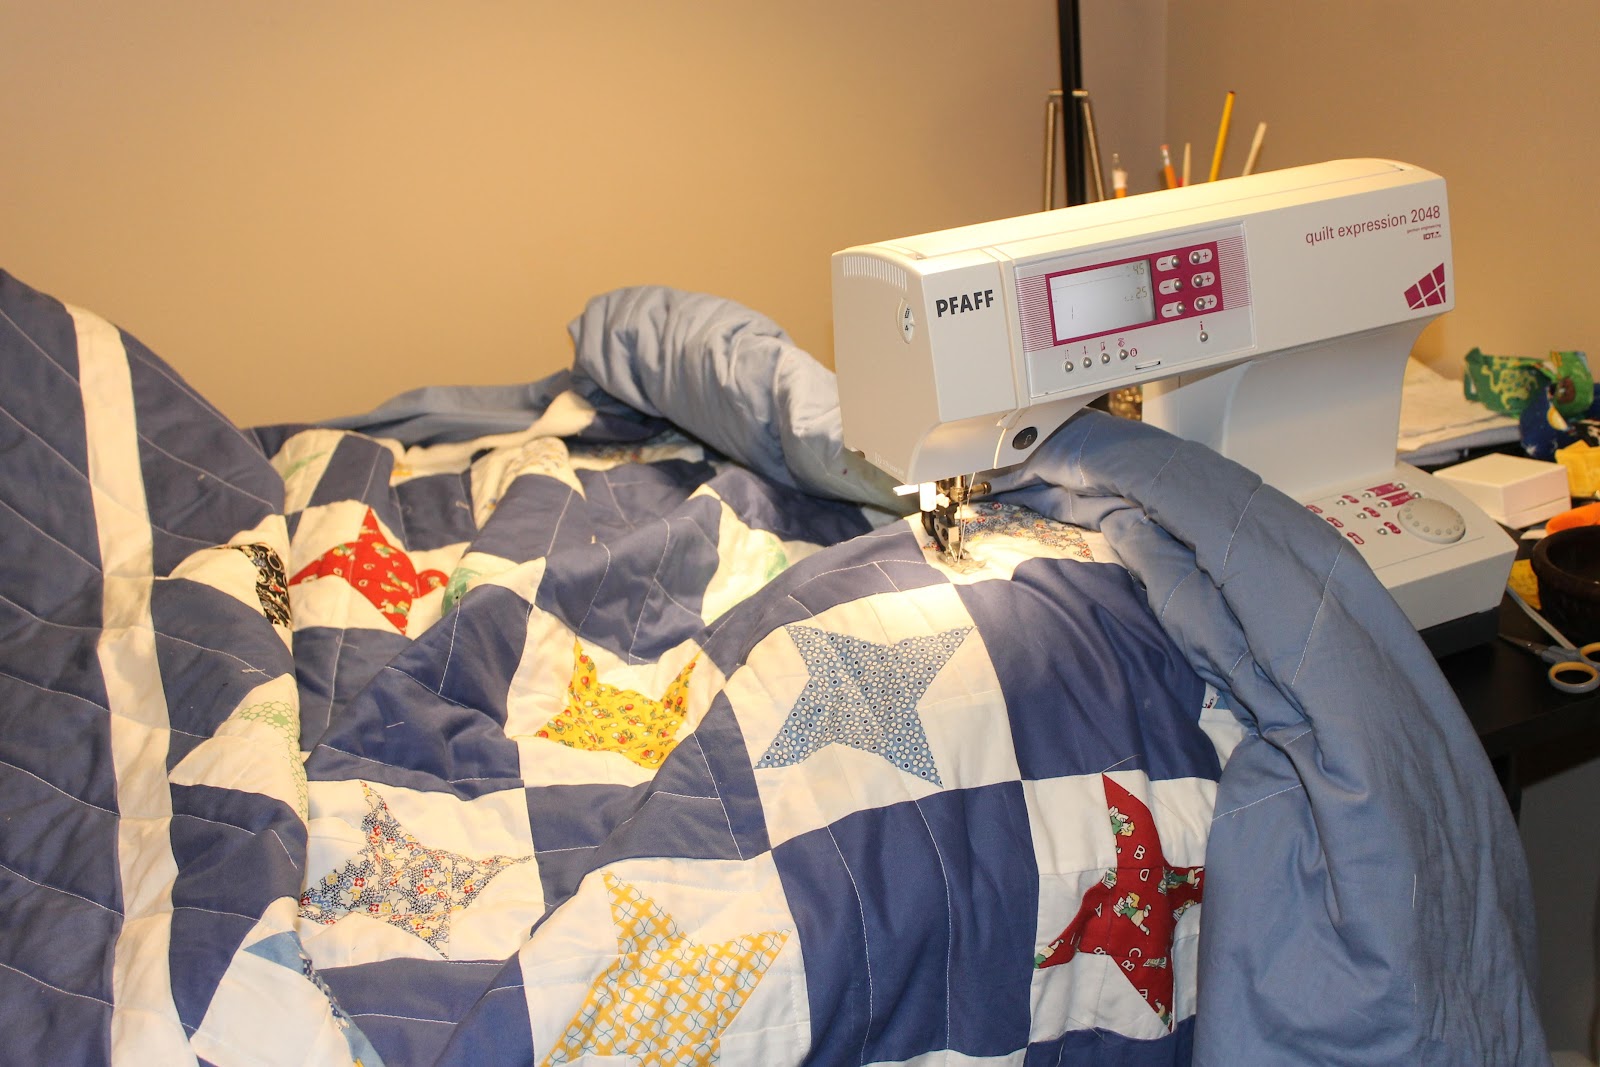
When I first learned to quilt, I was taught to attach binding by machine, then fold it over and finish it by hand.  But that took way too long.  I had quilts piling up, all finished except the binding would only be partially done because I'm not much of a hand sewer.  Then I figured out how to attach binding completely by machine--yay, problem solved! 
Let's get sewing:
 I like to start about 1/3 of the way down on the right side of the quilt.
Open the binding end that you cut into a point in the last step of my first binding tutorial.   Pin about six inches of the bottom layer of the binding to the quilt top, lining up the raw edge with the quilt top edge.

Sew only the bottom layer for the first 6 inches, using a 1/4" seam allowance.

Align both binding edges with the edge of the quilt top and pin along the remainder of the first side.  Place the last pin 1/4" from the quilt top edge. 

Begin sewing where you ended the last seam--about 6" from the start of the binding.  (The yellow pin in the above picture is where I started sewing.)  Sew along the side until there is 1/4" to the quilt top edge--I sewed until the red pin in the pic below, then backstitched and cut my thread.

You can see in the picture below that I left 1/4" free after my seam.  That's important, otherwise your corner won't be nice and mitered. 

Fold binding up at a 90 degree angle to your first seam.  It should make a diagonal:

Then, fold the binding down, trapping the diagonal that you just made.  Pin binding along the whole side, making sure to start and stop 1/4" the from the quilt edge.  Sew between the pins.   Repeat this until you've attached binding to all four sides.


When you get to where you started,  overlap several inches and cut off any extra binding. 

Fold over the top layer of your starting end, encasing the raw edge at the end of the binding.  Sew over both binding ends.


Lay your quilt out flat and smooth.  Carefully trim off the extra batting and backing.  Cut along the raw edges of the quilt top and binding.


Fold over the binding to the back of the quilt and pin.  Make sure to hide the seam where you attached the binding to the front.  At the corners, fold one side on top of the other to make an attractive corner. 

 Sew 1/8" from the folded edge of the binding, all around the perimeter of the quilt.

 Here's a finished corner from the back:
And that's it--now your quilt is 100% complete!
-Lily


Thursday, October 11, 2012

How to Make Quilt Binding

I finished quilting my son's quilt last week, and now I'll make a binding tutorial in two parts:  how to make quilt binding and how to attach binding by machine.

I like to use double-fold, straight-grain binding.  Many people use bias strips, but that isn't necessary unless you have curved edges (for example, if you have a scalloped edge on your quilt).  I use double-fold binding because it's the most durable.
Let's get sewing:

1.  First, estimate how much fabric you need.  I know, we have to do math.  But you don't want to run out of fabric halfway through binding your beautiful quilt.

 Measure your quilt top on all four sides and add together, then add about 10" extra.  For this quilt, the top was 69" and the sides were 87".    So, add 87 + 87 + 69 + 69 + 10 = 322 inches

Most fabric has 40" useable width, so divide by 40 to determine the number of strips you need to cut:  322/40 = 8.05   I would buy enough fabric to make at least 8 or 9 strips.

 I cut my strips 2 3/8" wide.   So I need:  2.375" x 9 strips = 21.4 inches.  I'd buy 2/3 yard (24 inches) to make this quilt binding.


2.  Fold binding fabric in half, selvedge to selvedge.  Trim off the selvedges.

3.  If you need to, fold in half again.  Use your rotary cutter to cut 2 3/8" strips across the width of the fabric.  Cut the number of strips that you calculated in step 1.
4.  Next, attach strips together.  Place two strips right sides together at a right angle, overlapping the ends 1/8".  Draw a diagonal line from notch to notch where the ends overlap, as shown below.  Then sew on the marked line.

Repeat until you have attached all your strips together.  Then trim the seam allowances to 1/4".


 Trim seam allowances to 1/4"
6.  Press the seam allowances open.  Then press the binding in half, wrong sides together.

7.  One one end, press down the edge to form a 45 degree angle.  Trim 1/4" inside this angle.  (You'll use trimmed edge to attach your quilt binding).

Now, go you're ready for the next step, How to Attach Quilt Binding by Machine
-Lily

Tuesday, October 9, 2012

No-sew Potted Plant Protector

This is not posed--during my little photo shoot, Little Man came over and tried to get at the dirt!
I saw this over a year ago at a friend's house and thought it was so weird--why would I need to cover my potted plants?  In my first-baby pride, I thought, "I'll just train my child to stay clean and not touch the plants."  HA!   It was fairly easy with my first baby.  Buddy likes to keep his hands and shoes clean and enjoys using hand sanitizer.  I can't remember him ever playing with dirt.

But, my 2nd baby didn't get the cleanliness gene--he likes to fling dirt all over my house, and eat some for good measure.  And he's also planning on being more stubborn than his big brother.  So, while I'm training him to not touch touch my plants, I'm the weird mom with tulle-covered plants!
You need enough tulle to go around your plant (I used about 1 yd for each planter) and a rubber band.  Just wrap the tulle around the planter, over the dirt, and secure with the rubber band. 

This won't prevent a determined toddler from finding the dirt, but it does keep out my curious baby. 

Bonus--you can water the plant through the tulle, so you don't have to re-do the cover every couple days .

I used recycled tulle from my wedding decorations.  I guess hoarding fabric for years in the back of the closet does come in handy sometimes!
-Lily

Thursday, October 4, 2012

Homemade Refried Beans


All my life, I've eaten the slimy mush from a can know as "refried beans".  I've never really liked it, but that's just what you eat with tacos.  Then I discovered that you can make your own refried beans, and they actually taste good.  These are our favorite side to homemade fajitas

Caution:  once you eat these you will NEVER want to go back to the canned version!
You've been warned.

What you need  For 6-8 servings (depending on how much you love beans):
  • 8 oz dried pinto beans, rinsed and soaked overnight (or quick soaked).  Follow the directions on the package.
  • 5 cups water
  • 1 onion, chopped
  • 2 Tbs oil
  • 1 recipe spice mix (see below)

For the Spice Mix: (Yes, this is almost the same as the chicken marinade in my fajitas.  Why mess with something that tastes so good?)
  • 2 Tbs oil
  • 6 cloves garlic, minced
  • 1 Tbs vinegar
  • 2 tsp soy sauce
  • 1/2 tsp liquid smoke
  • 1/2 tsp salt
  • 1/4 tsp black pepper
  • 1/2 tsp chili powder (optional)
  • 1/2 tsp cayenne pepper (optional)  Omit these if you don't like spicy beans.

Let's get cooking:

1.  Drain the beans from the soaking water.  Bring the soaked beans and 5 cups water to a boil--make sure to crack the lid, or it will overflow bean water everywhere!  Reduce heat to medium-low and simmer about 2 hours, until the beans are very soft.

2.  Meanwhile, chop up your onion.  Heat 2 Tbs oil in a skillet.  Add the onions over medium-low heat and let them caramelize for 30 min or more, until turning golden brown. 

3.  When the beans are fully cooked, drain the beans--but save the bean water!  Combine the beans and onions.  I like to mash mine with a potato masher, but you could use a blender/food processor if you like them very smooth. Use the bean water they were cooking in to reach the desired consistency.  I make mine a little runny because they tend to thicken as they cool.
4.  Heat up the refried beans to a simmer until the rest of  your meal is ready.  Now you can have healthy, tasty beans as the perfect compliment to your Mexican meals! 
-Lily


Tuesday, October 2, 2012

Cross Quilting Pattern (Tutorial)


I've been making my son a twin-sized quilt since he was born 2 1/2 years ago.  Needless to say, it's been in the "unfinished projects" pile for a while now.  I kept delaying quilting, because I couldn't find a pattern that I liked.  I wanted this quilt to look really nice, but I also wanted to be able to quilt it myself with a walking foot.  After months of searching, I finally found this traditional quilting pattern in a book.  It's one of those patterns that looks really cool and geometric, but is actually simple to do--perfect!
The only problem is apparently I did not write down the name of the book or the pattern, and now I can't remember either because I'm a scatterbrain sometimes.  If you know please share in a comment!  It has the word "cross" in it, that's all I remember...
This pattern is basically just diagonal lines, so first you may want to check out How to Quilt Diagonal Lines

What you need:
  • Finished quilt top
  • Fabric washable pencil
  • Batting and Backing for your quilt
  • Basting pins
  • Thread to match quilt top (I use Gutermann 100% cotton)
  • Walking foot

Let's get quilting:
1.  For this pattern, it was easier to mark the quilt before basting.  With your fabric pencil, mark a large "X" across the whole quilt top, forming four quadrants.  Then fill in diagonal lines about every 2".  The lines point a different direction in each quadrant, which is what makes this pattern look complex.

 It's a lot easier to see the lines on the back of my finished quilt:
1.  Draw an X    2.Draw lines 2" apart
As you can see after quilting, I drew my "X" so that the diagonal lines don't line up with my patchwork.  I think it was easier to quilt this way (and it's not as obvious if I made a little mistake when quilting).

2.  Baste your quilt.  (See How to Baste a Quilt).  As you can see from my ugly basting stitches, I used to thread-baste.  Nowadays, I would pin-baste.

3.  To quilt a twin-sized quilt, you roll up fabric on the right under the arm of your sewing machine.  Make sure the rest of the quilt is supported by your sewing table, or there will be too much drag to sew smoothly.

4.  I quilted this pattern in the same order that I marked it.  First, I quilted the large X.  Then I did the diagonals every 2".  Start each diagonal on the center X as shown in Step 1 above.  I quilted one quadrant at a time, filling in all the diagonals before moving on to the next quadrant.

Start each line with a few small backstitches to secure, then quilt to the end.  I backstitched at the end, too, but it's not really necessary because it will be secured with the binding.


It was actually very simple quilting, just a straight line every 2".  But when it's all done, it looks complex, geometric, and awesome!

 I used a light blue, solid backing that really highlighted my quilting pattern.  I spent a lot of time on this, I want to be able to see it!

Finished!  Now, on to binding...
-Lily

Sunday, September 30, 2012

Homemade Restaurant Fajitas


I know, "homemade restaurant fajitas" is an oxymoron.  But, these fajitas are so good, they taste like you're at a restaurant!  Fajitas used to me my go-to dish when I went out.  I always ordered it, and sometimes Dan and I shared.

But no more.

Now, we never order fajitas.  I tried to a few times after making these, but I was always disappointed.  They were never as good as mine.  (Ok, maybe they were equal to mine.  But for 4 times the cost as making them at home, they'd better be amazing.)
What you need for 8 servings:
  • 1 large onion, sliced into rings
  • 1 red bell pepper, sliced
  • 1 green bell pepper, sliced
  • 1 lb boneless, skinless chicken breast
  • 2 Tbs oil, divided
  • Chicken marinade (see below)  
  • 6" tortillas
  • optional toppings such as avocado, sour cream, cheese, lettuce
Chicken marinade:
  • 1/3 cup water
  • 2 Tbs oil
  • 1 clove garlic, minced
  • 1 Tbs vinegar
  • 2 tsp soy sauce
  • 1/2 tsp liquid smoke
  • 1/2 tsp salt
  • 1/4 tsp black pepper
  • 1/2 tsp chili powder (optional)
  • 1/2 tsp cayenne pepper (optional)  Omit these if you don't like spicy fajitas.

Let's get cooking:

1. Cut chicken into strips, about 1/2" by 3".  Combine all marinade ingredients and add chicken.  Let marinade about 2 hours in the fridge. 

2.  Heat 1 Tbs oil in skillet over medium-high heat (or use a cast-iron griddle like in the pic).  Saute onions and peppers until softening.
Mmm, you can almost hear these sizzling!


3.  Remove veggies from skillet.  Heat 1 Tbs oil over medium-high heat, and cook marinated chicken.

4.  Serve on warm tortillas with any toppings you like.  We like lettuce, avocado, and homemade refried beans.

-Lily


Friday, September 28, 2012

Fabric Chain for Kids--Pattern and Tutorial

After making my fabric chain decoration last week, I got to thinking how fun it would be for my two-year old to make one.  So, I made this fabric chain with velcro closures that he could play with.

It's a hit!  He loved playing with the velcro, and he loved finding all the different ways to attach the circles together.

Here we go--you're only three steps away from having this fun toy!

What you need:
  • Fabric scraps, cut to 4 x 10"
  • Fusible fleece, cut to 1.5 x 9" strips.
  • Velcro, cut to 1" pieces.
  • Thread to match
Let's get sewing:

1.  Fuse the fleece strips to the wrong side of your fabric rectangles,  1/2" from one long edge, with 1/2" on either side.


    2.  Press in 1/2" on all four sides.  Then fold in half and pin.
Press in 1/2"
Pinned and ready to sew closed
3.  Topstitch around all four sides of your rectangle, about 1/8" away from the edges. Then sew on your velcro--one piece on the front and one on the back.  This is important, otherwise you can't connect the links in your chain without twisting them.
Topstitch around all four sides

Sew velcro--one to the front and one to the back.
That's it!  Keep repeating the steps and to your chain as you want (or in my case, I stopped with 9 links when I ran out of velcro.  It seems like a good amount).

Time to go play with my kids! 
-Lily