
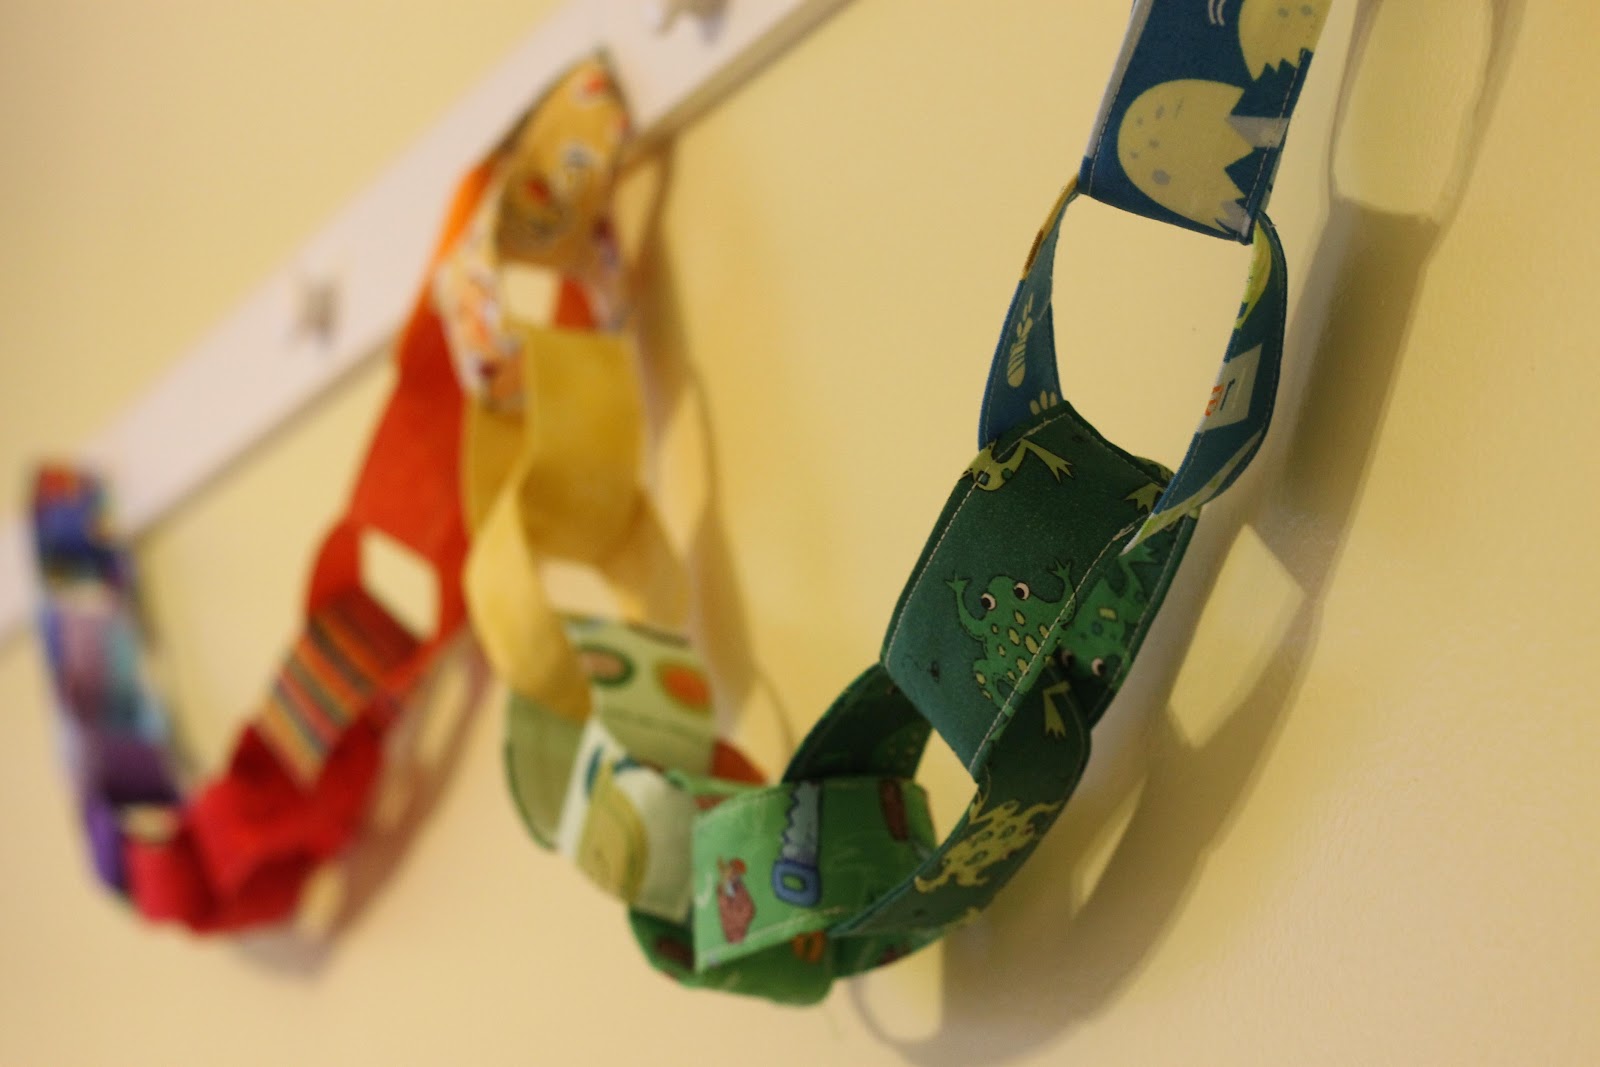
Easy to make + re-useable = perfect decoration idea. Plus, it's a great stash-buster.

What you need:
- Assorted fabrics in your color scheme. Each "link" is cut 4 x 10 inches
- Pellon Shape-Flex SF101 interfacing. This helps to stabilize the fabric and give it added stiffness.

1. Cut 4 x 10 inch links from each fabric. I have 29 links and my chain is about 76" long, so each link added about 2.6 inches to the final garland length.

2. Cut your Pellon interfacing into 3 x 9 inch pieces. You'll need the same amount as you have links, so I cut 29 pieces. Follow the directions on the Pellon to fuse the interfacing to the wrong side each link, leaving 1/2 inch all around.

3. At this point, I laid out all my fabrics to get an idea of how I wanted to arrange them, and to see if I had enough of each color.

4. Press in both long sides and one short side 1/2 inch.

5. Fold in half, wrong sides together, and pin. I pinned all the links at the same time so that I could chain-piece them.

6. Starting 1/2" away from the pressed short end, topstitch 1/8" from the edge along both long sides. Backstitch at the beginning and end to secure.
*Make sure to start 1/2 inch away from the short end*

7. To form a link, slide the short end with raw edges into the end with pressed-under edges. Tuck it in about 1/2" and pin. There should be no raw edges showing.

8. Topstitch 1/8" away from where the two short ends overlap. I removed the tray in front of my sewing machine so I had more room to maneuver.

9. Repeat steps 7-8 to form your chain. Make sure to slide your link through the previous one BEFORE pinning and stitching it! If you forget, you have two separate circles, and you have to seam-rip and re-do. I learned this the hard way ;)
-Lily
No comments:
Post a Comment
Join the conversation--your comments make me happy!