Showing posts with label baby. Show all posts

Tuesday, January 28, 2014

Gender Neutral Thank You Cards


When I was pregnant, I knew that we'd get some new-baby gifts.  So, I whipped up these gender-neutral thank-you cards when I had a burst of nesting energy in the last weeks of my pregnancy.  Now that we know that BT is a boy, it's a little weird to think back to just a few months ago when we were guessing!

I wanted these to work whether we had a boy or girl, so I used red/yellow/brown for the colors. They were ready and waiting to be sent when I had the baby and couldn't do any crafting for a few months.  I also kept them really simple, with no ribbons, buttons, stitching that you usually see on homemade cards  It was nice being able to crank these out assembly-line style in under an hour!

Monday, November 25, 2013

Crochet Block Stitch Baby Blanket

I actually finished this project before BT was born, but I've been a little busy (translation:  crazy busy, with barely contained chaos and dirty dishes piled everywhere) with three little ones and haven't recorded any of my projects recently.  
I love how this blankie turned out!  I found this block stitch pattern and thought it would look so cute in pastels, with just a little white peeking through between the double crochets.  Since we didn't find out the gender of the baby, I wanted this blanket to work for a boy or girl, so I used pink, blue, and green for the colors.  And, it actually turned out just like I pictured it.  That definitely does not always happen, so I am super excited! 


The other two boys love, love, love their blankies that I crocheted for them, so hopefully BT will, too.  I love seeing them enjoy the things I stitched with love.  As you can see, the older boys were having fun during the photo shoot, so this blanket it already kid-approved.  It was hard to get them to but the blankie down so I could get a few pics. 
I mostly followed the block stitch pattern, with a few modifications. 

For materials, I used a size G crochet hook and Caron simply soft yarn (medium weight 4), one skein each of white,  soft blue, soft green, and soft pink.  Finished size:  36" x 32"

When I tested my gauge, 4" = 5 groups of 3 dc.  To modify the pattern, you just need to chain a multiple of 4, plus 3.  Then, you can make this pattern any size you want.

 With green, chain 171, turn.  Sc in 2nd chain and in each chain across, turn.  Continue in block stitch pattern, starting with Row 3.  Continue working in block stitch, working the chain rows in white.  Work the dc rows in green, pink, blue.  

I finished the center with a row of white, then worked a row of sc around the entire blanket.  Then I finished with a simple scalloped edging.

Monday, July 22, 2013

Cloth Baby Wipes Tutorial

We've been using cloth wipes for several years now, and we love them.  No chemicals, they don't dry out skin, and they're super cheap.  Sometimes I think we save just as much on wipes as we save on diapers, especially when I had a breastfeeding baby.  

Since we were already using cloth diapers, using cloth wipes is actually easier than disposables.  We have the whole diaper system set up anyway.  I just have a spray bottle of water at my changing table, and I moisten the wipes I need at each diaper change.  
We have a whole bunch of wipes already, but some of them are getting pretty worn from constant use.  Plus, we have a newborn on the way, who will go through plenty of wipes, so when my mother-in-law gave me some flannel scraps, I knew the perfect project!  

Maybe I shouldn't get this excited over poop rags, but these were free, which I love.  And, they're so easy to make, I whipped out this whole batch in no time.  I hate all my unfinished projects sitting around, so it felt good to finish something.

Let's get sewing:
1.  Cut your flannel into 9 x 8 inch rectangles.  Don't worry about making it perfect, they are just wipes.

They look a little big, but flannel will shrink, and you do not want too-small baby wipes.

2.  If you have a serger, you can just serge the edges.  If you have a regular sewing machine like me, choose an overlock stitch.  You can see I used stitch "M" on my machine, which shows a little pic of this kind of stitch.

3.  Sew around the edges of all the wipes.  Your needle should be just off the edge of the fabric on the right-hand side.  Overlap the stitches where you start and end, and backstitch.
Done!  It's not the prettiest sewing I've ever done, but hey, they're for my baby's bum, so good enough :)

-Lily

Wednesday, April 3, 2013

Mistake Quilt...or, Compounding problems through sheer stubbornness

I refer to this as my "Mistake Quilt."   I didn't make a tiny, almost-invisible mistake.  I make plenty of those on all my quilts, that's part of their handmade charm.  No, for this quilt I made mistake after mistake, compounding the problems at each step.  And did I stop at any point?  No, I kept forging ahead, thinking that somehow willpower and stubbornness would fix it.

 My dear husband says it still looks nice but I suspect he's just being a super-nice husband Or maybe he just does not have my refined sense of quilt style, ha! 
Here's a partial list of the problems with this quilt:

1. Using minky fabric in piecing.  I hadn't used minky much before this project, and it was so hard to cut and piece accurately.  Plus, I forgot that I wouldn't be able to iron the seams flat.  Inside this quilt is a mess of disordered seams, yike!

2.  Not using fabrics I loved.  Some of the fabric was super-cheap clearance, and others were ones I had in my stash, and then there's the minky...looking back, I think, why, why, why??

3.  Making my own pattern.  Now, this isn't always a mistake.  I love making up my own patterns, and usually it works.  But, when trying new things, you win some, you lose some.  On top of the other problems with this quilt, this pattern wasn't a keeper.

4.  Not listening to myself.  After I put together a few blocks, I was really iffy about this quilt coming together.  I should have cut my losses and started a project I loved.

5.  Letting it sit in the closet for three years.  After finishing the top, I thought it was the ugliest quilt I'd ever made.  Rather than just donating it and forgetting all about it, I put it in my closet.  Then, every time I searched through my stash I let it gnaw at me how ugly it was and how I should really finish this project. (I hate stacks of unfinished quilts hanging around).

6.  Not basting.  I've been practicing my hand-quilting skills because I want to hand-quilt two quilts I'm making with my great grandma's quilt blocks.  Digging through the closet one day, I ran into this quilt (again) and thought it would be a great practice quilt.  I wanted to get straight to quilting, so of course I didn't have time to baste properly.  But, now I've had so many problems with the backing bunching up while I'm trying to quilt.  Note to self:  don't skip vital steps!

7.  Hand-quilting minky fabric.  That dratted minky, coming back to bite me again!  Apparently it's awful trying to hand-quilt through minky, I don't recommend it.
The good news is, I only have a few more lines of quilting to add, and then I'll be finished with this quilt!  The bad news is, what am I going to do with it??  I don't want to keep it, it's just a reminder of all the problems I've had with it.  I think I'll donate it, and a baby girl can enjoy it regardless of how many mistakes I made :)
-Lily

Linked up at some of the great blogs on my sidebar!

Monday, October 29, 2012

Happy Birthday Banner--Tutorial

For Little Man's first birthday, I made him this awesome "Happy Birthday" bunting banner.  It looked so festive hanging across the dining room above the cake at the party!  (Check out last week's post about my son's first birthday party and his rainbow cake tutorial.)  Another bonus:  this banner is made with fabric, so I can reuse it year after year. 

I looked for a tutorial online to make this bunting, but couldn't find a really good one.  Several basically said, "cut out triangle shapes and sew together".   I tried to explain a little more clearly how I made mine.
What you need:  I used quilting cottons for the pennants, letters, and ties.
  • 2/3 yd main fabric for the front of the pennants
  • 2/3 yd pennant backing fabric
  • pinking shears
  • 15 feet of bias tape (or 1/4 yd fabric)
  • scraps for letters (or 1/4 yd fabric)
  • fusible web

Let's get sewing:
1. Make your pennant template.  I used a piece of lightweight cardboard.  Mark a 7 x 10" rectangle.  Mark the center of one short end.  Use a ruler to draw two lines from the outside edges of the unmarked short end to the center marking, making a triangle shape.  Cut out on the marked lines.  (Oops, I didn't get a good pic, but this is pretty straightforward.)

2.   Lay out your backing and main fabrics wrong sides together.  Mark the pennants with a fabric pencil.  You can flip your template after each triangle so the shapes "nest" and you don't waste any fabric in between triangles. To spell out "happy birthday" you'll need 13 pennants.

3.  I pinned the triangles inside the marked lines so I wouldn't hit the pins with my pinking shears.  Then, cut through both fabrics at the same time on the marked lines.


4.  Sew along both long edges, about 1/4" from the edge.  I left the pinked edges raw.  Since these won't be washed or handled roughly, I don't think they'll fray much.

5.  Hand-cut out your letters and follow the instructions on your fusible web to adhere them to the main fabric.  I made my letters about 4" tall and 2.5" wide.  If you aren't happy with hand-drawn letters, you can also print a huge font on the computer and use that as a template.

5.  To give the letters a little pop, I zig-zag stitched around the edges with white thread.

6.  If you have bias tape, simply pin your triangles about 1" apart, with about 12" between the two words.  Your tape should cover the top 1/2" of the raw short edge.  Tuck in the two short ends of the bias tape about 1/4".  Then, topstitch about 1/8" from the edge to sew it all together.

If you don't have bias tape, check out how I made my own straight-grain version.
Now, it's time for a birthday party! 
-Lily
 
Linked up at some of the great blogs on my sidebar

Friday, October 26, 2012

Blogger's Quilt Festival: Blast Off! Rocket Ship Baby Quilt

This is my first time participating in the Blogger's Quilt Festival over at Amy's Creative Side, and I'm so excited!

I decided to share a super-fun rocket ship quilt.  It's one of my favorite quilts that I've made recently, because it combines wonky piecing, applique, and an outer space theme all in one vibrant, colorful quilt.


Sorry, I don't have pics of my creative process.  I'm a blogging newbie, and I made this quilt before I started taking tutorial pics.

First, I made the wonky panels, sewing strips to a muslin base.  I used a variety of space-themed, bright fabrics from my stash.  After I put the top together, I quilted a few star shapes.  Yes, you read it right, I basted and started quilting before I attached the applique.

I hand-cut the applique and attached it by machine, leaving raw edges, which I think adds to the fun/casual feel of this quilt.  The bonus of adding the applique at this step is that the applique stitching becomes part of the quilting, and it makes a picture on the backing.  I also did some fun angled quilting on the outer borders.


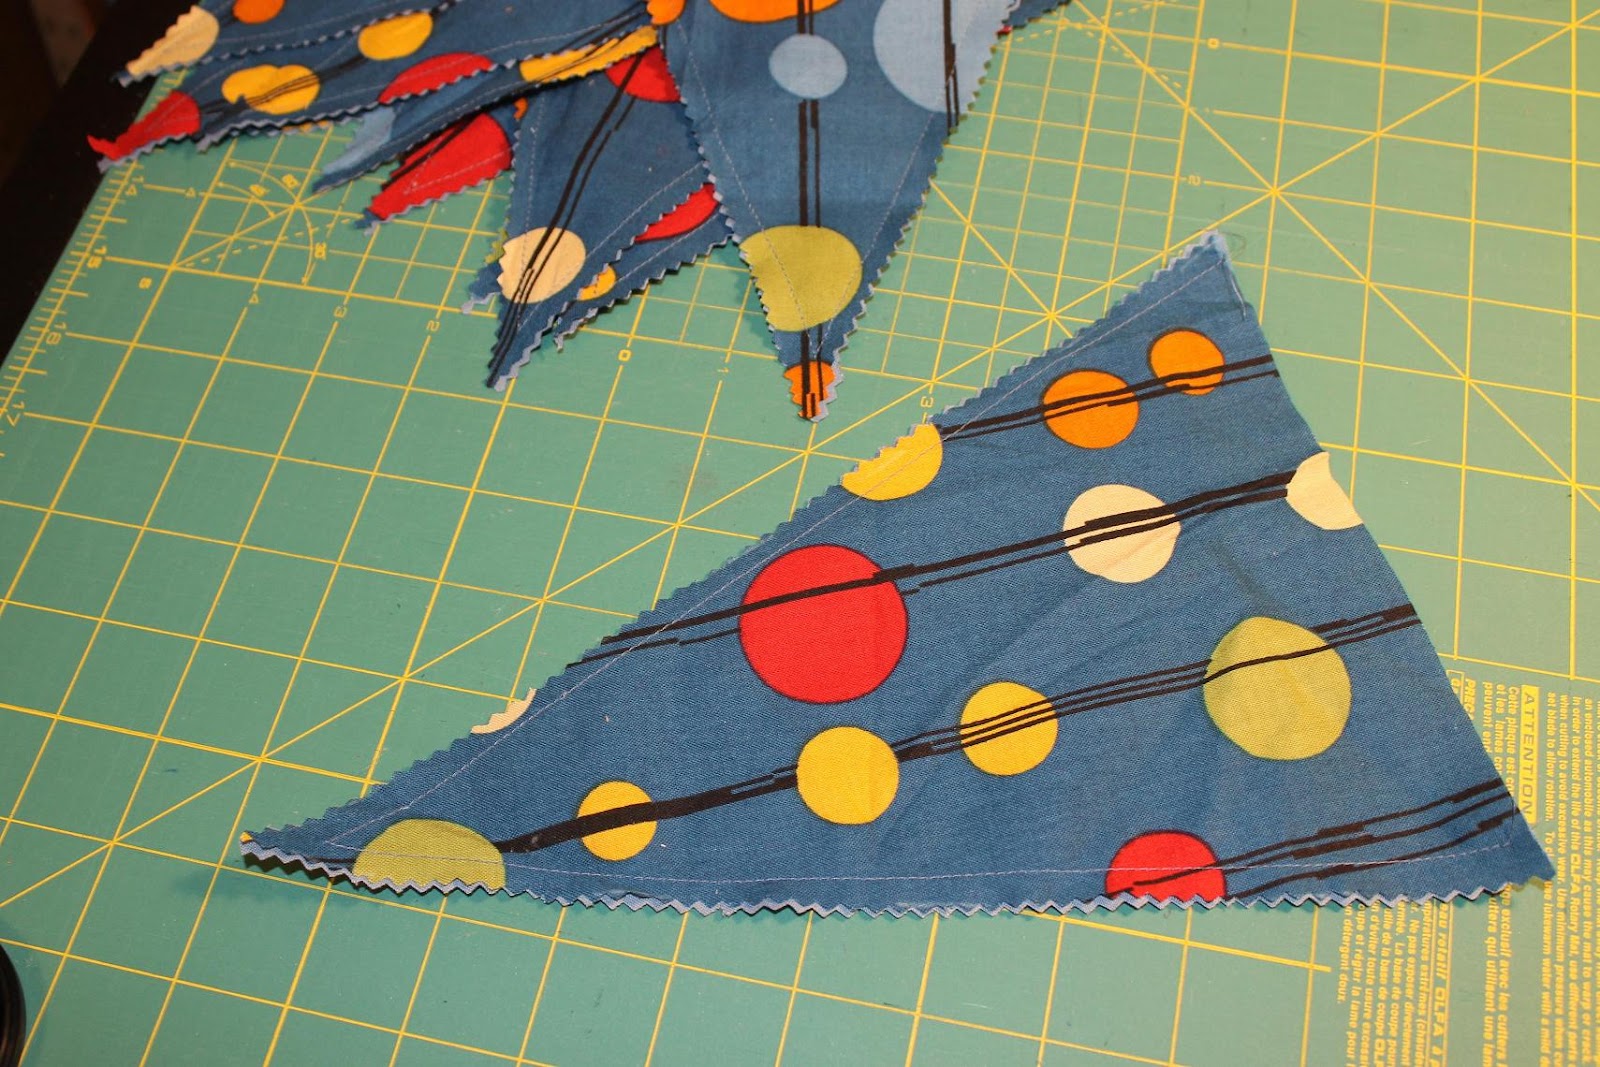
 I used the same outer-space fabric for the backing and binding, and I attached it by machine (I don't do much handwork.  That's why I have three sewing machines!)
Name:  Blast Off!
Quilt Measurements 37 x 32 inches 
Quilted by me, on my home sewing machine
Best category – Home Machine Quilted, Scrap Quilt, Baby Quilt
Quilt Festival entry #207


Tuesday, October 9, 2012

No-sew Potted Plant Protector

This is not posed--during my little photo shoot, Little Man came over and tried to get at the dirt!
I saw this over a year ago at a friend's house and thought it was so weird--why would I need to cover my potted plants?  In my first-baby pride, I thought, "I'll just train my child to stay clean and not touch the plants."  HA!   It was fairly easy with my first baby.  Buddy likes to keep his hands and shoes clean and enjoys using hand sanitizer.  I can't remember him ever playing with dirt.

But, my 2nd baby didn't get the cleanliness gene--he likes to fling dirt all over my house, and eat some for good measure.  And he's also planning on being more stubborn than his big brother.  So, while I'm training him to not touch touch my plants, I'm the weird mom with tulle-covered plants!
You need enough tulle to go around your plant (I used about 1 yd for each planter) and a rubber band.  Just wrap the tulle around the planter, over the dirt, and secure with the rubber band. 

This won't prevent a determined toddler from finding the dirt, but it does keep out my curious baby. 

Bonus--you can water the plant through the tulle, so you don't have to re-do the cover every couple days .

I used recycled tulle from my wedding decorations.  I guess hoarding fabric for years in the back of the closet does come in handy sometimes!
-Lily

Wednesday, September 26, 2012

Crib Rail Teething Bumpers--Pattern and Tutorial

My almost-one-year-old has taken to standing in his crib and gnawing on the crib rails all the time.  It's really gross and I'm always agonizing about him getting lead poisoning or some other horrible disease from trace toxins in the varnish.  Not to mention, it was ruining our really nice wooden crib.  Then I saw this awesome idea online:  cover the rails with bumpers!  This is one of those "why didn't I think of that??" projects.  I couldn't find a good tutorial, so I came up with a pattern.

I wanted to share these with other moms who are also imagining all the terrible things that can happen when their babies eat the crib.
Protecting your baby from all kinds of dangers, real or imagined ;)

What you need:
  •   1 and 3/4 yd 40" fabric for the bumpers.  I used a cotton flannel, but quilting cotton would also work.
  • 1/2 yd fabric for the fabric ties.  I used the same fabric as the bumpers, but a coordinating fabric would also look cute.
  • thread to match, I used Gutermann 100% cotton.
  • polyester batting 
-With this fabric, you'll have enough to make two bumpers that measure 28 x 9 inches and one that measures 51 x 9 inches, which should fit a standard crib.
-Use a 1/2" seam allowance

 Let's get sewing:
1.  Trim selvedges off bumper fabric.  Cut six 10" strips.

Cutting guide:   (Sorry it's so ugly, I drew it in Paint.  Don't judge my non-tech skills!)

2. To make the short bumpers, cut three 10" strips in Step 1, into 29" and 11" pieces.  Sew two 11" pieces right sides together on a 10" edge.  Repeat with the third piece.  Trim so the final piece measures 10 x 29".  You should now have four 10 x 29" rectangles.

3.  To make the long bumper, take a 10" strip from Step 1 and cut two 13" rectangles.  Sew each one to a 10 x 40" strip from Step 1, right sides together.  You should have two 10 x 51" rectangles.  Press open all seam allowances.
4.  Now, cut the fabric ties.  Trim off the selvedge, then cut seven 1 3/4" strips across the width of your tie fabric.  Cut each strip into 3 ties about 13" long.  You'll need 20 ties.

5. To make the ties, press under 1/4" on both long sides and one short side, then press in half. 

6.  Topstitch closed, about 1/8" from the edge.

7.  To make the first short bumper, lay out one 10 x 29" panel, right side up.  Pin one tie at each corner, 1" from the long edge.  Pin one tie in the middle of each long side.  Refer to picture:


It should look like this:
8. You're going to make an "inside-out" quilt sandwich.  Lay a second 10 x 29" panel right-side down on top of the pinned ties.

9.  Cut one 10 x 51" piece of batting and two 10 x 29" pieces of batting.  Lay one short piece on top and pin all three layers together.

10.  Sew around the edge, leaving 6" open for turning.  Turn out, pin under the opening, and topstitch 1/4" from the edge all around the bumper.  

11. I quilted these very simply with a rectangle 2" from the edge, then a second rectangle 4" from the edge. 

12.   Repeat steps 5-9 for the second short bumper.

13. For the long bumper, I laid out the strips as shown in Step 5, except I had two on each long side, 17" apart.  Then I repeated steps 6-9. After quilting, I hand-cut an elephant applique and used fusible web to attach it.


Ta-da!  Now your baby can chew all night and not damage himself or the crib!
-Lily


Monday, September 17, 2012

15 T-shirt Tutorials

I made this custom T-shirt Quilt a few years ago.  I should get around to making a tutorial, but for now, I'll just list other people's projects


I must have dozens of X-Large shirts sitting in the back of the closet.  It seems like we get them free everywhere but nobody in our house wears them.  Not even when I was nine months pregnant did I need an XL shirt, but for some reason that's the only size they give away at blood drives, picnics, and every group gathering.  So, after making my T-shirt Ruffle Skirt, I thought it would be fun to look at other projects that I could make with all those T-shirts sitting around.

I know that there are lots of pictures floating around the internet, but many have no patterns or tutorials to go with them.  So, I rounded up my favorite 15 t-shirt tutorials:

1.  Braided Rag Rug

2.  Random Ruffles Skirt

3.  T-shirt Yarn

4.  Plushie Robot Doll

5.  Tote Bag

6.  T-shirt Quilt

7.  Braided T-shirt Bracelets

8.  Little Girl Sundress

9.   T-shirt Dress

10.  Infinity Scarf

11.  Shag Rag Rug

12.  T-shirt Bag

13.  T-shirt Diaper

14.  Braided Scarf

15.  Baby Bib
 
 
And a bonus tutorial:  Messenger Bag from Cargo Pants!  This looked so cool I had to pass it along.  I'm not sure I have extra cargo pants sitting around.  Maybe I could borrow some of my husband's and he wouldn't notice...
 -Lily