Showing posts with label pattern. Show all posts

Monday, November 19, 2012

Advent Calendar Tutorial

Sometimes, projects can sit around waaaay too long.  For example, I started this advent calendar last November...and I just finished it.  But, it's the end result that matters, right?  And it did turn out really cute, so I'm glad I didn't try to rush it.  Don't be alarmed, it's a pretty simple project.  About 98% of the time I took to finish it was spent procrastinating.  
Now all I have to do is make a felt marker to move from pocket to pocket.  Hopefully that doesn't take me until next Christmas!  (Update: Check out the tutorial for the felt star and baby Jesus markers I made)

What you need:
  • 1 main fabric, 24 x 22 inches
  • 1 backing fabric, 24 x 22 inches
  • 1 piece of batting, 24 x 22 inches
  • 4 pieces of fabric 8 x 8 inches, for the tabs.  I don't recommend a directional fabric, or you might have upside-down trees like me, oops.
  • 5 pieces of white fabric, 9 x 20 inches, for the pockets
  • Red felt
  • White and green embroidery floss
Let's get sewing:  I used all-purpose white thread and a 1/2" seam allowance.

1.  First, make the pockets.  I decided it was a lot easier to make 5 long pockets and divide them with quilting lines, rather than sew on 25 separate pockets.  Fold your rectangles in half, right sides together, so that you have 4.5 x 20" rectangles.  Sew around the 3 open edges, leaving a 3" opening for turning.  Clip your corners (see pic) so they'll lay flat when turned out.
Turn out the pockets, press, and topstitch 1/8" and 1/4" away from the folded edge.

2.  Next, make the tabs.  Fold the squares in half, right sides together.  Sew along the open long side of the rectangle formed.  Turn out and press. 

3.  Place your backing and main fabrics right sides together, and place the batting on top.  Pin the the tabs along a short end.  Place between the main and backing fabrics, aligning the raw edges.  Place the two outer tabs 1" from the edge and leave about 2.5" between tabs.

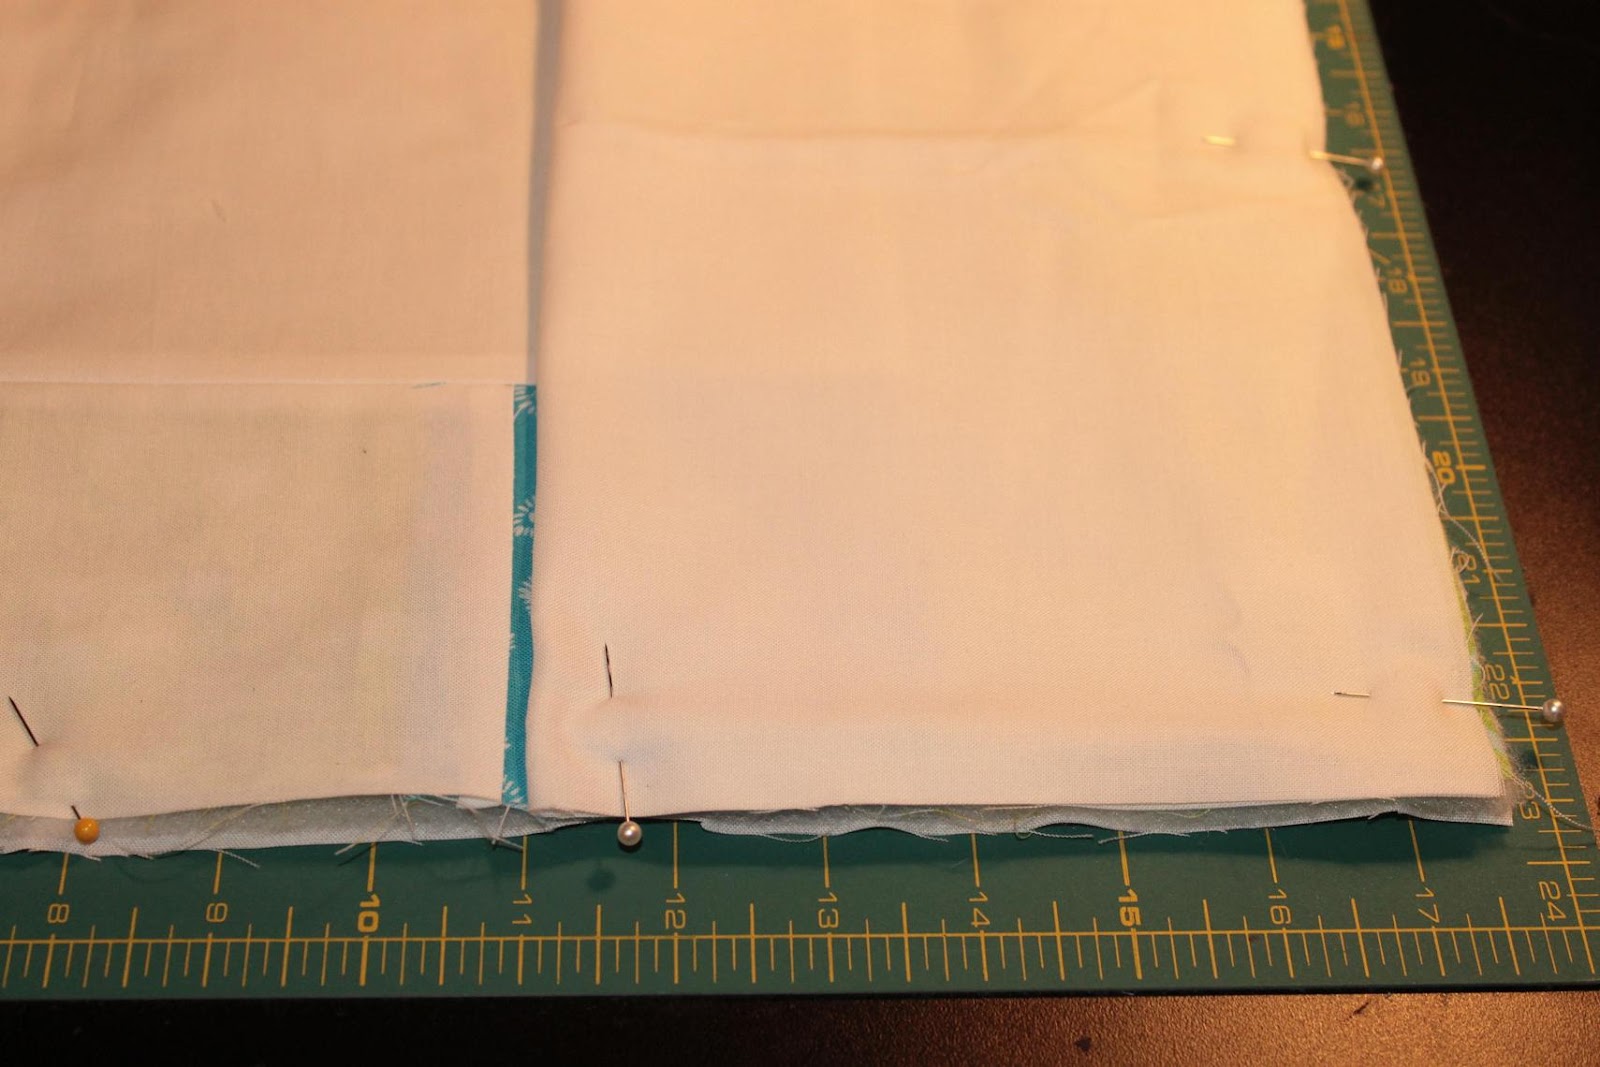
Sew around all four edges, leaving a 5" opening in the bottom for turning.  Turn out, then topstitch 1/4" and 1/2" away from the edge.

Your calendar should now look like this:

4.  Cut out 40 1.5 x 2.5" rectangles from red felt, then cut out all the numbers by hand.  (I started with rectangles because it helped me keep the numbers a consistent size.)

5.  Lightly mark the pockets about every 3 3/4"--that's where the dividing lines for the pockets will be.  Use these lines to help center your numbers.

I couldn't decide whether to use white or green thread, a running or blanket stitch, so I used all of them to attach my numbers.  You can use your preferred hand stitch, or even attach the numbers by machine.  I used 2 strands of embroidery floss.

6.  Now attach your pockets to the calendar.  Note that in my pic, I don't have the numbers attached.  I added them after sewing the pockets to the calendar, which I think was a bad idea.  It was really hard to get my needle in and out behind the pocket without sewing through the main fabric.  If I did this again, I would attach the numbers first, then attach the pockets second.

Pin your pockets on the calendar and topstitch along three edges to attach, leaving the top of each pocket open. 

7.  Using your marks as a guide, topstitch about every 3 3/4" to form pockets.  I did this with hand-quilting, but you could also use a machine.
Have fun counting down and preparing for Christmas!
-Lily

Linked up at some of the great blogs on my sidebar

Monday, November 12, 2012

Simple Pillow Cover Tutorial

 When I started sewing, I wanted to make some custom pillow covers for our couch.  But, I was so intimidated by the buttons, snaps, zippers, and piping that pillow patterns always have. Then I discovered how simple pillow covers can be.  You can add all the cute extras if you want, but if you're a novice sewer like I was, you just want a simple, square pillow cover.

What I discovered was an envelope pillow cover.  The front is just a square, and the back is two flaps of fabric, so you can slide your pillow form in and out.  This style is great because it's cute, simple, and it can be removed and washed in case of a baby goo emergency.
What you need:  for a 16" pillow cover:
  • 16.5" square of fabric for the front
  • 2 pieces of backing fabric, 16.5" x 14" and 16.5" x 26"

  Let's get sewing:

1.  If you're using a simple square of fabric for the pillow front, skip this step.

I pieced and quilted a log cabin block instead of using a plain piece of fabric for my pillow front.  I made a 17" log cabin square, basted it with batting and white fabric, then I quilted a square spiral and trimmed it to 16.5" square.

 2.  Now, attach the back flaps to the pillow front.  I did some patchwork on one of the back flaps, but you can also solid pieces of fabric.

Press both pieces in half, right sides out.  You should now have two pieces, 16.5" x 7" and 16.5" x 13".

3.  Pin the 13" piece to the right side of the pillow front, aligning the raw edges.  If you did patchwork for the backing, make sure that your favorite part is facing the pillow front.

Pin the 7" piece to the other side of the pillow front, aligning the raw edges.  The back flaps should overlap about 3".

Detail of the back flaps overlapping.

 4.  Sew around the square with a 1/4" seam allowance.  If you'll be washing your pillow cover a lot, I'd use a triple stitch so it's more secure.  Backstitch at the beginning and end.

Flip it right-side-out, and you're done!
-Lily
Linked at some of the great blogs in my sidebar!

Monday, November 5, 2012

Hanging Kitchen Towels Tutorial

I love hanging towels in my kitchen, they look so much nicer than just shoving a towel through the stove handle.  Plus, my one-year-old thinks it's a really fun game to pull the towels off, and then Mommy puts them back up, then he pulls them down...all day.

I've seen a couple different versions of hanging hand towels recently--some with buttons, crochet loops, and other options, but I wanted to make some that could tie on and make a cute little bow.
These are cute, practical, and simple to make, so they would make perfect Christmas presents.  I made these for me, but I'll probably be making a few more sets as we head into the holidays.

What you need: for 2 hanging towels
  • 1 kitchen towel
  • 2 pieces of main fabric, 6.5 x 9"
  • 2 pieces of batting, 6 x 8"
  • For the ties, 4 pieces of bias tape, 18" each (or cut 1.5 x 18" strips and see straight-grain "bias tape" tutorial)
Let's get sewing:
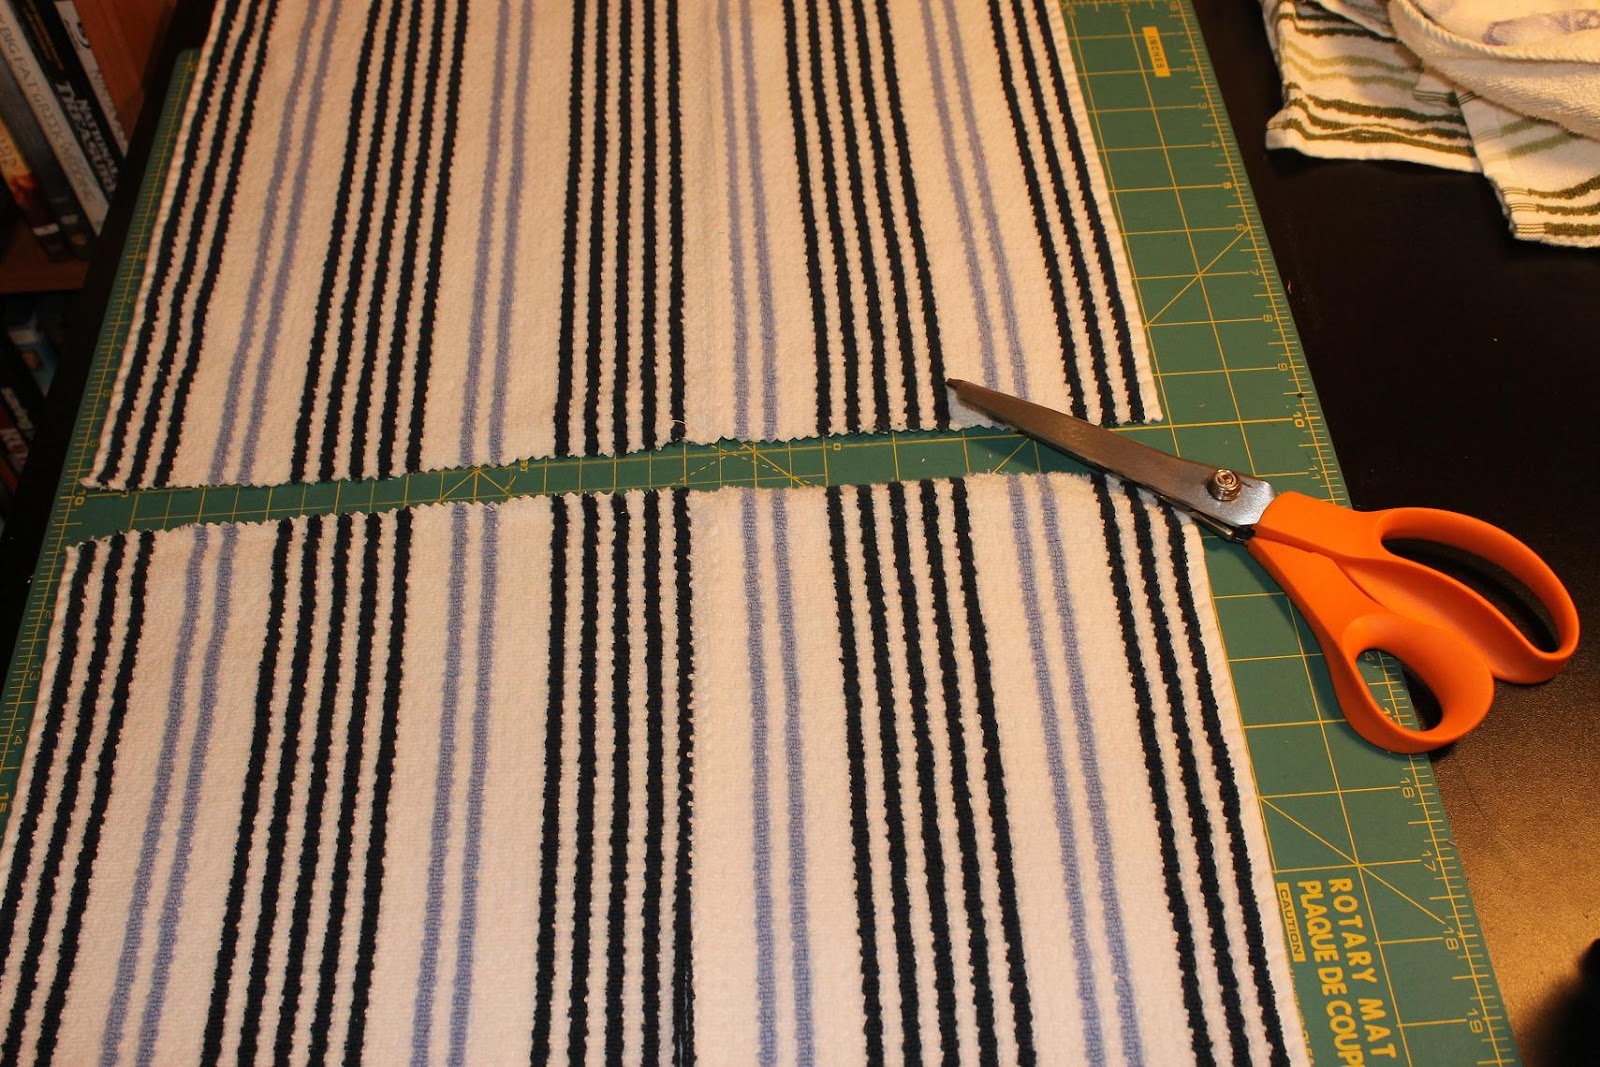
1. Cut your towel in half so you have 2 pieces, 13 x 16" each.

2.  On the raw edge, make a large pleat in the center of the towel, so that the top of the towel measures 6" across.  Lay the pleat flat and pin.  Baste 1/8" from the edge to secure the pleat.

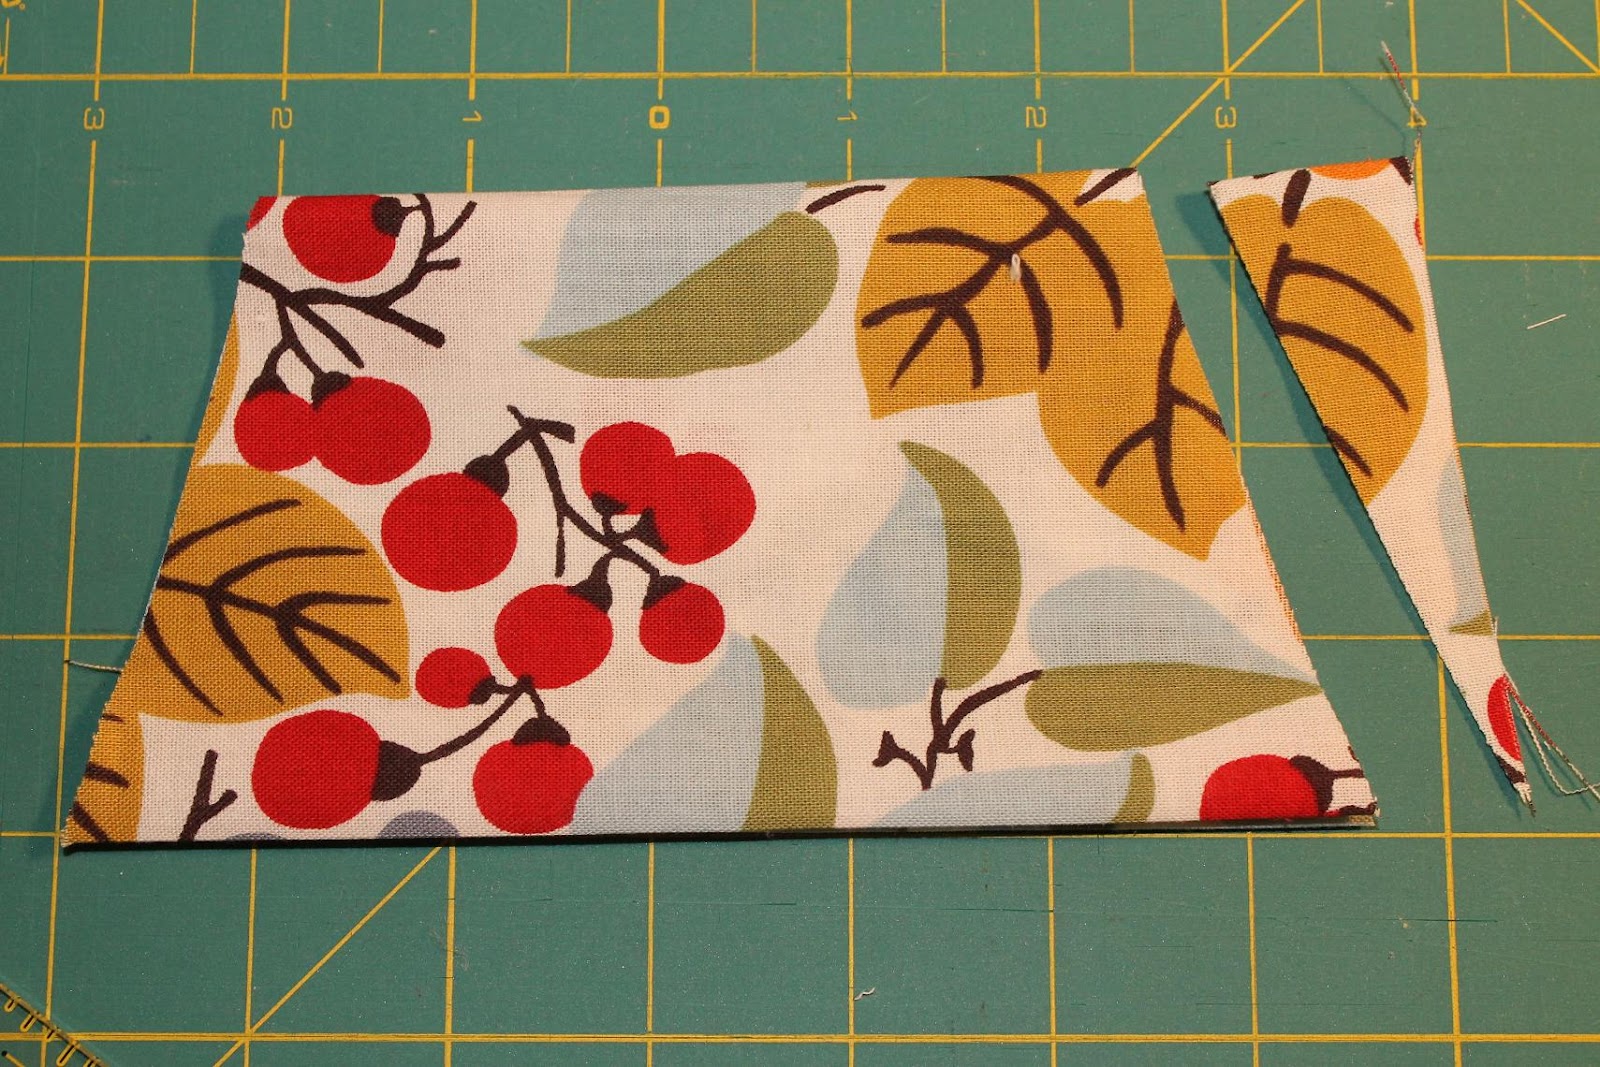
3.  On main fabric piece, press under short edges 1/2".  Fold in half, short ends together.  On the fold, mark 1" in from both sides.  Cut from the mark to the bottom edge.  Repeat on the other side.  You should have a trapezoid.

4.  Cut your batting the same way you cut your fabric in step 3.  Open your trapezoids and center the batting on the wrong side.

5.  Fold the batting and trapezoid over the pleated towel edge.  Sew 1/4" from the edge.  I used a triple-stitch to make it secure, since the towel hangs on this seam.  Make sure to catch the front and back of your fabric.

6. Quilt the fabric panel.  Here's a close-up of a finished towel so you can see one of the quilting patterns I did.  One set has concentric trapezoids, and the other has parallel lines about 1/2" apart.

 7.  Open your bias tape (or straight-grain tape, like I used.)  Press both short ends in 1/2".  Lay the open tape on the back of the main fabric.  Align the pressed short end with the top of the towel and align the raw edge to the main panel raw edge.  Baste the raw edges together 1/4" from edge.

8.  Now, fold the tape over  to the front of the main fabric.  Pin the tape in place.  Sew 1/8" from the edge, attaching the tape along the fabric edge, then continue along the tape to form the tie.

 You should now have a towel that looks like this!  Repeat steps 2-8 to make your 2nd towel.


-Lily

Link party some of the great blogs on my sidebar.


Monday, October 29, 2012

Happy Birthday Banner--Tutorial

For Little Man's first birthday, I made him this awesome "Happy Birthday" bunting banner.  It looked so festive hanging across the dining room above the cake at the party!  (Check out last week's post about my son's first birthday party and his rainbow cake tutorial.)  Another bonus:  this banner is made with fabric, so I can reuse it year after year. 

I looked for a tutorial online to make this bunting, but couldn't find a really good one.  Several basically said, "cut out triangle shapes and sew together".   I tried to explain a little more clearly how I made mine.
What you need:  I used quilting cottons for the pennants, letters, and ties.
  • 2/3 yd main fabric for the front of the pennants
  • 2/3 yd pennant backing fabric
  • pinking shears
  • 15 feet of bias tape (or 1/4 yd fabric)
  • scraps for letters (or 1/4 yd fabric)
  • fusible web

Let's get sewing:
1. Make your pennant template.  I used a piece of lightweight cardboard.  Mark a 7 x 10" rectangle.  Mark the center of one short end.  Use a ruler to draw two lines from the outside edges of the unmarked short end to the center marking, making a triangle shape.  Cut out on the marked lines.  (Oops, I didn't get a good pic, but this is pretty straightforward.)

2.   Lay out your backing and main fabrics wrong sides together.  Mark the pennants with a fabric pencil.  You can flip your template after each triangle so the shapes "nest" and you don't waste any fabric in between triangles. To spell out "happy birthday" you'll need 13 pennants.

3.  I pinned the triangles inside the marked lines so I wouldn't hit the pins with my pinking shears.  Then, cut through both fabrics at the same time on the marked lines.


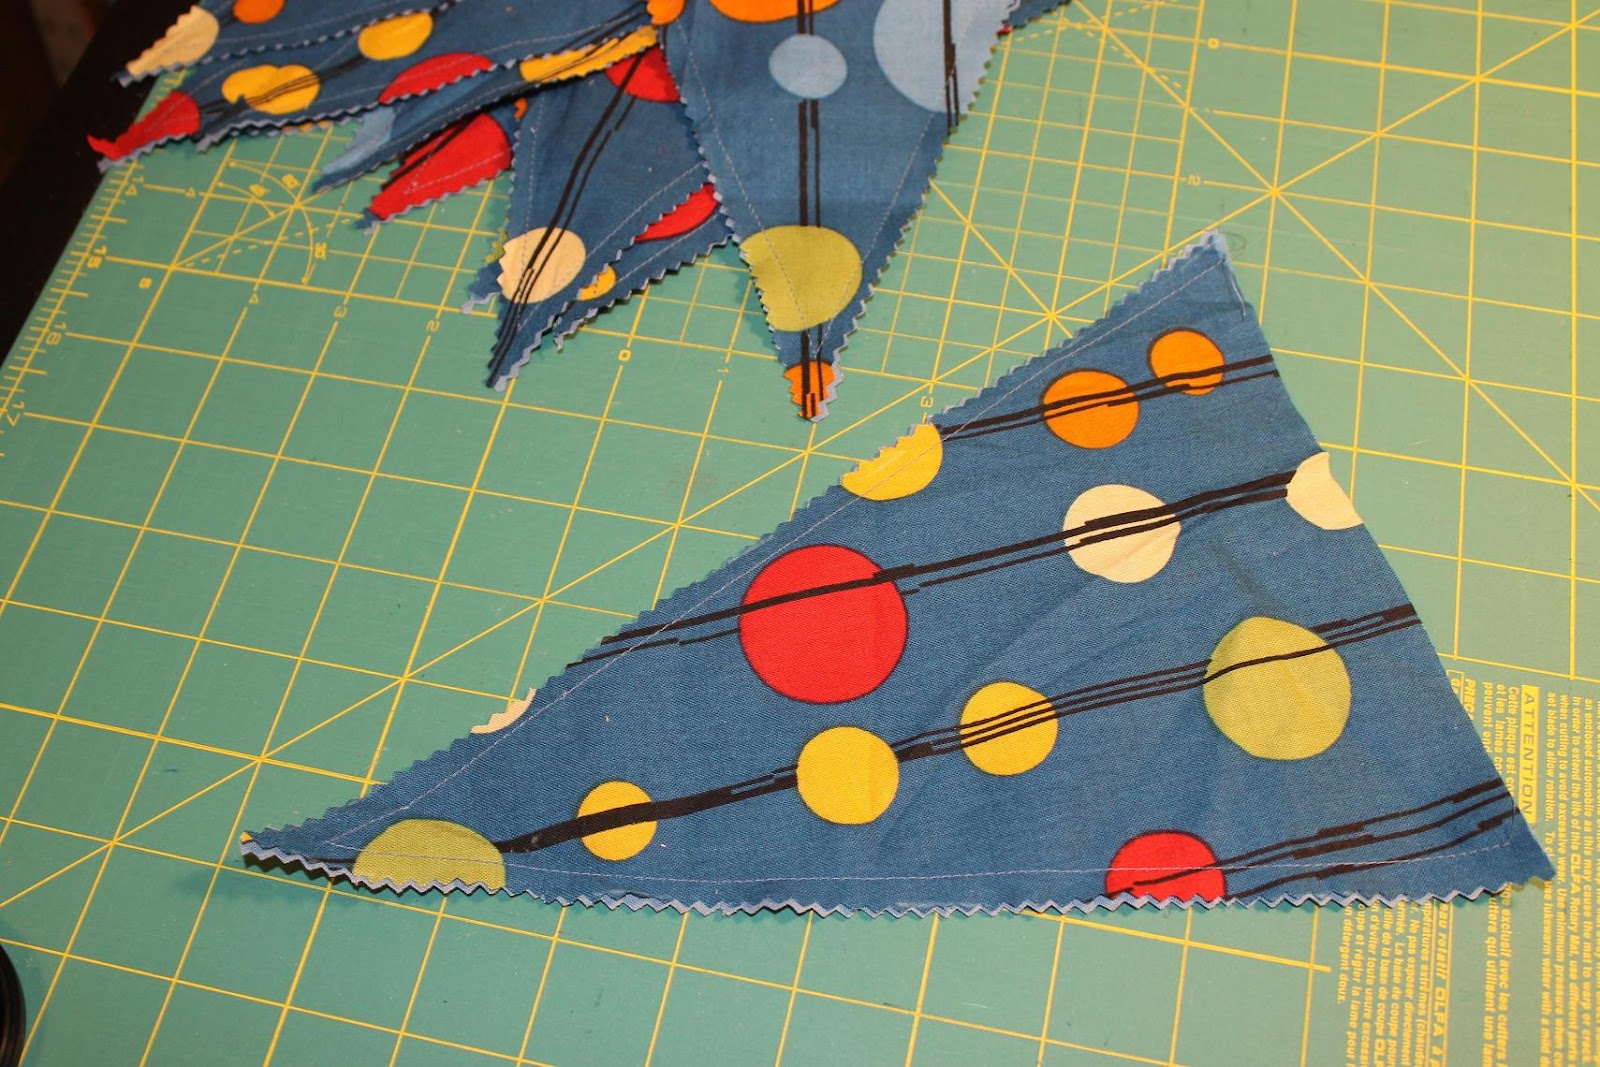
4.  Sew along both long edges, about 1/4" from the edge.  I left the pinked edges raw.  Since these won't be washed or handled roughly, I don't think they'll fray much.

5.  Hand-cut out your letters and follow the instructions on your fusible web to adhere them to the main fabric.  I made my letters about 4" tall and 2.5" wide.  If you aren't happy with hand-drawn letters, you can also print a huge font on the computer and use that as a template.

5.  To give the letters a little pop, I zig-zag stitched around the edges with white thread.

6.  If you have bias tape, simply pin your triangles about 1" apart, with about 12" between the two words.  Your tape should cover the top 1/2" of the raw short edge.  Tuck in the two short ends of the bias tape about 1/4".  Then, topstitch about 1/8" from the edge to sew it all together.

If you don't have bias tape, check out how I made my own straight-grain version.
Now, it's time for a birthday party! 
-Lily
 
Linked up at some of the great blogs on my sidebar

Monday, October 22, 2012

Easy Child's Apron Tutorial

I made this fun apron for my son's 2nd birthday a few months ago, and I want to share the tutorial because this apron is so cute for such a quick project!  I love this jungle print, too.  I found it at a garage sale last summer for $1 a yard. (I'm always trying to save money on sewing.)
 If you have some fat quarters lying around, you can even use those.  You only need three fat quarters to make this apron.  This apron fits approximately sizes 2T to 5T.  The neckband is adjustable, which allows this apron several years of use for your toddler/preschooler. 
What you need:
  • 1 piece main fabric, 21 x 17 inches
  • 1 piece backing fabric, 21 x 17"
  • 2 pieces for ties, 3 x 18"
  • 2 pieces for neckband, 3 x 11"
  • 7" square for applique letter
  • 6" piece of velcro
Let's Get Sewing:
1. Lay your main fabric and backing fabric right sides together. On a 17" edge, mark 4" in from each side.  Then mark 9" down on each side.  Line a ruler up with the two marks, and cut along this line.  You should cut off a triangle like in the photo below.  Then line up the ruler on the other side and cut off a second triangle.


2.  Now, make the ties and neckband.  For both ties, press in one short edge 1/2".  Press in both long edges 1/2", then fold in half and pin.  Repeat for the two neckband pieces.


3.  Topstitch 1/8" from the edge on three sides of all four pieces, leaving the unpressed short ends open.
Now, sew the velcro to the neck ties, close to the topstitched end.  (My velcro is different lengths, but yours should be the same length.  I dug these pieces out of the scrap pile).

4.   Lay your main fabric and backing fabric right sides together, and fold down the backing at the top.  Pin your neck ties at the top edge, about 5/8" away from the diagonal edges.  Make sure that you have one piece of velcro facing you and one facing away, or the velcro won't match without twisting the straps.  Refer to the photo below.
Then fold the backing fabric over of the neck ties and pin the main fabric and backing together.  The neck straps should be pinned between the main fabric and the backing.


5. Pin the waist ties just below the diagonals, in between the two apron pieces.  Line up the open end with the edges of the apron pieces.

6.  Sew around the edge of the apron with a 1/2" seam allowance, leaving 5" open for turning.  Turn out and press flat, then topstitch around the whole apron 1/4" from the edge, closing the turning opening.

7.  Hand-cut your child's initial from the 7" square.  I simply pinned the letter on the apron and topstitched 1/4" from the edge around the "E", leaving the edges raw for a frayed look.

That's it!  Enjoy making messes with your little one :)
Lily

Tuesday, October 2, 2012

Cross Quilting Pattern (Tutorial)


I've been making my son a twin-sized quilt since he was born 2 1/2 years ago.  Needless to say, it's been in the "unfinished projects" pile for a while now.  I kept delaying quilting, because I couldn't find a pattern that I liked.  I wanted this quilt to look really nice, but I also wanted to be able to quilt it myself with a walking foot.  After months of searching, I finally found this traditional quilting pattern in a book.  It's one of those patterns that looks really cool and geometric, but is actually simple to do--perfect!
The only problem is apparently I did not write down the name of the book or the pattern, and now I can't remember either because I'm a scatterbrain sometimes.  If you know please share in a comment!  It has the word "cross" in it, that's all I remember...
This pattern is basically just diagonal lines, so first you may want to check out How to Quilt Diagonal Lines. 

What you need:
  • Finished quilt top
  • Fabric washable pencil
  • Batting and Backing for your quilt
  • Basting pins
  • Thread to match quilt top (I use Gutermann 100% cotton)
  • Walking foot

Let's get quilting:
1.  For this pattern, it was easier to mark the quilt before basting.  With your fabric pencil, mark a large "X" across the whole quilt top, forming four quadrants.  Then fill in diagonal lines about every 2".  The lines point a different direction in each quadrant, which is what makes this pattern look complex.

 It's a lot easier to see the lines on the back of my finished quilt:
1.  Draw an X    2.Draw lines 2" apart
As you can see after quilting, I drew my "X" so that the diagonal lines don't line up with my patchwork.  I think it was easier to quilt this way (and it's not as obvious if I made a little mistake when quilting).

2.  Baste your quilt.  (See How to Baste a Quilt).  As you can see from my ugly basting stitches, I used to thread-baste.  Nowadays, I would pin-baste.

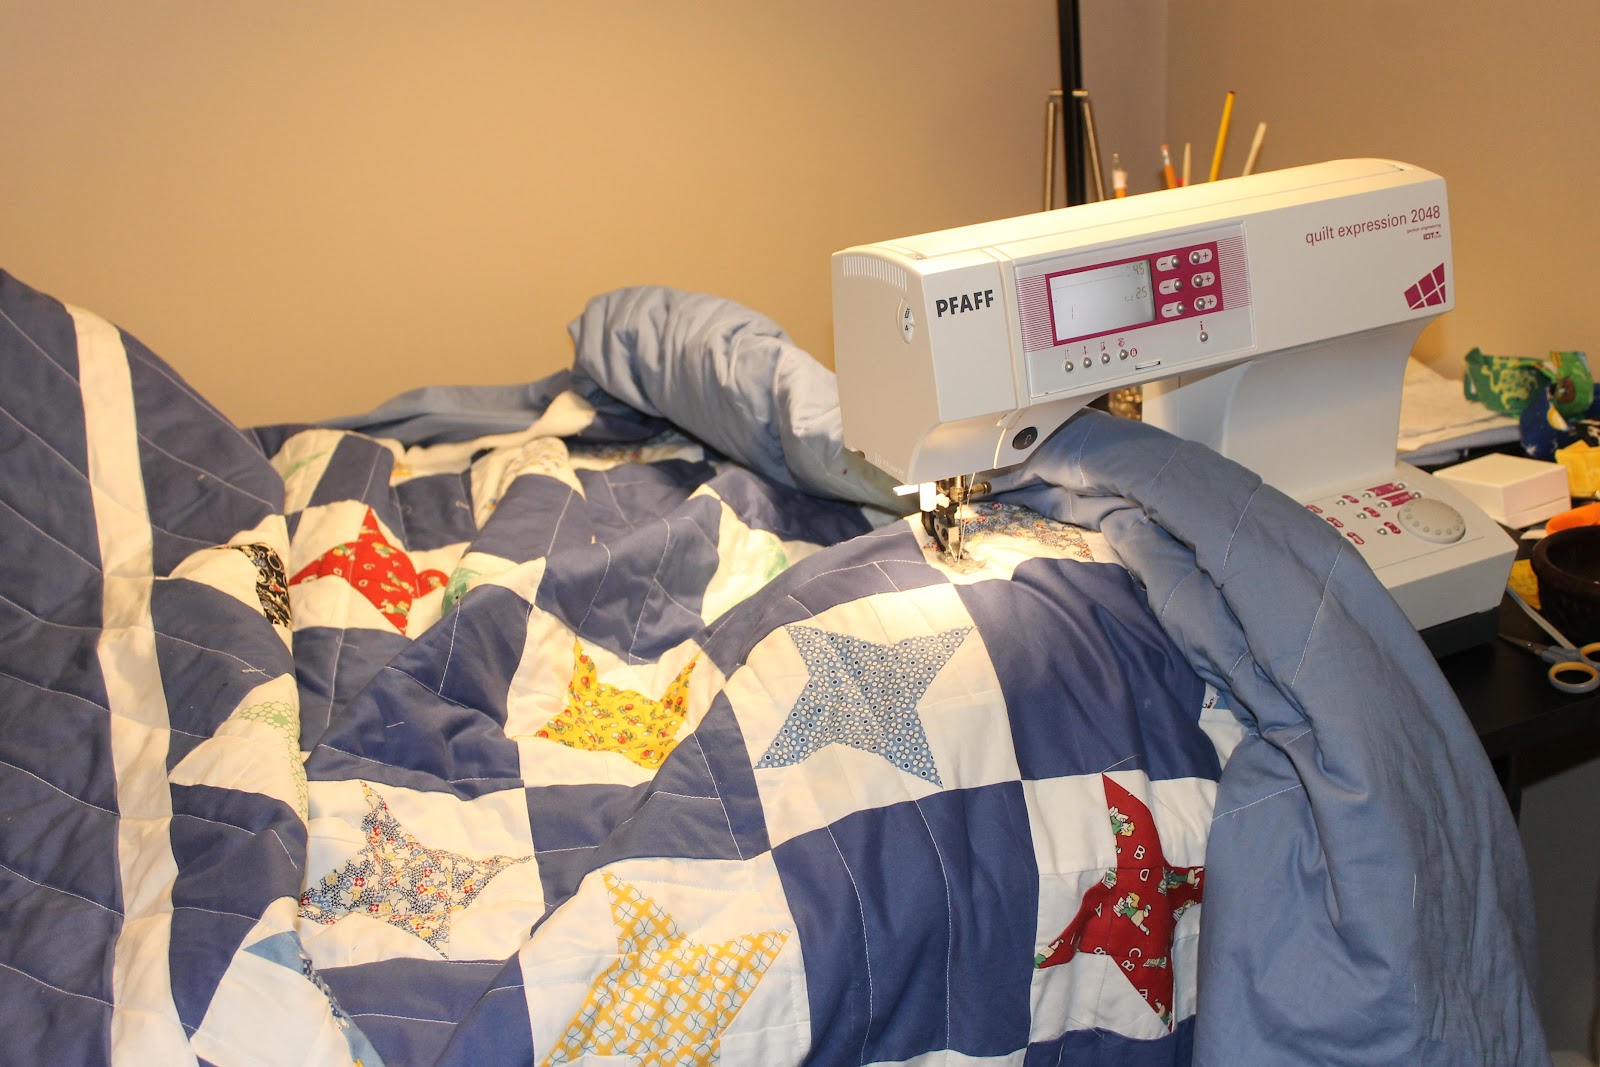
3.  To quilt a twin-sized quilt, you roll up fabric on the right under the arm of your sewing machine.  Make sure the rest of the quilt is supported by your sewing table, or there will be too much drag to sew smoothly.

4.  I quilted this pattern in the same order that I marked it.  First, I quilted the large X.  Then I did the diagonals every 2".  Start each diagonal on the center X as shown in Step 1 above.  I quilted one quadrant at a time, filling in all the diagonals before moving on to the next quadrant.

Start each line with a few small backstitches to secure, then quilt to the end.  I backstitched at the end, too, but it's not really necessary because it will be secured with the binding.


It was actually very simple quilting, just a straight line every 2".  But when it's all done, it looks complex, geometric, and awesome!

 I used a light blue, solid backing that really highlighted my quilting pattern.  I spent a lot of time on this, I want to be able to see it!

Finished!  Now, on to binding...
-Lily