Showing posts with label fabric. Show all posts

Tuesday, January 8, 2013

My Pink Chalk Fabric arrived!

A few weeks ago, I was a finalist in Pink Chalk Fabric's Handmade with Love Tutorial Contest!  My hanging kitchen towel tutorial was one of the top 5 chosen in the "Gifts for Friends" category.  And I won a $20 gift certificate to Pink Chalk Fabrics!  The hardest part was deciding what to buy, as there are dozens of awesome fabrics to choose from.  I finally decided...not to decide, haha. 
I ordered a Bits and Pieces bundle, where they send a random assortment of print remnants.  That way, I didn't have to actually make a decision, and I also get to sample a bunch of delicious fabrics!
  Yesterday, my scrap bundle arrived!!  I'm so excited, there are over a dozen fun, funky, and beautiful fabrics. 

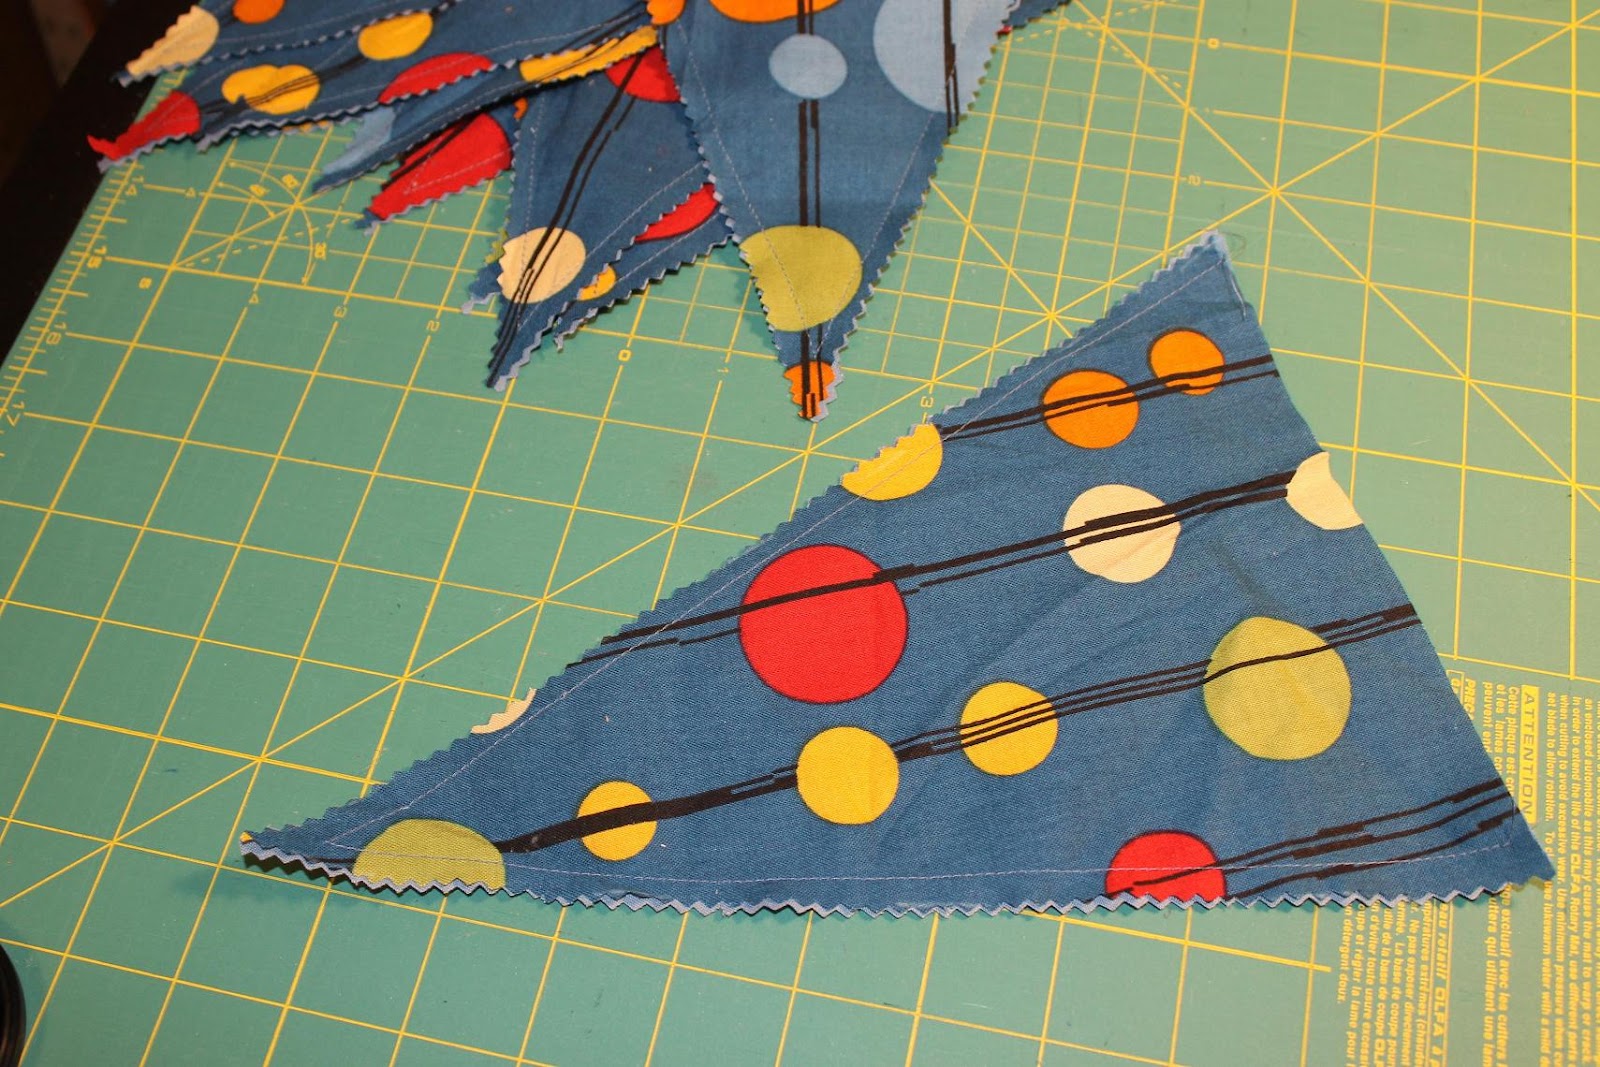
Here are some of my favorite fabrics:
Buying new fabric is always fun, and it inspires my creativity.  But, it's not so good for my overflowing fabric stash--I think my hubby had mixed feelings about this purchase :)
-Lily

Monday, October 29, 2012

Happy Birthday Banner--Tutorial

For Little Man's first birthday, I made him this awesome "Happy Birthday" bunting banner.  It looked so festive hanging across the dining room above the cake at the party!  (Check out last week's post about my son's first birthday party and his rainbow cake tutorial.)  Another bonus:  this banner is made with fabric, so I can reuse it year after year. 

I looked for a tutorial online to make this bunting, but couldn't find a really good one.  Several basically said, "cut out triangle shapes and sew together".   I tried to explain a little more clearly how I made mine.
What you need:  I used quilting cottons for the pennants, letters, and ties.
  • 2/3 yd main fabric for the front of the pennants
  • 2/3 yd pennant backing fabric
  • pinking shears
  • 15 feet of bias tape (or 1/4 yd fabric)
  • scraps for letters (or 1/4 yd fabric)
  • fusible web

Let's get sewing:
1. Make your pennant template.  I used a piece of lightweight cardboard.  Mark a 7 x 10" rectangle.  Mark the center of one short end.  Use a ruler to draw two lines from the outside edges of the unmarked short end to the center marking, making a triangle shape.  Cut out on the marked lines.  (Oops, I didn't get a good pic, but this is pretty straightforward.)

2.   Lay out your backing and main fabrics wrong sides together.  Mark the pennants with a fabric pencil.  You can flip your template after each triangle so the shapes "nest" and you don't waste any fabric in between triangles. To spell out "happy birthday" you'll need 13 pennants.

3.  I pinned the triangles inside the marked lines so I wouldn't hit the pins with my pinking shears.  Then, cut through both fabrics at the same time on the marked lines.


4.  Sew along both long edges, about 1/4" from the edge.  I left the pinked edges raw.  Since these won't be washed or handled roughly, I don't think they'll fray much.

5.  Hand-cut out your letters and follow the instructions on your fusible web to adhere them to the main fabric.  I made my letters about 4" tall and 2.5" wide.  If you aren't happy with hand-drawn letters, you can also print a huge font on the computer and use that as a template.

5.  To give the letters a little pop, I zig-zag stitched around the edges with white thread.

6.  If you have bias tape, simply pin your triangles about 1" apart, with about 12" between the two words.  Your tape should cover the top 1/2" of the raw short edge.  Tuck in the two short ends of the bias tape about 1/4".  Then, topstitch about 1/8" from the edge to sew it all together.

If you don't have bias tape, check out how I made my own straight-grain version.
Now, it's time for a birthday party! 
-Lily
 
Linked up at some of the great blogs on my sidebar