Saturday, December 7, 2013

Great Grandma's Bow-tie Quilt--Finished!

Drumroll please....ta-da!  I finally finished this baby quilt using my great-grandma's quilt blocks!  It may have taken me months and months to get started , and I had to let go of my perfectionism, and I had to teach myself how to hand-quilt, but it's finally finished! 
I love, love, love this quilt. I love the fabrics and the fabric choices Great-grandma made, and how different they are from ones I would normally choose.  It's not a matchy-matchy quilt.  I was even able to find a large piece of fabric in her stash, which I used for the backing and binding. 
 
I love how the hand-quilting looks great with these blocks, it really makes this quilt and helps create a vintage scrap-quilt look.  I decided that this quilt was already busy enough without complicated quilting (and, I admit, this was only my second quilt doing hand-quilting, so I didn't want to try anything too ambitious).  I just did simple outline stitching about 1/4" from all the seams.  
So far, BT loves it, too ;)

-Lily

Monday, November 25, 2013

Crochet Block Stitch Baby Blanket

I actually finished this project before BT was born, but I've been a little busy (translation:  crazy busy, with barely contained chaos and dirty dishes piled everywhere) with three little ones and haven't recorded any of my projects recently.  
I love how this blankie turned out!  I found this block stitch pattern and thought it would look so cute in pastels, with just a little white peeking through between the double crochets.  Since we didn't find out the gender of the baby, I wanted this blanket to work for a boy or girl, so I used pink, blue, and green for the colors.  And, it actually turned out just like I pictured it.  That definitely does not always happen, so I am super excited! 


The other two boys love, love, love their blankies that I crocheted for them, so hopefully BT will, too.  I love seeing them enjoy the things I stitched with love.  As you can see, the older boys were having fun during the photo shoot, so this blanket it already kid-approved.  It was hard to get them to but the blankie down so I could get a few pics. 
I mostly followed the block stitch pattern, with a few modifications. 

For materials, I used a size G crochet hook and Caron simply soft yarn (medium weight 4), one skein each of white,  soft blue, soft green, and soft pink.  Finished size:  36" x 32"

When I tested my gauge, 4" = 5 groups of 3 dc.  To modify the pattern, you just need to chain a multiple of 4, plus 3.  Then, you can make this pattern any size you want.

 With green, chain 171, turn.  Sc in 2nd chain and in each chain across, turn.  Continue in block stitch pattern, starting with Row 3.  Continue working in block stitch, working the chain rows in white.  Work the dc rows in green, pink, blue.  

I finished the center with a row of white, then worked a row of sc around the entire blanket.  Then I finished with a simple scalloped edging.

Monday, July 29, 2013

Half-Square Triangles Tutorial: Eight at a Time

A few months ago, I wrote a tutorial on making half-square triangles two at a time.  That technique works great if you only need a dozen or so.  However, I had plans to make a baby quilt entirely out of half-square triangles, and I wanted to make them more efficiently.  I discovered a way to make eight at a time, which worked great for a project where I needed so many.

The quilt is all assembled, and I'm so excited, it looks awesome!  I just basted it, and it's next in line for hand-quilting after my great-grandma's bow-tie blocks quilt.  Now, I have to share how I made all these half-square triangles without losing my mind.
1.  First, from both fabrics cut squares double the size you want your half-square triangles. (I'm using white and blue fabrics here.)

I wanted my squares to be 3" in the quilt, so I needed them to be 3.5" before assembling.  I like to make my half-square triangles half an inch larger than I need them so that I can square them up first, so I made them 4" square.  For 4" half-square triangles, I cut 8" squares from both of my fabrics. 


2.  Next, mark sewing and cutting lines.  I usually mark the lighter fabric so it's easier to see.  

On the wrong side, mark the middle of the square both horizontally and vertically.  Then draw diagonal lines from corner to corner.  Pin your two fabrics right sides together. 

3.  Sew  1/4" away on both sides of both diagonal lines.  You should have 4 stitching lines.

(oops, I forgot to take a pic before cutting, but you can see my stitching here)


 4.  Cut on all four marked lines.  You should now have 8 triangles with stitching on the long side.

 5.  Open up your triangles and press the seam toward the darker fabric.  

6.  Use a rotary cutter to trim all the squares to the correct size.  This is easiest with a small square ruler that has a 45 degree angle marked.

Line up the 45 degree angle along the triangle edge.  It's important to line up the angle so the points of your triangles match when piecing them together. 

Trim a little from all four sides to square it up.  Here, I'm trimming to 3.5".  As you can see in the picture, you won't be trimming off very much and you might be tempted to skip this step.  Don't skip it, or your patchwork will be all wonky and very frustrating.

One half-square triangle ready for piecing!
Even making these eight-at-a-time is quite a bit of work.  But, they make beautiful patchwork!  I can't wait to get to work on the quilting.

-Lily


Monday, July 22, 2013

Cloth Baby Wipes Tutorial

We've been using cloth wipes for several years now, and we love them.  No chemicals, they don't dry out skin, and they're super cheap.  Sometimes I think we save just as much on wipes as we save on diapers, especially when I had a breastfeeding baby.  

Since we were already using cloth diapers, using cloth wipes is actually easier than disposables.  We have the whole diaper system set up anyway.  I just have a spray bottle of water at my changing table, and I moisten the wipes I need at each diaper change.  
We have a whole bunch of wipes already, but some of them are getting pretty worn from constant use.  Plus, we have a newborn on the way, who will go through plenty of wipes, so when my mother-in-law gave me some flannel scraps, I knew the perfect project!  

Maybe I shouldn't get this excited over poop rags, but these were free, which I love.  And, they're so easy to make, I whipped out this whole batch in no time.  I hate all my unfinished projects sitting around, so it felt good to finish something.

Let's get sewing:
1.  Cut your flannel into 9 x 8 inch rectangles.  Don't worry about making it perfect, they are just wipes.

They look a little big, but flannel will shrink, and you do not want too-small baby wipes.

2.  If you have a serger, you can just serge the edges.  If you have a regular sewing machine like me, choose an overlock stitch.  You can see I used stitch "M" on my machine, which shows a little pic of this kind of stitch.

3.  Sew around the edges of all the wipes.  Your needle should be just off the edge of the fabric on the right-hand side.  Overlap the stitches where you start and end, and backstitch.
Done!  It's not the prettiest sewing I've ever done, but hey, they're for my baby's bum, so good enough :)

-Lily

Monday, July 15, 2013

Lazy Mom's Way to Make Greek Yogurt

I've really been on a yogurt kick this month.  First, I posted how to make homemade yogurt in a crockpot, then about my frugal yogurt starter.  Now, I've discovered a lazy way to make Greek-style yogurt.  

Let me start by saying that I've known an easy way to make homemade Greek yogurt for awhile.  But, it does involve dirtying a few dishes and a cheesecloth.  I'm getting lazy now that I'm pregnant with my 3rd, and even that seems like too much work.  

Last week I scooped my yogurt out of the container all on one side, leaving a mountain and a valley.  When I came back the next day to get more yogurt, presto!  The valley was full of whey, leaving Greek-style yogurt behind.  All I had to do was pour off the whey.  (If you're worried about all your yogurt falling out into the sink, you could also draw off the liquid with a turkey baster.)
It's not quite as thick and creamy as real Greek yogurt, but for zero work and time commitment, it's pretty good!

-Lily

Saturday, July 6, 2013

Frugal Homemade Yogurt Starter

My family loves yogurt, but I just couldn't fit it in our budget to buy yogurt every week.  Especially since the good stuff, without tons of sugar and other junk, is really expensive.  Then I started making homemade yogurt in a crockpot, and it's delicious and cheap!  Now we can enjoy yogurt every week--we love it topped with fruit, in our smoothies, or made into homemade frozen yogurt.

When I first started, I just bought a container of plain yogurt at the store and saved a little to use as my starter.  Then I saved several tablespoons of my homemade yogurt to use as a starter for the next batch.  However, after about 3-4 batches, the saved starter wouldn't work as well.  Then I'd have to go back to the store and buy more yogurt.

Next, I bought some Yogourmet freeze-dried yogurt starter packets.  The upside is that they make tasty yogurt, and it only takes 4-5 hours (versus 8-10 hours for store-bought yogurt as the starter).  The downside is that they were expensive--about five dollars for six packets.  I didn't want to have to keep buying expensive starter, that defeated the whole point of making my own yogurt.  So, I devised this plan to make dozens of batches from that one box.

First, I made a batch of yogurt with a Yogourmet packet, following the packet directions.  When it was finished, I saved some in the fridge to use as the starter for the next week.  I also filled an ice cube tray with yogurt.  Each cube held about 2 tablespoons of yogurt.  I froze the tray, then popped the cubes out and stored them in a Ziploc.
For the next several weeks, for my starter I used the yogurt I'd saved in the fridge from the previous batch.  But, after several batches my saved starter didn't work as effectively.  Then I pulled out several frozen cubes.  I put them in a little glass bowl and let them thaw at room temperature.   

 Do not microwave the cubes, you will kill the bacteria and your yogurt won't culture! Also, yogurt that has been frozen and thawed looks really weird and watery for some reason.  Don't panic, just use it like regular starter.
After the yogurt was ready,  I saved some in the fridge to use as a starter for the next week. For the next several weeks, for my starter I used the yogurt I'd saved in the fridge from the previous batch.  When it started to lose effectiveness, I pulled out more cubes from the freezer. 

Having frozen yogurt cubes was also convenient when we went out of town on vacation this summer.  Before we left, we just ate up all our yogurt.  When we came home, I just pulled several starter cubes from the freezer to make yogurt.

As you can see, this method will allow me to make several months of yogurt from just one freeze-dried packet.  So far, I've had the starter cubes in the freezer for about 2 months and they still work great.  The freeze-dried packets should last over a year since I store them in the fridge.  I'm hoping to make about a year's worth of yogurt from that one $5 box!  Sometimes being frugal is so fun :)

-Lily

Wednesday, July 3, 2013

Homemade Yogurt in a Crockpot

My family loves yogurt, but the good stuff is really expensive.  I tried once several years ago to make my own, but without success.  (Picture chunky milk rather than creamy yogurt...it wasn't pretty).  Then I found this awesome tutorial on Keeper of the Home for making yogurt in a crockpot.  I've been making weekly it for months now, and it works great! (You can also check out my frugal yogurt starter tutorial)

Since it's well-written, I follow the tutorial closely and only had to make one modification.  I make my yogurt in a glass container rather than directly in the crockpot.  This simplifies the process:  when the yogurt is done culturing I can just put the glass dish in the fridge, rather than clearing a whole shelf for my huge crockpot.  Plus, I don't have to clean yogurt off my crockpot.

I was worried that the heat from the crockpot wouldn't transfer well enough if I just set the glass dish inside.  So, I add about 1 inch of water and the glass dish to my crockpot when I turn it on, and I let them heat up with the crockpot.  Make sure you don't stick a cold glass container into hot water, or you can crack the glass.
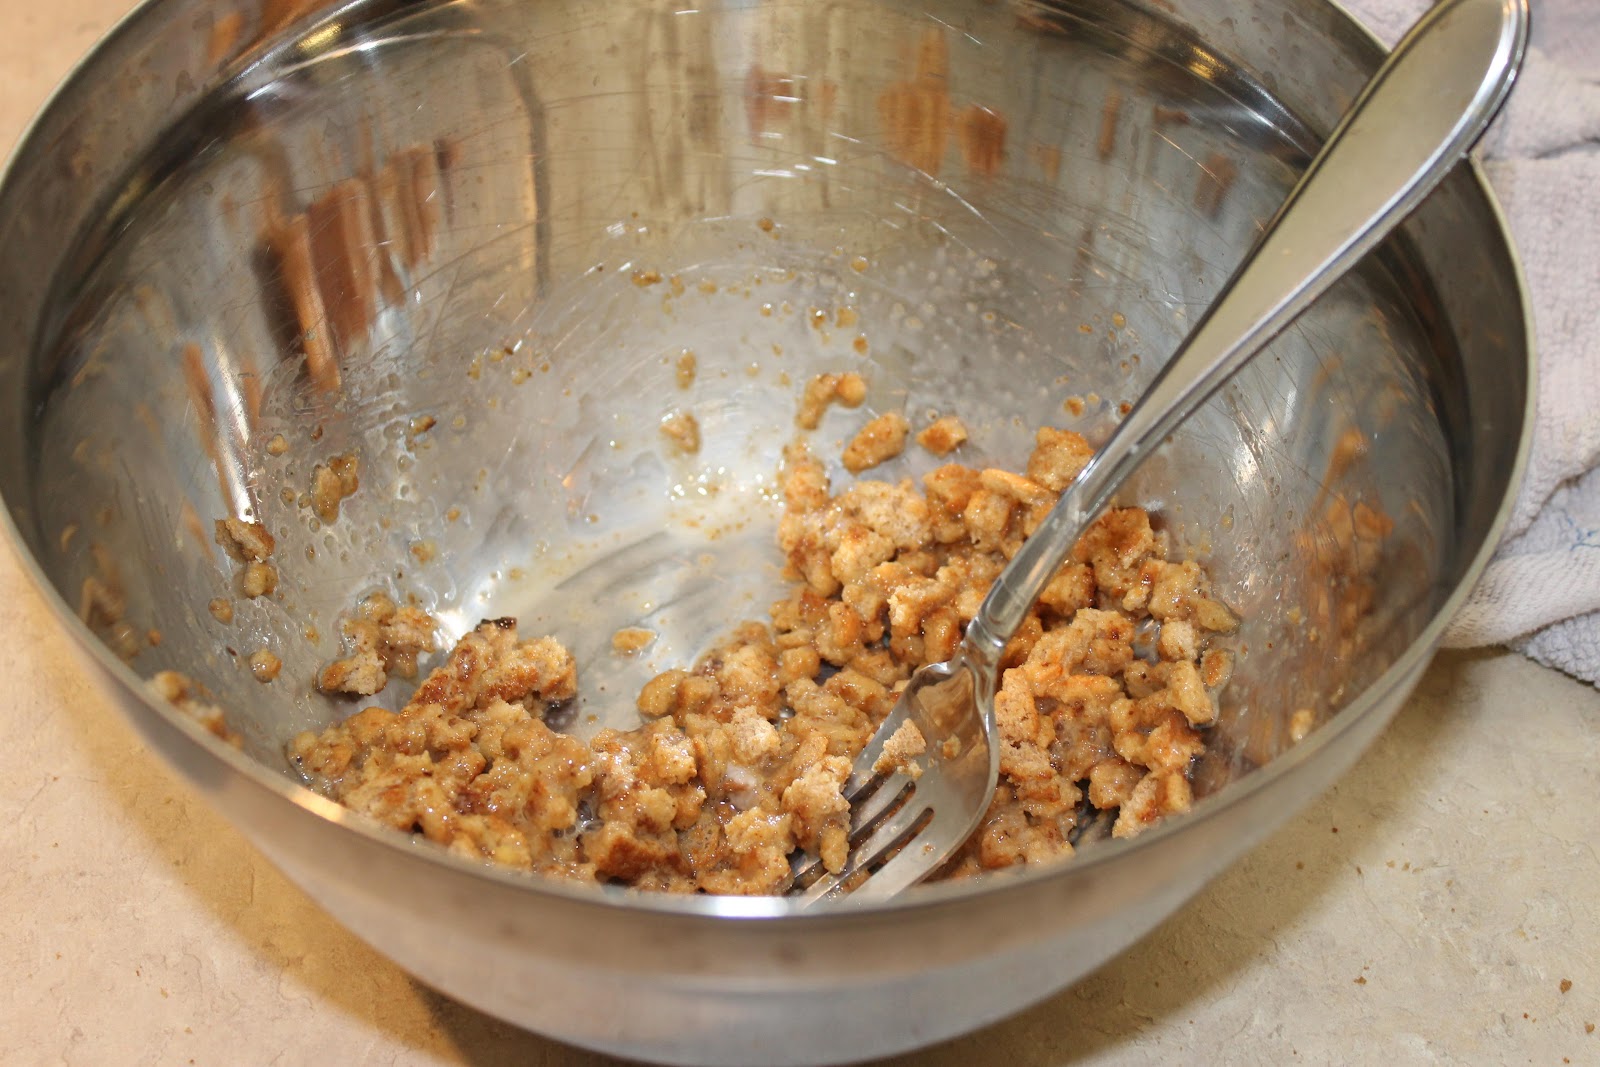
When you add the yogurt starter to the milk, add the starter to the milk before pouring it in the pyrex.  Otherwise, the milk sloshes everywhere if you try to stir in the starter in such a small bowl.  Then I loosely cover the glass dish with its lid, so that the condensation from the crockpot lid doesn't drip into the yogurt as it cultures.

Now you can make your own super-easy homemade yogurt in a crockpot!  And if you like your yogurt super thick and creamy, check out my super-easy tutorial for making homemade greek yogurt.

-Lily


Tuesday, June 18, 2013

Honey Wheat Hamburger Buns

I'd been making my Honey Wheat Sandwich Bread a lot when my husband asked if I could make some hamburger buns.  I decided to use the dough from my sandwich bread, and just form it into buns (rather that loaves) at the last step.  It worked great!  I get to use my super-easy dough recipe, and we have delicious buns for burgers and our favorite pulled pork.
What you need:  for 16 buns
  • 1 Tbs yeast
  • 3 cups lukewarm water (about 100 degrees)
  • 4 Tbs oil
  • 1/2 cup honey
  • 5 1/2 cups bread flour
  • 3 cups whole wheat flour
  • 2 1/4 tsp salt
Let's get cooking:
1.   Combine yeast and water.  (You can sprinkle with 1/8 tsp sugar to help activate the yeast).  Let sit about 5 minutes, until foaming.  Then add oil and honey.

2. Combine flours and salt in a stand mixer.  Use the dough hook attachment.  With the mixer on low speed, slowly pour in the yeast mixture. 

Note:  if you don't have a stand mixer, you can still make this simple dough.  Pour the yeast mixture into the flour mixture as in step 2.  Mix slowly until well combined.  Turn out onto a floured surface and knead about 6 minutes by hand until dough is smooth and elastic.  Then continue with step 5.

3.  Increase mixer speed to medium for 3 minutes.  Then turn off mixer and let dough rest 5 minutes.

4.  Turn out dough onto a floured surface.  Knead about 50 times by hand, until the dough is smooth and elastic. 

5.  Place dough in a lightly greased bowl.  Cover and let rise until double, about 1 to 1 1/2 hours.  Punch dough down.

6.  On a lightly floured surface, divide dough into 16 equal parts and form into balls.  Cover with a kitchen towel and let rise until double, about 30 minutes.

7.   Preheat oven to 375 degrees.  Bake for about 15 minutes, until just turning golden.  I bake mine on a preheated stone, but you can also use a cookie sheet.

8.  Remove from pan and allow to completely cool on wire racks.  Store on the counter for up to 3 days in an airtight container. 

I like to slice them and freeze in large Ziplocs for up to 1 month.  (They probably freeze longer with no problems, but at our house homemade bread rarely hangs around that long).
-Lily

Sunday, June 2, 2013

Great Grandma's Bow-Tie Quilt


 A few months ago, I posted about my Great Grandma's quilt blocks that I wanted to assemble into quilts.  Finally, I've made some progress on the first one.  I have the bow-tie quilt top all finished, and it's ready for basting and quilting!

Usually, sewing a few squares into rows would be easy-peasy.  However, it turns out that these blocks are not all the same size.  I don't know why--maybe the fabric has shrunk or distorted after years in a box? Or maybe they were never exactly the same size?  Maybe that's why Grandma never used them ;)

Whatever the reason, each block was slightly different, enough that trying to assemble them into neat rows with matching corners was soooo frustrating.  I did a lot of seam-ripping (and a moderate amount of venting to my patient hubby).  What I finally had to do was insert a few small patches, as you can see in the pics, to make the blocks fit together.  Then I had to give up trying to make the seams match perfectly and just go with it.  
I think it's going to be an awesome baby quilt for our new baby.  We didn't find out the gender, and I think that this quilt has enough pink, blue, and every other color that it will be perfect for a little boy or girl!
-Lily

Linked up at some of the great blogs on my sidebar

Tuesday, May 28, 2013

3 Deceptively Simple Steps to Teaching Kids Chores


In case you missed it, I recently wrote about 3 simple steps to teaching kids chores.  Here's a recap of the three steps:

1.  Demonstrate.  Show your child how to do the process, explaining as you go.

2.  Supervise.  The child primarily does the chore, with you supervising.  You correct and assist as needed, but let him do most of the work.  

3.  Leave.  Your child does the chore on his own, with you nearby so he can come and ask for help if needed.  When he's done, you come and make sure he did everything correctly.  If not, you have him do it again with you supervising.


This post is titled "3 deceptively simple steps to teaching kids chores" because these three steps seem so common-sense.  However, my sinful heart is always getting in the way.  These steps look so easy, they deceptively hide the many, many pitfalls we parents encounter.  I find myself tripping up in three major ways:

1.  I get stuck on Step 1, always demonstrating.  I'm the one who does all the work, always showing Buddy what to do and never allowing him to do it himself.  

Let's use picking up toys as an example.  Getting stuck at Step 1 means I say, "pick up the toys"  and then I do all the work myself while he watches.  Often I find myself falling into this trap because it takes the kids soooo long to pick up the toys themselves, and I get impatient.  But this will really backfire in the long run, because even though I may save 2 minutes when he's a toddler and I pick up his toys for him, when he's in middle school and still can't (or won't) pick up his room, I'm sure we'll spend hours and hours on this issue. 


2.  I get stuck at Step 2, always supervising.  He can do the chore himself, but I'm always hovering, never trusting that he can do it without me. 

I say, "pick up your toys" and I know he can do it himself, but I hover, criticize, and nitpick.  I need to remember the end goal of parenting--teaching my kids so that they can leave my house.  That means I need to be willing to let go, a little at a time, and trust him to do things for himself.


3.  I skip Steps 1 and 2 and try to go straight to Step 3.  I expect him to be able to do a task by himself without taking the time to be patient and give him the proper instruction. 

I say, "pick up your toys" to my three-year-old without teaching him what that means or where to put the toys, then I leave the room.  He doesn't know how to complete the chore and either ignores me, does a terrible job, etc.  Of course, this can lead to all kinds of problems--usually me being angry or impatient with him.


I think the main takeaway here is that even if it's frustrating or time-consuming, we do need to teach our kids how to do chores like laundry and cleaning.  Remember the end goal of parenting--one day your kids will leave!  When that day comes, you want them to be able to do all kinds of everyday tasks themselves.  But we also need to remember that teaching them even simple tasks will never be easy, since we're always being tempted to impatience, anger, etc.

Fellow parents, where do you struggle the most with teaching kids chores??

-Lily


Linked up at some of the great blogs on my sidebar!

Saturday, May 18, 2013

Buddy's Finished Quilt

Welcome, everyone from Blogger's Quilt Festival!  If you've never stopped by before, I'm Lily, a mommy with two young sons who loves quilting (and all things handmade).  I made this twin-sized quilt for my 3-year-old son, Buddy.  He loves being tucked in every night under this special quilt that Mommy made just for him, which warms my mommy heart :)


Many of the pinwheel blocks were made by friends at a local quilting group and given to me when Buddy was just a tiny baby.  There would have been enough blocks for a baby quilt, but I already had several of those.  Instead, I decided to make a twin-sized quilt for when he eventually grew into a big-boy bed. 
I loved these pinwheel blocks made with 1930s reproduction fabrics, but I wanted to make the quilt look a little more modern.  I also wanted it manly enough that my son could use it for years to come, which is why I alternated the pinwheels with solid blue blocks.  The result was even better that I pictured:  a very modern-looking graphic quilt, with pops of color from the 1930s prints.
For the quilting, I found a cross quilting pattern in a pattern book at the library.  (Side note:  I returned the book and now can't remember the book or the name of the pattern.  If anyone knows, please share!)  I love how this pattern was so easy to quilt on my home machine, since it only used straight lines.
 
I decided to make the borders and binding with the same blue as the center blocks, to continue the simple, two-color feel of this quilt.  I also used a simple blue backing that really showed off the quilting.
Many thanks to Amy over at Amy's Creative Side, this is my 2nd Blogger's Quilt Festival, and it's so fun and inspiring to see the many awesome quilts linked up!


-Lily

Wednesday, May 15, 2013

Easy Homemade Meatballs Recipe


Who doesn't love spaghetti and meatballs?  This is a super-simple meatball recipe--mix all the ingredients together, bake while your noodles are boiling, then pour in your favorite spaghetti sauce.  Dinner is served!

What you need:  for 25 meatballs
  • 1 egg, lightly beaten
  • 1 recipe homemade breadcrumbs (3/4 cup)
  • 1 lb ground turkey or ground beef
  • 1 tsp Worcestershire sauce
  • 1 tsp minced garlic (or 1/4 tsp garlic powder)
  • 1/2 tsp salt
  • 1/4 tsp ground black pepper
Let's get cooking:
 1.  Mix together the breadcrumbs and egg.

2.  Stir in the meat and spices.

3.  Form into 1 to 1 1/2 inch meatballs.

4.  Cover a cookie sheet with parchment paper.  Bake at 450 degrees for about  15 minutes, until the edges are turning golden..  (I used a preheated stone, so I didn't need to use parchment paper).


From my kitchen to yours, enjoy!

-Lily

Linked up at some of the great blogs on my sidebar!

Wednesday, May 8, 2013

Teaching Kids Chores in 3 Simple Steps

Teaching kids how to do chores is a pretty universal parenting goal.  It's an important goal at our house, for several reasons.  I want my kids to learn life skills like how to cook and do laundry.  I want them to understand that in our house, everyone works before we play.  I want them to be willing to work, and not view Mom as a maid.

I used to work in a biochemistry lab, and these were the three basic steps we used to teach coworkers how to do an experiment.  After I had Buddy, I realized that I could apply the same steps to teach my kids almost any complex task or process (like a life skill or chore).  So, yes, I am teaching my kids like we're in a science lab.  My husband can laugh at my mad scientist ways, but I've found this to be a valuable way to think about how to teach my kids
Three deceptively simple steps to teaching kids chores:

1.  Demonstrate.  Show your child how to do the process, explaining as you go.  Make sure to explain what you're doing and why.

For example, if you're teaching how to sweep the floor, don't just sweep and have him passively watch from the sidelines.  Have him help a little.  Answer his questions.  Explain how to hold the broom, how you're careful to sweep all the corners, to not spill crumbs out of the dustpan, etc .


2.  Supervise.  The child primarily does the chore, with you supervising.  You correct and assist as needed, but let him do most of the work.  


3.  Leave.  Your child does the chore on his own, with you nearby so he can come and ask for help if needed.  When he's done, you come and make sure he did everything correctly.  If not, you have him do it again with you supervising.

Sometimes it takes a long time for each step, especially with very young kids.  I've been working on teaching my three-year old how to sweep the floor for months.  For a while, he just watched, or he'd hold the dustpan to "help" but I actually did the work (Step 1).  Then, he got his own child-size broom and dustpan several months ago for Christmas.  Since then he's been practicing sweeping up dirt (Step 2).  He actually helps now--I do the major sweeping with a big broom, then he sweeps up the crumb piles into his dustpan and carefully throws them away (Step 3).  I consider this Step 3 for him, since he can do his part of the assigned chore without me watching.  


For my kids, by the time they're three years old I expect them to do one or two simple chores without direct supervision.  By the time they're school aged, I'll expect them to do quite a few tasks correctly, in a timely manner, and without me telling/showing how to do it every time. 

Check back in a few days, I'll be discussing where I trip up teaching chores.
-Lily

Linked up at some of the great blogs on my sidebar!