Showing posts with label kitchen. Show all posts

Thursday, January 17, 2013

How to prevent clumped shredded cheese

Our family loves casseroles, homemade pizza, enchiladas, and plenty of other recipes that require generous amounts of shredded cheese.  

I like to buy the giant 5 lb blocks of cheese and shred it up myself.  It's cheaper, healthier, and tastier than buying pre-shredded cheese.  I usually just shred it all up and freeze it.  The only problem is, after a few days in the freezer all the cheese has turned into one giant clump.  I've been known to hack at it with a meat tenderizer trying to break it up.
 Then I discovered a simple solution:  cornstarch!  After you shred your cheese, just sprinkle the cornstarch on top and gently mix it in.  I used 3/4 teaspoon cornstarch per pound of cheese.  Then fill a gallon-size freezer bag about 1/2-full and lay it flat in the freezer, with nothing on top.  (This also helps the cheese from clumping).
That's it!  I've tried it with mozzerella and cheddar cheese, and it works just as well with both.  I've used the cheese in a bunch of different recipes, like pizza, grilled cheese, even on salads--and I can't tell any difference in flavor or texture.
Enjoy your clump-free cheese :)
-Lily

  Linked up at some of the great blogs on my sidebar!

Monday, November 5, 2012

Hanging Kitchen Towels Tutorial

I love hanging towels in my kitchen, they look so much nicer than just shoving a towel through the stove handle.  Plus, my one-year-old thinks it's a really fun game to pull the towels off, and then Mommy puts them back up, then he pulls them down...all day.

I've seen a couple different versions of hanging hand towels recently--some with buttons, crochet loops, and other options, but I wanted to make some that could tie on and make a cute little bow.
These are cute, practical, and simple to make, so they would make perfect Christmas presents.  I made these for me, but I'll probably be making a few more sets as we head into the holidays.

What you need: for 2 hanging towels
  • 1 kitchen towel
  • 2 pieces of main fabric, 6.5 x 9"
  • 2 pieces of batting, 6 x 8"
  • For the ties, 4 pieces of bias tape, 18" each (or cut 1.5 x 18" strips and see straight-grain "bias tape" tutorial)
Let's get sewing:
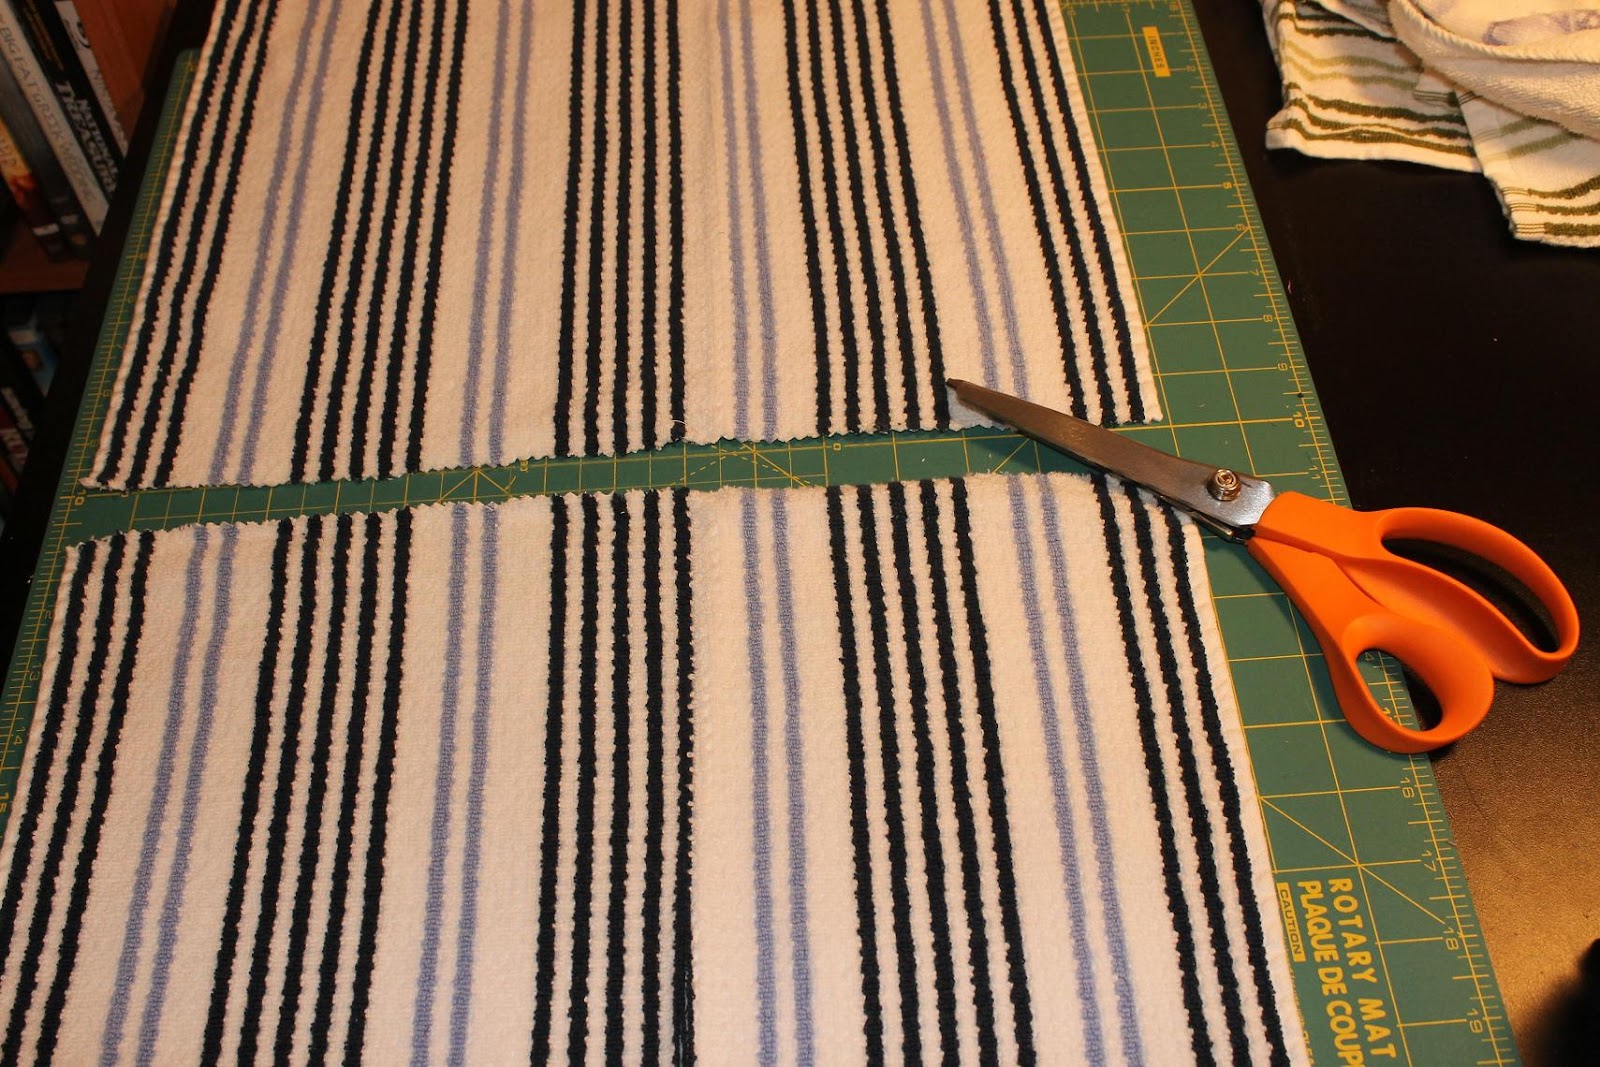
1. Cut your towel in half so you have 2 pieces, 13 x 16" each.

2.  On the raw edge, make a large pleat in the center of the towel, so that the top of the towel measures 6" across.  Lay the pleat flat and pin.  Baste 1/8" from the edge to secure the pleat.

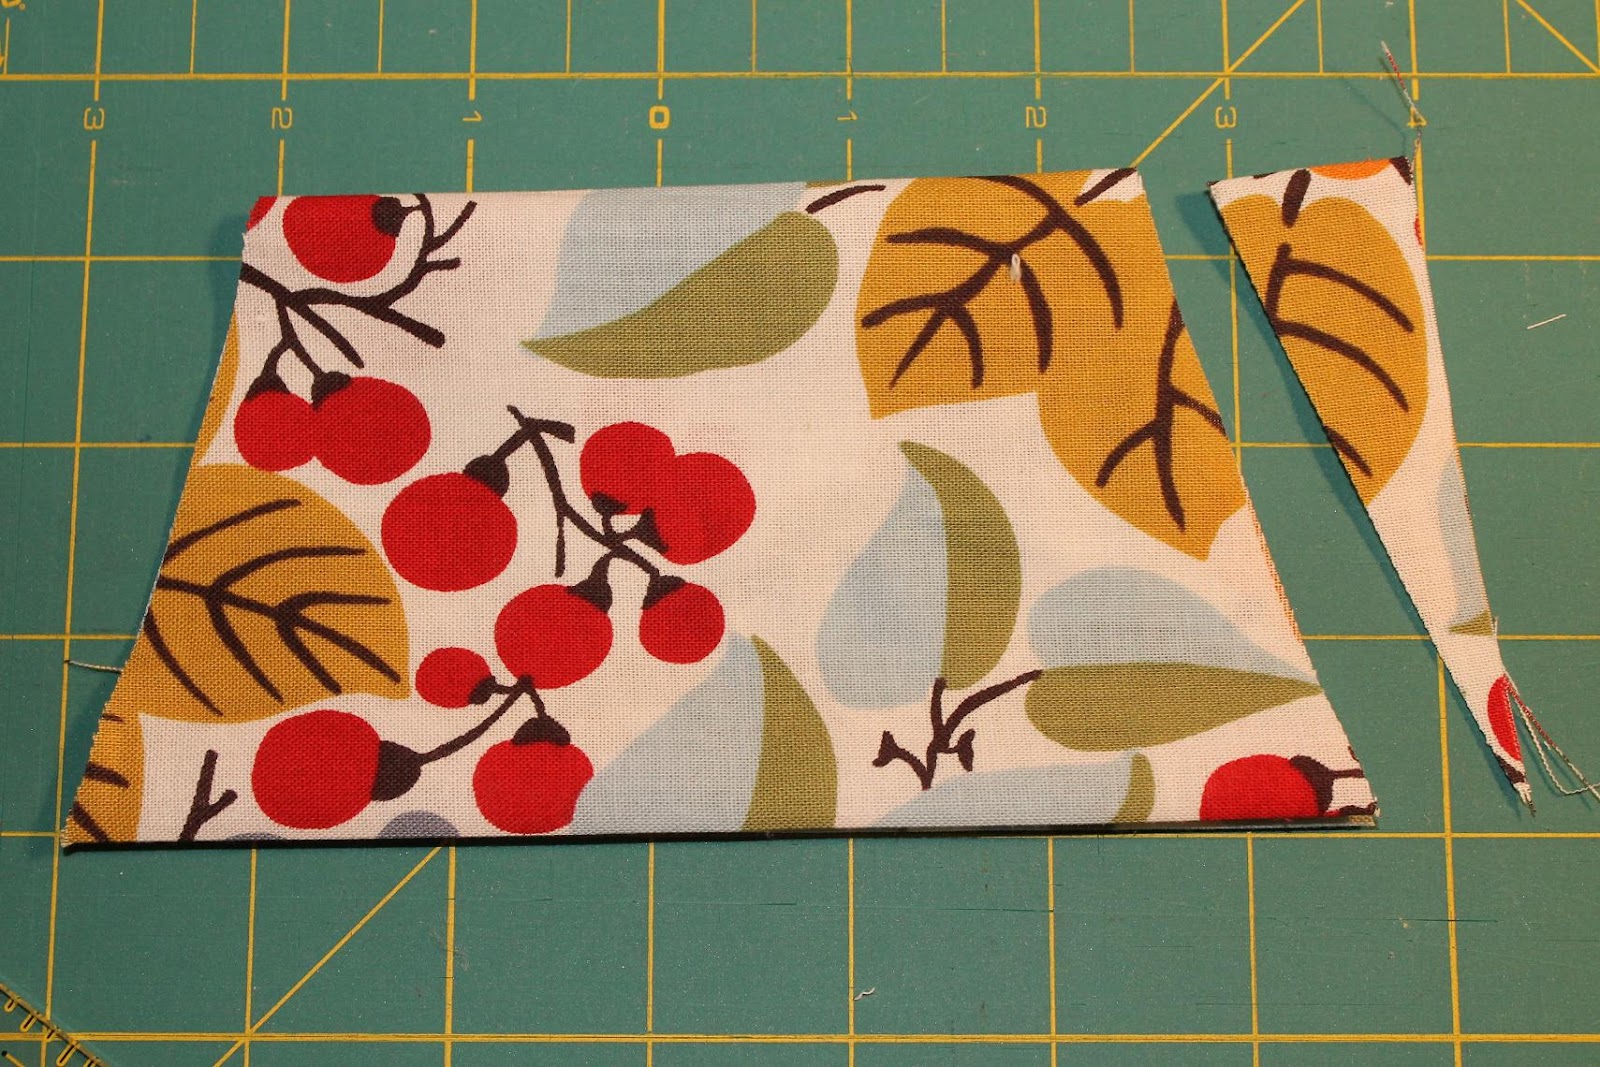
3.  On main fabric piece, press under short edges 1/2".  Fold in half, short ends together.  On the fold, mark 1" in from both sides.  Cut from the mark to the bottom edge.  Repeat on the other side.  You should have a trapezoid.

4.  Cut your batting the same way you cut your fabric in step 3.  Open your trapezoids and center the batting on the wrong side.

5.  Fold the batting and trapezoid over the pleated towel edge.  Sew 1/4" from the edge.  I used a triple-stitch to make it secure, since the towel hangs on this seam.  Make sure to catch the front and back of your fabric.

6. Quilt the fabric panel.  Here's a close-up of a finished towel so you can see one of the quilting patterns I did.  One set has concentric trapezoids, and the other has parallel lines about 1/2" apart.

 7.  Open your bias tape (or straight-grain tape, like I used.)  Press both short ends in 1/2".  Lay the open tape on the back of the main fabric.  Align the pressed short end with the top of the towel and align the raw edge to the main panel raw edge.  Baste the raw edges together 1/4" from edge.

8.  Now, fold the tape over  to the front of the main fabric.  Pin the tape in place.  Sew 1/8" from the edge, attaching the tape along the fabric edge, then continue along the tape to form the tie.

 You should now have a towel that looks like this!  Repeat steps 2-8 to make your 2nd towel.


-Lily

Link party some of the great blogs on my sidebar.