
I've seen a couple different versions of hanging hand towels recently--some with buttons, crochet loops, and other options, but I wanted to make some that could tie on and make a cute little bow.

What you need: for 2 hanging towels
- 1 kitchen towel
- 2 pieces of main fabric, 6.5 x 9"
- 2 pieces of batting, 6 x 8"
- For the ties, 4 pieces of bias tape, 18" each (or cut 1.5 x 18" strips and see straight-grain "bias tape" tutorial)
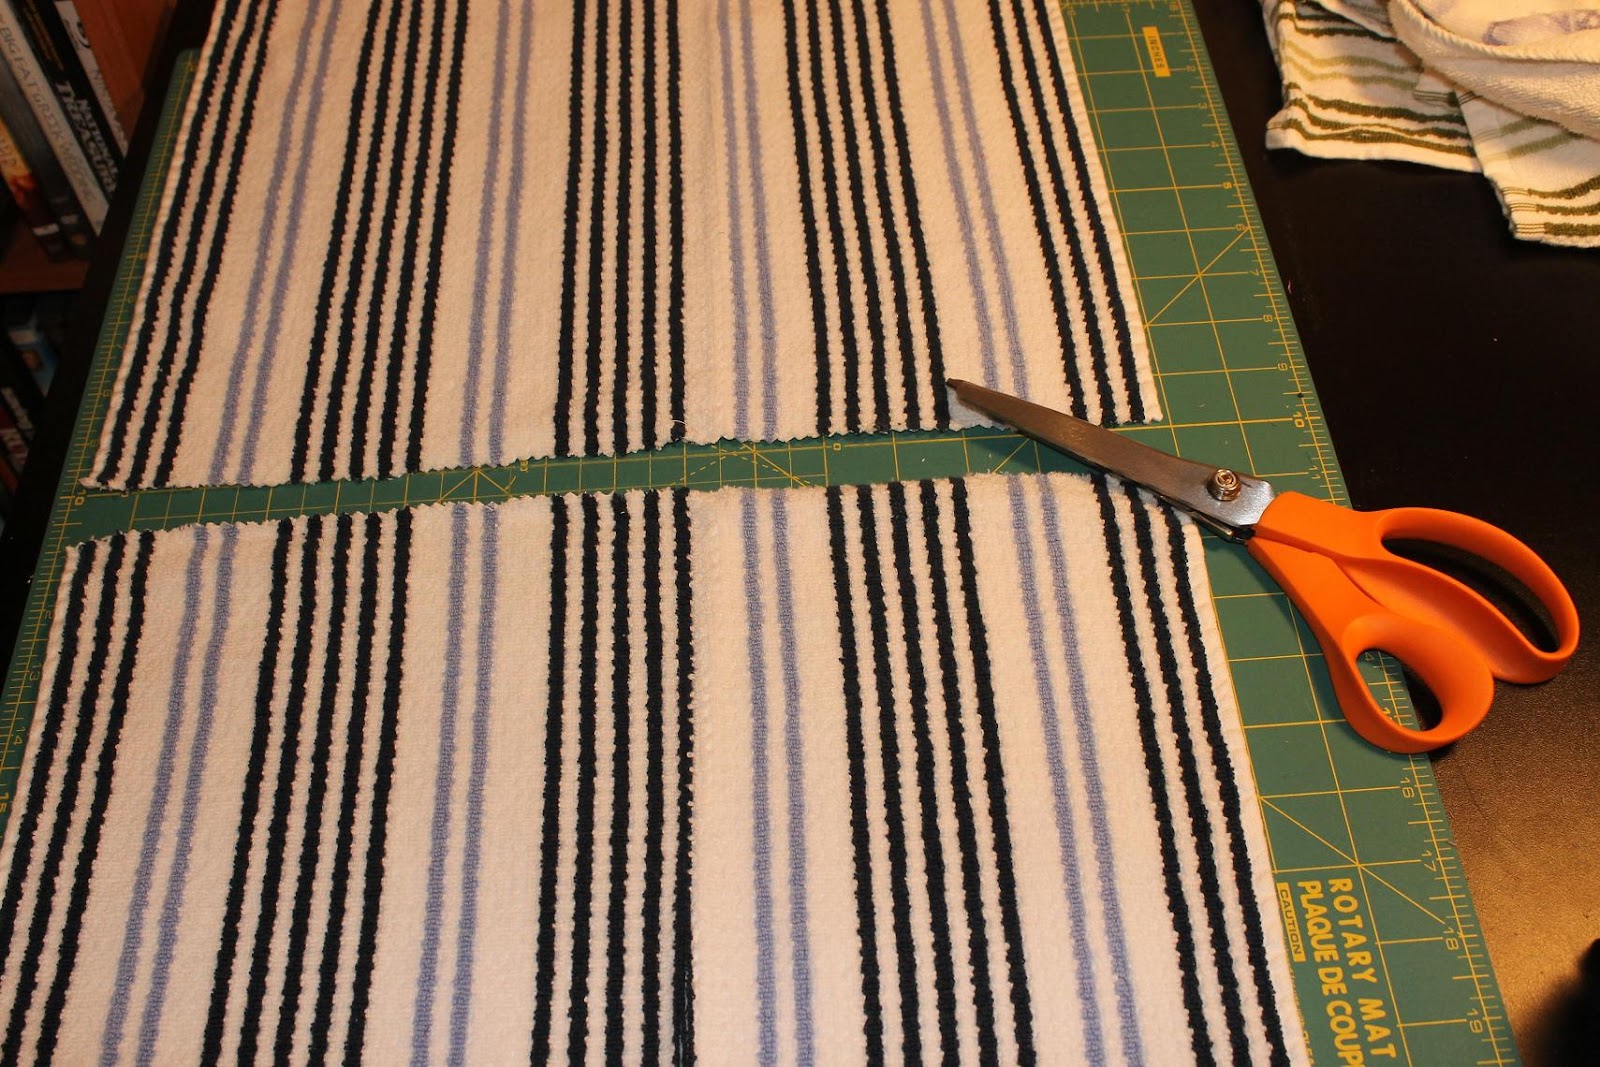
1. Cut your towel in half so you have 2 pieces, 13 x 16" each.
2. On the raw edge, make a large pleat in the center of the towel, so that the top of the towel measures 6" across. Lay the pleat flat and pin. Baste 1/8" from the edge to secure the pleat.

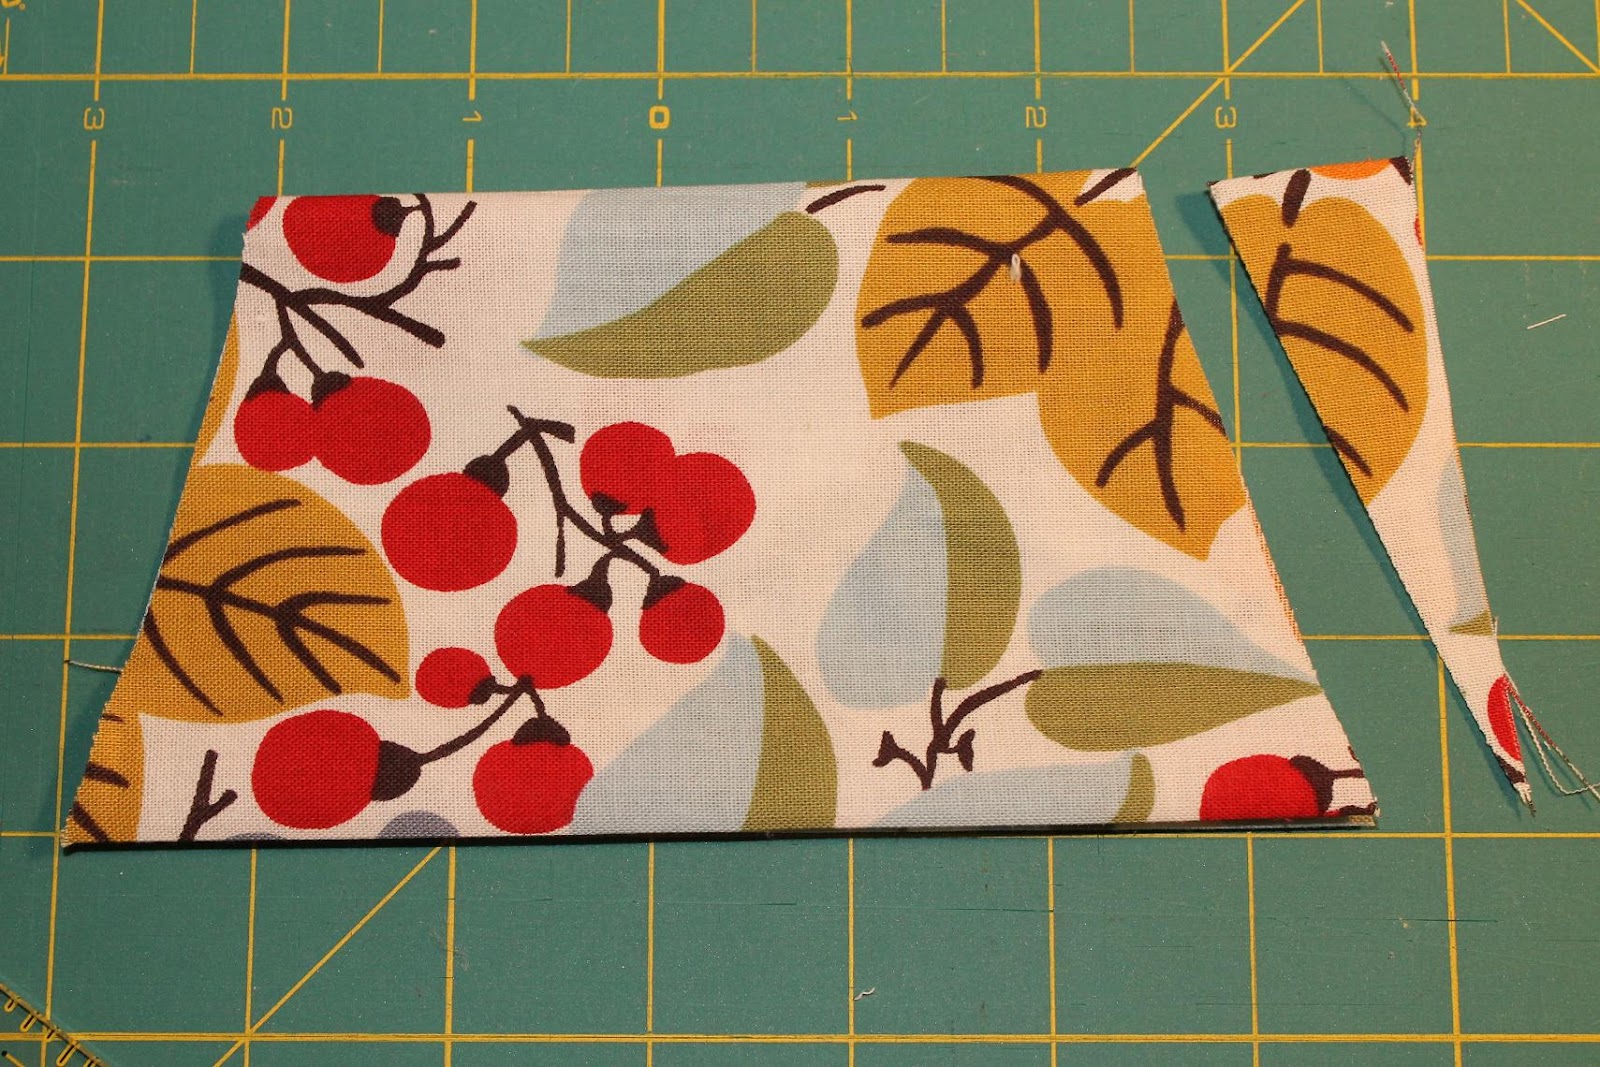
3. On main fabric piece, press under short edges 1/2". Fold in half, short ends together. On the fold, mark 1" in from both sides. Cut from the mark to the bottom edge. Repeat on the other side. You should have a trapezoid.
4. Cut your batting the same way you cut your fabric in step 3. Open your trapezoids and center the batting on the wrong side.

5. Fold the batting and trapezoid over the pleated towel edge. Sew 1/4" from the edge. I used a triple-stitch to make it secure, since the towel hangs on this seam. Make sure to catch the front and back of your fabric.

6. Quilt the fabric panel. Here's a close-up of a finished towel so you can see one of the quilting patterns I did. One set has concentric trapezoids, and the other has parallel lines about 1/2" apart.

7. Open your bias tape (or straight-grain tape, like I used.) Press both short ends in 1/2". Lay the open tape on the back of the main fabric. Align the pressed short end with the top of the towel and align the raw edge to the main panel raw edge. Baste the raw edges together 1/4" from edge.

8. Now, fold the tape over to the front of the main fabric. Pin the tape in place. Sew 1/8" from the edge, attaching the tape along the fabric edge, then continue along the tape to form the tie.

You should now have a towel that looks like this! Repeat steps 2-8 to make your 2nd towel.

-Lily
These are an awesome idea! I really like them...
ReplyDeleteHopping in from The Blackberry Vine Link-Up
http://asktracyann.crochethappy.com/2012/11/quirky-crochet.html
These are so adorable - what a great idea! Thank you for sharing at The Weekly Creative link party. I hope you have a great weekend :)
ReplyDeleteShannon @ Sewing Barefoot
Great tutorial!!! I hope I have some time to give it a try before Christmas!!! Cute fabric! Thanks so much for stopping by and sharing at The Blackberry Vine!
ReplyDeleteSmiles!
Jami
www.blackberryvine.blogspot.com
Thanks for the tutorial. I definitely need to work up the courage to try this as my towels are constantly falling on the floor.
ReplyDelete