
As I was sewing, I realized I'd made the tutorial more complicated it needed to be. There were several steps that I could simplify and make these even easier to make, so I thought I'd post an updated tutorial.

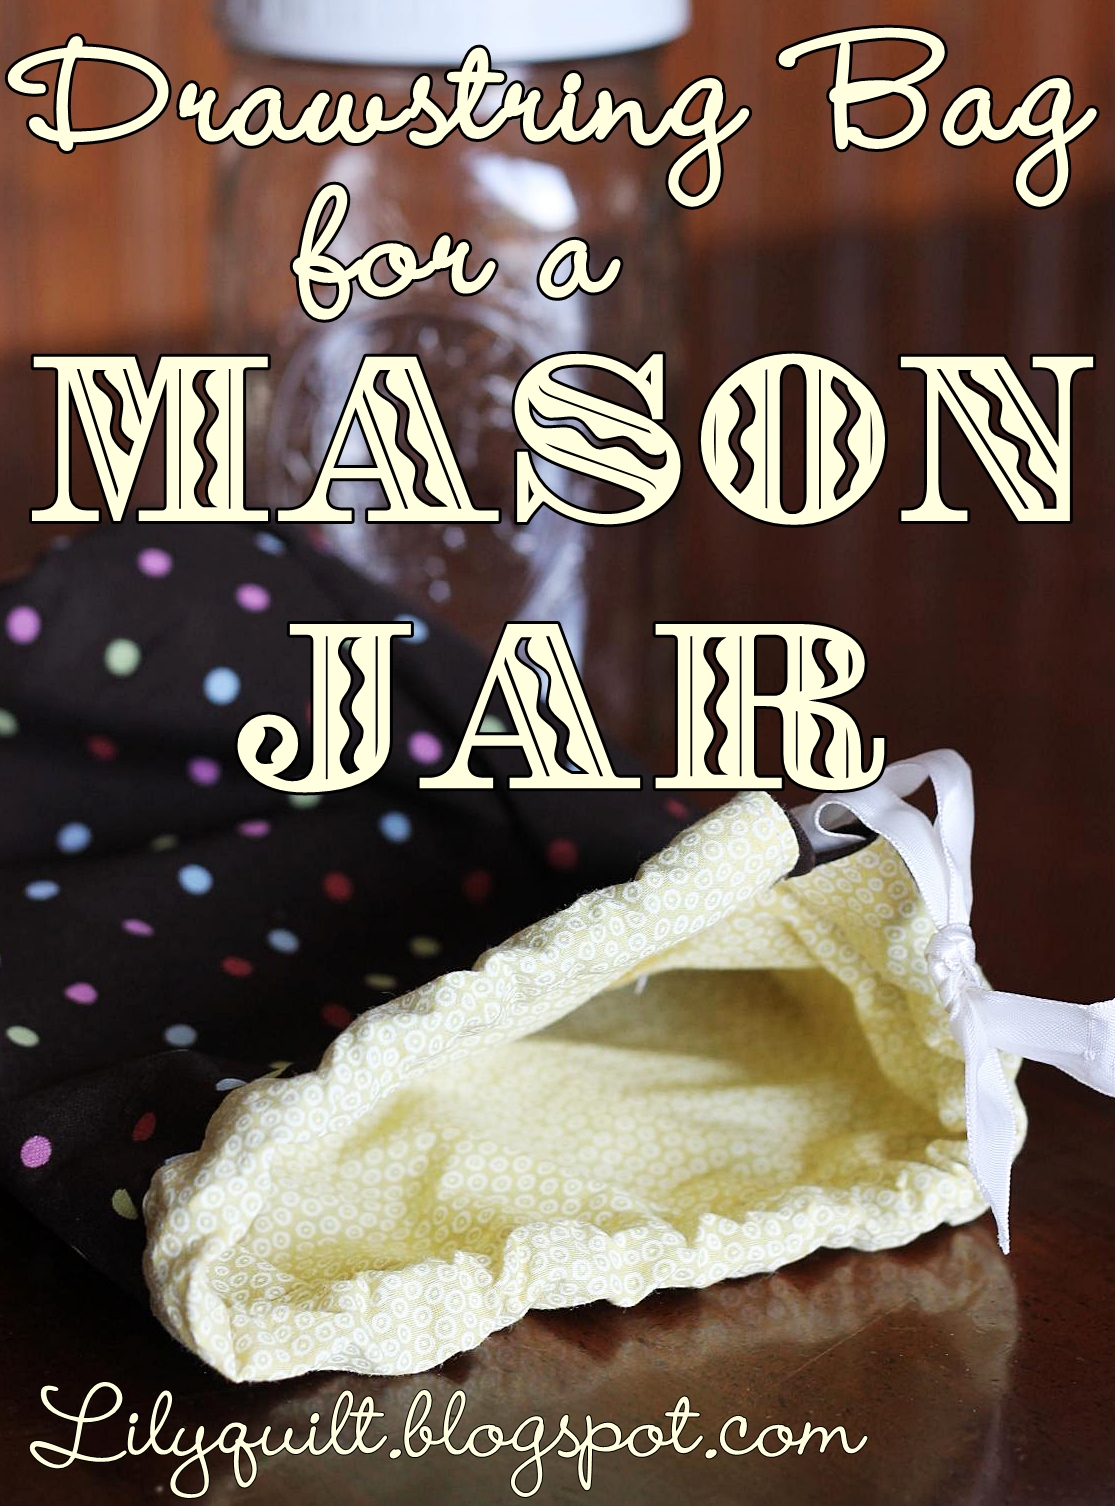
- 11 x 15 inch rectangle for outside, Fabric A
- 11 x 15 inch rectangle for lining, Fabric B
- 5" diameter circle of Fabric B
- 5" diameter circle of Fabric A
- 24 inch piece of 1/2 inch ribbon
- Thread to match
1. Fold both rectangles in half, right sides together, so you have 11 x 7.5 in. rectangles.
Pin the long sides at 2 inches and 1/2 inches from the ends as shown in the photo. (I use color-coordinated pins. I start at white and end at red.) Sew between the pins, backstitching at both ends.

2. Pin and sew the circle pieces to the rectangles, right sides together, to the ends with the 1/2" opening. You can either match the bottoms, or you can swap your circles like the yellow and brown polka dot bag shown above.

3. Turn Fabric A right-side out, then slip it inside your Fabric B. (You won't have a hole in your lining, just ignore that)

4. Line up the top edges and the side seams. Sew around the top edge, starting and stopping 1/2" from the V-shaped slit.

5. Turn out through the V-slit. Your bag should look like this:

6. Tuck your Fabric B into Fabric A. Tuck the V-slit edges under 1/2". Topstitch 1/8" from the edge to close the opening.

7. Fold down the top of the bag 3/4" to form the drawstring casing. Remove the tray on your sewing machine and slide the bag over the end so you can easily sew the casing. Topstitch 1/8" from the edge.

8. Use a safety pin to thread the ribbon through the casing. Make sure it
isn't twisted, then knot the ends together. Snip the ribbon ends at a
diagonal, and you're finished!

-Lily
Linked up at some of the great blogs on my sidebar!
Brilliant! I'm giving Mason jar "sewing kits" to some of my quilty friends, and this is a fantastic way to "wrap" them! Thank you!
ReplyDeleteSewing kits in mason jars is a great idea, I'll have to keep that in mind for next year!
DeleteHey we're cyber twins!
ReplyDelete