
- Red, Orange, Yellow, Green, Blue, and Purple fabrics. Cut 1 piece 2 1/2" by 6 1/2" from each fabric.
- Polka dot or other fun print for handle. Cut 1 piece 5" square.
- Peltex sew-in ultra firm stabilizer. Cut 2 pieces 1 1/4" by 3 1/2"

Let's get sewing:
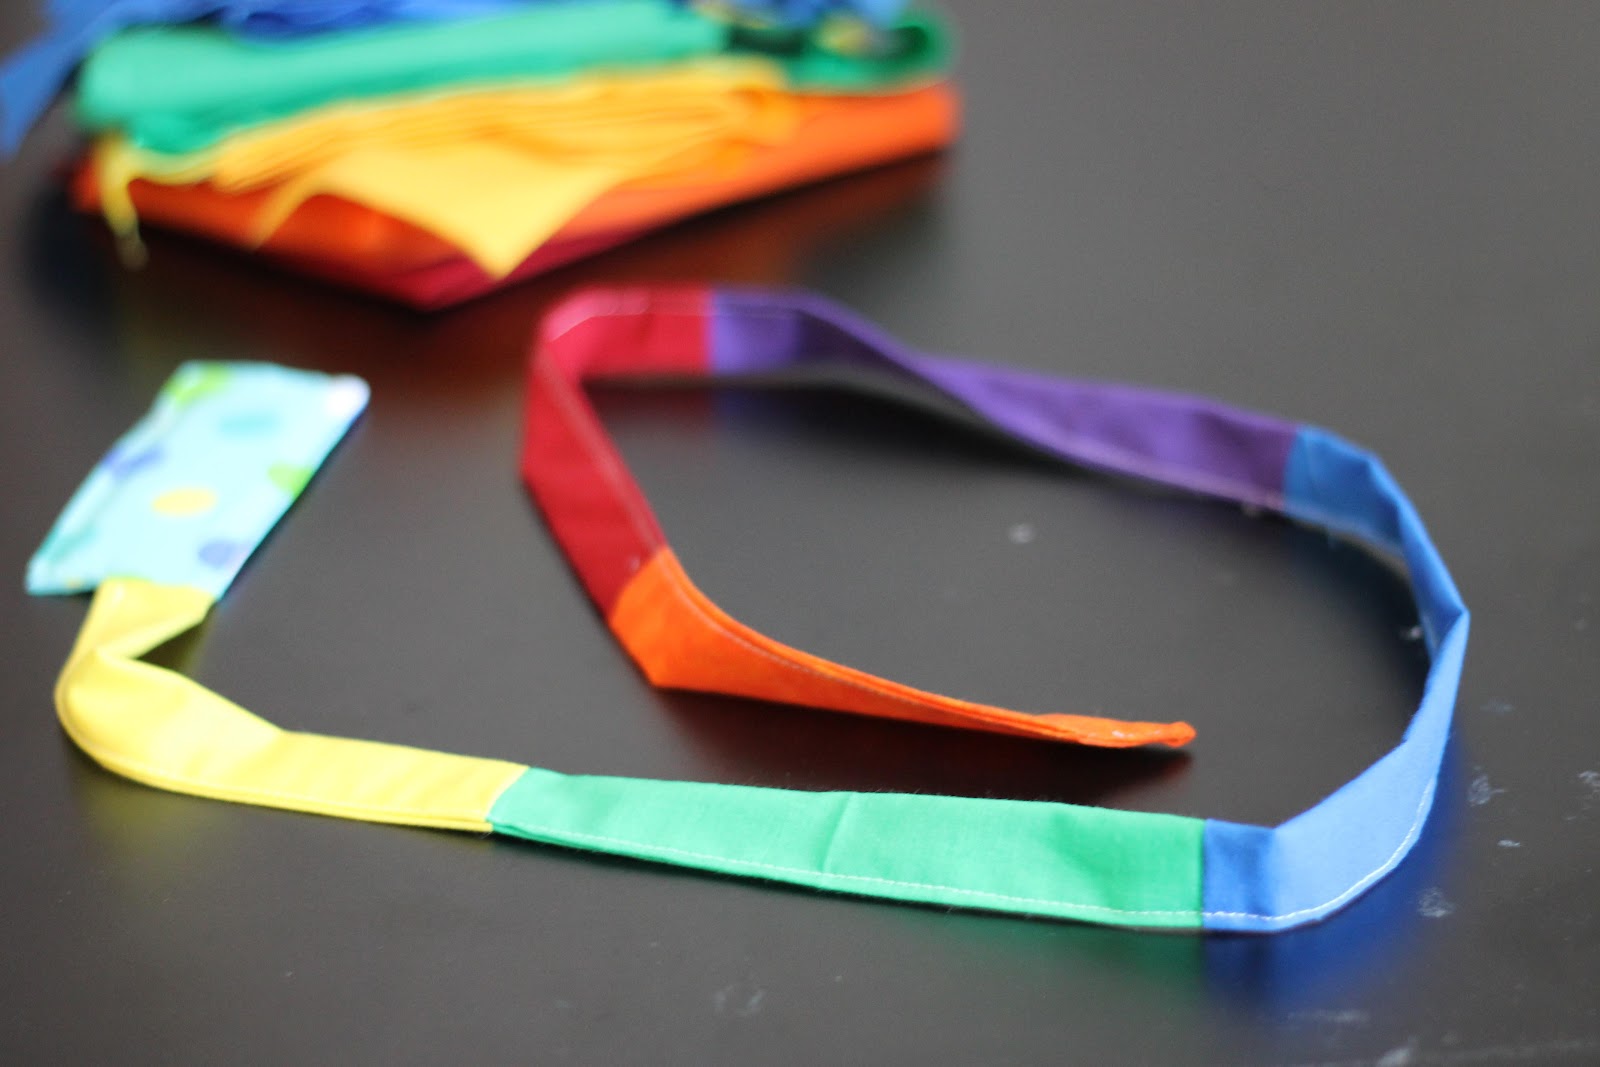
1. Line up your fabrics until you're happy with color placement. I chose: handle-yellow-green-blue-purple-red-orange.

2. Using a 1/4" seam allowance, sew the short ends of the 6 rectangles together, right sides together. Do not sew to the handle square yet!

3. On the rectangle next to the handle, mark dots 3/8" from the edges on one short side. Center on the handle square, right sides together. Sew between the dots with a 1/4" seam allowance.

4. To create a tip at the end, fold the last rectangle in half right sides together and sew along the short end. Then turn it right-side-out, fold down the seam, and press the tip into a triangle.

5. Press in the long edges of the ribbon 3/8". Press in the handle edges 1/2". (There's a seam in the middle of my handle because I cut it incorrectly--you hopefully won't have that)

6. Now, fold the ribbon in half lengthwise and pin. Topstich 1/8" away from the edge along the tip and long side to close. Sew along the top and both long sides of the handle, leaving the bottom open.
7. Slip both pieces of stabilizer inside the handle. Topstich to close the bottom.

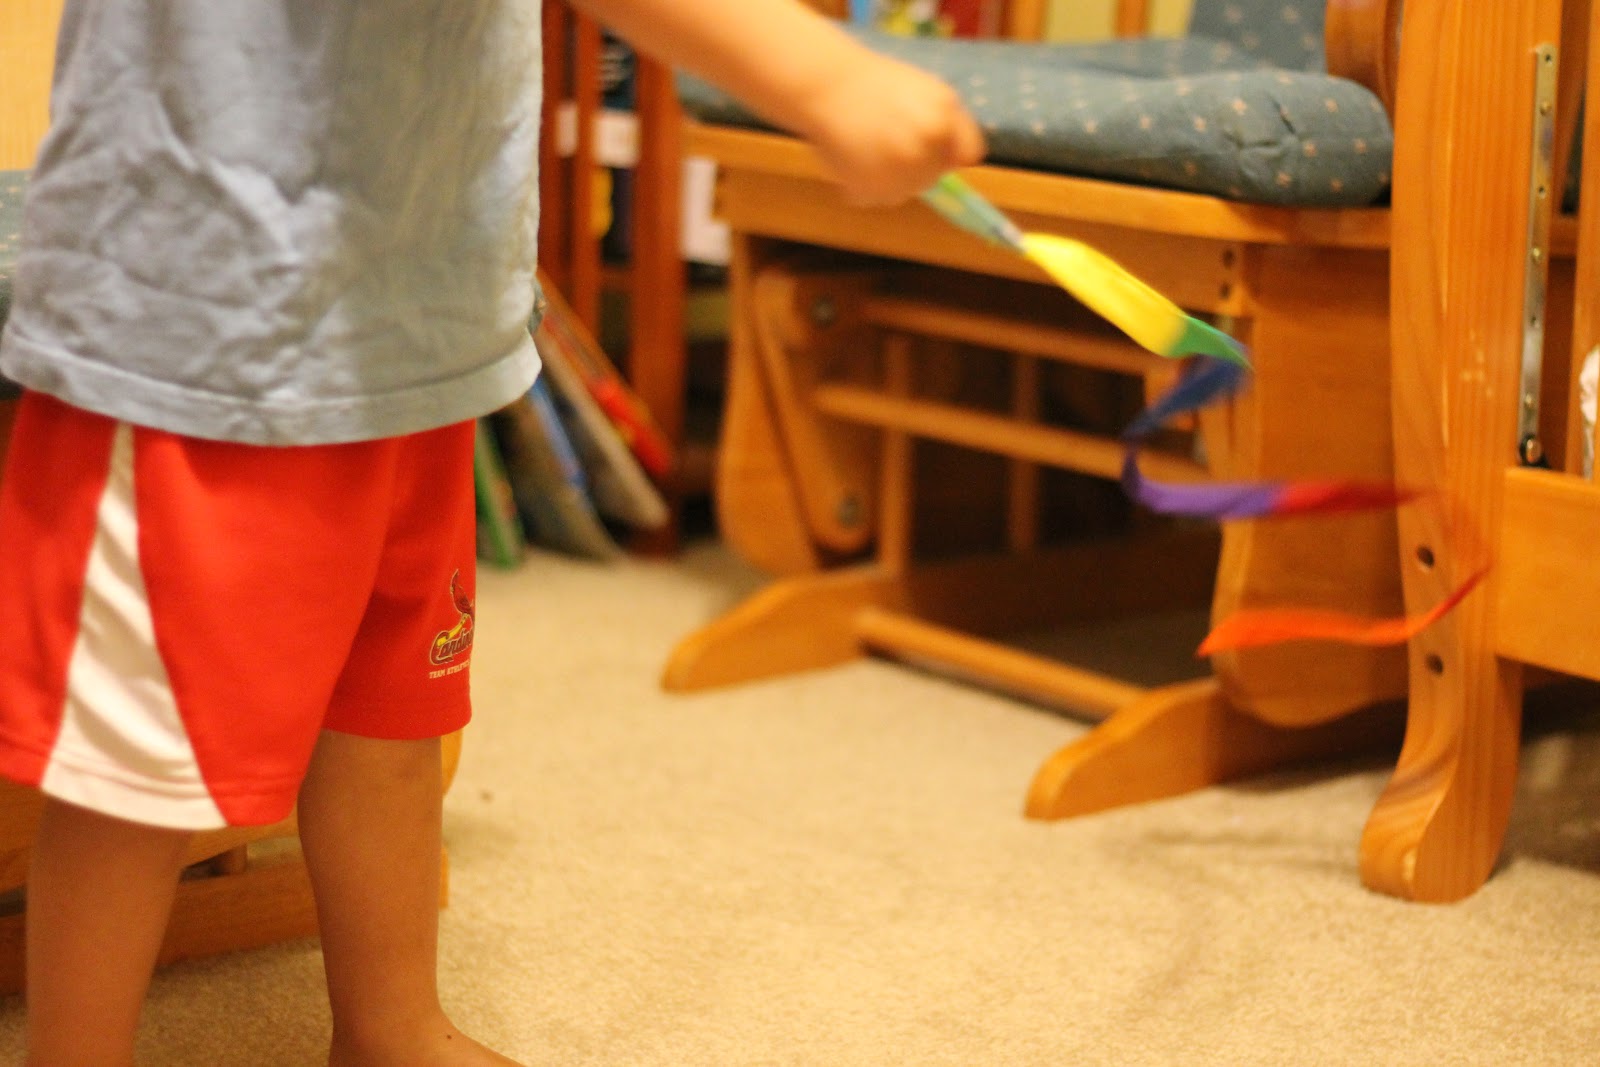
Finished!
-Lily
No comments:
Post a Comment
Join the conversation--your comments make me happy!